


Buy anything from 5,000+ international stores. One checkout price. No surprise fees. Join 2M+ shoppers on Desertcart.
Desertcart purchases this item on your behalf and handles shipping, customs, and support to Croatia.
✨ Restore, Protect, Impress — Headlights That Shine Like New! 🛠️
CERAKOTE® 
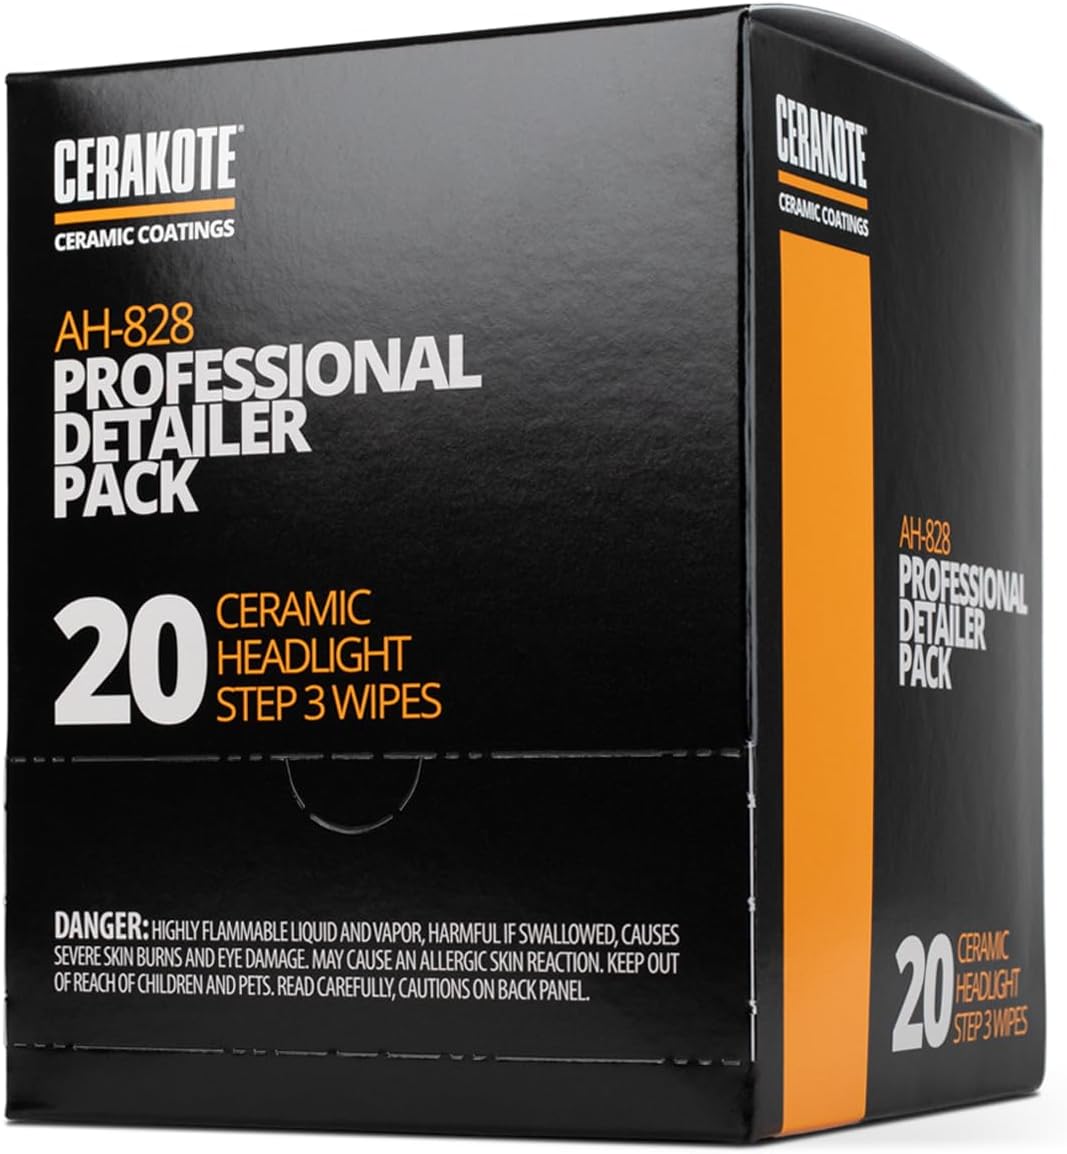
Ceramic Headlight Restoration Professional Detailer Pack offers 20 advanced ceramic clear coat wipes designed for quick, durable headlight restoration. Trusted by pros and car enthusiasts alike, it provides lifetime protection against oxidation, easy application in minutes, and long-lasting clarity that saves you hundreds compared to headlight replacement.


| ASIN | B08FF6X75N |
| Best Sellers Rank | #13 in Automotive ( See Top 100 in Automotive ) #1 in Automotive Headlight Restoration Kits |
| Brand | CERAKOTE |
| Customer Reviews | 4.6 4.6 out of 5 stars (67,790) |
| Date First Available | June 9, 2020 |
| Item Weight | 8.8 ounces |
| Item model number | AH-828A |
| Manufacturer | CERAKOTE |
| Manufacturer Part Number | AH-828A |
| Position | Front |
| Product Dimensions | 7 x 1.5 x 5 inches |
G**A
Highly Recommend – Amazing Results on My Honda Accords!
I recently used the Cerakote Headlight Restoration Kit on both my 2008 and 2014 Honda Accords, and I’m genuinely impressed. The headlights on both cars were badly oxidized, hazy, and yellowed from years of sun exposure. After following the kit’s instructions, they look crystal clear and almost like new again. The process is pretty straightforward and beginner-friendly. It does take roughly an hour per headlight set if you follow all the steps carefully and allow proper air drying time before the final clear coat. There’s a bit of elbow grease involved with the sanding and polishing stages, but nothing overly difficult. The kit provides everything you need, and the instructions are clear. The results are excellent! Both cars now have headlights that look factory-fresh. I’m really happy with how bright and clear they are at night. Best part? I saved a ton of money by restoring them instead of buying expensive OEM replacements. The only minor uncertainty is long-term durability (how well the clear coat holds up after a couple years of sun, weather, and car washes), but for the price and the dramatic improvement I saw, it’s absolutely worth it. I’d definitely buy this kit again if needed. Highly recommended for anyone dealing with cloudy headlights. Great product that delivers professional-looking results at a fraction of the cost!
D**S
Restored My Headlights Like New — Saved Me a Ton of Money
Got the Cerakote headlight restoration kit for my 2005 Infiniti G35 and the results were immediate and impressive. My headlights went from cloudy and yellowed to crystal clear in one application. Everything you need comes included so you're not scrambling for extra materials. The process is straightforward and easy to follow even if you've never done headlight restoration before. What really got me was the cost — a shop would have charged significantly more for the same result. The clarity and brightness improvement makes a real difference not just aesthetically but for visibility and safety at night. If your headlights are looking dull and faded don't waste money at a shop, grab this kit and do it yourself. Easy to apply, and leaves no stains or streaks.
D**N
Easy to use, good value for a product that works.
Works well, no tools required, just some elbow grease. I had some oxidation on the lens of my car - it wasn't horrible, the oxidation was mostly in the upper half of the lens. Three steps to this product - 1. wipe the lens with step 1 wipes. you get like 4 wipes for each headlight and you basically wipe/rub the lens with the wipes. Step 2 is I think the step that really removes the oxidation and that is wet sanding the lens with the 2 levels of sandpaper included. Finally, step 3 is just wiping the lens with some sort of clear coat. Total time for me was about 30 minutes, doing this in a relaxed manner. The results were impressive, and my headlights really looked great, even after 3 days post application. I would recommend this product.
G**Y
Good product and easy to use
I have a nine year old car, parked outside in Texas every day. I used another product about a year ago and it did not work nor did it last. It left a residue on the lens that clouded up. The Cerakote product worked. Cleaned off the old residue and removed all discoloration from the lens. Took about 30 minutes due to the condition of the lens, but was easy to use. Just follow the video instructions and the results are there.
C**R
Best product I've tried so far but still temporary. YMMV.
This product really does work. It is the best I've used. I purchased in September 2024 and am writing this review in May of 2026, roughly one year and 8 months later. I noticed product failure a little after a year after application and it has been degrading slowly since. Currently the product is visible like a layer of clear paint flaking off and you can physically scratch some off. Here are the pros and cons. Pros: Clarity, relative ease of use, value Cons: Taping and sanding, doesn't last for as long as you own your car as claimed Best used as a temporary fix. Bottom line, would I use it again? Yes. What am I doing today? Replacing the headlights completely. Why? I plan on keeping my car for longer than a year.
A**R
WOW! I am so impressed!!! You need to get this!
I do have before and after pictures, but I'm too lazy to upload them. Trust me when I say that the difference is DRAMATIC. It's as if I have brand new headlights! I took them from foggy/clouded to crystal clear, without even that much effort. And with the ceramic coating, I expect they will stay that way. Here are some tips from what I learned about using the kit. 1. If you are careful, and you're not doing the lights on a big truck, and the fogging isn't terrible, you can split the supplies in half and have enough left over to do another car! 2. It's not a bad idea to tape off the headlights through steps 1 and 2 (initial chemical cleaning, and especially, sanding). Even though I did this, I still managed to sand off a thin line of paint right next to one of the headlights. That was entirely my fault. 3. You can't really sand too much. I actually did it twice. Instead of going by the clock (they say 3 minutes per pad), I just told myself I would use the applicator twice on each piece of sandpaper, and then take off the sandpaper to sand by hand a third time. In other words, three passes with each grit, for a total of six passes per light. That worked out well, and it wasn't too hard, either. Just be careful you don't sand the paint on your car! 4. Bring a roll of paper towels with you before you start. I spent a lot of time running back and forth to the house. You won't need the whole roll. I used about ten towels, total. So bring a roll, and save yourself some time. 5. Make sure you set aside an hour to do the job, and another hour to let it cure. That's about how long it took me, and I'd never done it before. I believe I can do it again in under 45 minutes, easily. But you'll still need an hour for the final coating to cure. If it's raining, you won't be able to do this work. Also, you should work in the shade. I don't think it would come out very well if you do it in direct sunlight. 6. You will definitely need a spray bottle, filled with water. A 16 oz bottle would be about right. I used a little tiny 2 oz bottle, and had to refill it numerous times. 7. When they say to keep the surface of the headlight WET while you sand, they mean it! Your work will come out much smoother, and go faster, if you do that. If not, you end up with a gunky mess that you will have to clean off anyway, and probably have to sand some more - so why not spray while you go? 8. Be sure to use those paper towels to clean things around the lights very well between each step. It just makes the job easier when you don't have to worry about ruining your paint with the chemicals, and you get all the sanding glop out of the way, so you can see if you are sanding your paint, and not your headlights! 9. Be sure to REMOVE THE TAPE before you begin step 3 (ceramic coating). Then, use a hair dryer to THOROUGHLY dry out the surfaces around the lights (and the lights themselves) before you start coating the headlights. This last step 3 is crucial to performance, and is why this kit is so special. It takes no time at all to do the work, like rubbing alcohol once on the headlight surface. But the chemical isn't alcohol, and it's very strong, so prepare well - you don't want to have to stop in the middle of the application. Dry out those lights and surfaces first (because the chemical coating does not play well with water, at all)! Then know that putting on that coating only takes about 15 seconds per light. You just coat it once, with 50% overlap, wipe off any of the chemical that's dribbled onto your paint, and then DON'T TOUCH THOSE HEADLIGHTS FOR ONE HOUR! Let them cure, and they will be like-new! Again, this kit is marvelous. If I had known the end result would be so amazing, I would have taken it out of the box much sooner. I am going to do my wife's car next. It really is the best thing I've seen to do this job. Somebody put a lot of thought into this product, and you can tell. Not too much work for an absolutely fantastic end result!
D**Y
Wow! Blown away! Surpassed expectations!
Headlights look new! This product truly surpassed expectations. We used this on a 2010 Acura TSX. Great car, but starting to show cosmetic wear in the headlights. A mechanic quoted to perform a restoration service at $150. So not wanting to pay that we opted to try this product first. It did not disappoint. See the before and after. That says it all. A couple of tips of what we did that worked for us: We used painters, tape, just basic blue painters tape, to protect the car paint and surrounding trim. It worked great and did not damage the paint and removed easily. We opted to use a small bucket with a sponge for the rinsing steps as it was easier to control the water which is important when you get to the drying stage, because to apply the ceramic coating, everything has to be completely dry. (no splashing or excess water as a hose or spray bottle might do). We used paper towels to dry surfaces. Also take the time to do the sanding properly. Including set up, following the directions to a T, the whole process took about two hours. Only time will tell how long this holds up but for now, we are very satisfied and happy with the purchase and outcome.
S**I
Review After Using on 3 Different Cars over 3 years
Cerakote Headlight Restoration Kit : After Using on 3 Different Cars over 3 years This is my second time purchasing the Cerakote Headlight Restoration Kit, and I’ve now used it across three different vehicles. At this point, I feel comfortable saying this product genuinely works when used correctly. Before trying this kit, I considered replacing my headlights entirely. The cheapest replacement set I found was around $150 just for the parts. Installation would have required removing the grille, bumper, and other components, which adds time and complexity. For an older vehicle, that didn’t make financial sense. Instead, I chose to restore the original headlights. Cost and Value My first package cost me $17, and I restored two cars with that single kit ( about 9$ per pair). That alone made it worth it. For under $20: I restored two separate vehicles Avoided buying new headlight assemblies Avoided removing the bumper and grille Compared to a $150+ replacement plus labor, the savings are significant. Durability 1 year+ under direct Cali sunlight (currently on year 2 and still good) First Car – Learning the Process The first time I used the kit, my results were decent but not perfect. That was mainly because I didn’t fully understand how sanding and polishing actually work. ( this reoxidized fastest under 8 months, but it was mostly my fault) I didn’t initially realize: The headlight needs to stay wet during sanding Oxidation must be completely removed before applying clear coat Even pressure matters/ 50% overlap coverage when appling ceramic Once I understood that sanding is the most important step, everything improved. Second Car (beater) Major Improvement The second vehicle was heavily oxidized and yellowed. I used the remaining material from that same $17 kit and restored it completely. The clarity difference was dramatic. It looked close to factory condition, and night visibility noticeably improved. That was when I realized the product itself is solid; the key is proper technique. Third Car ; Recent purchase By the third car, the process felt straightforward. I followed the instructions carefully, kept the surface wet while sanding, and applied the clear coat evenly in one smooth pass. The final result was clear, glossy, and uniform. No haze, no streaking. Durability On my first vehicle, the restoration lasted close to a year perfectly( I sold that car this year and it still had clear headlights), and that car was parked outside in direct sun most days. For a DIY kit at this price point, that level of durability is impressive. Final Thoughts I seriously considered spending $150 on replacement headlights( this was cheapest ) and dealing with removing body panels. Instead, I spent $17 and restored two cars. Now having used it on three vehicles, I can say this kit is effective, cost-efficient, and worth the time if you follow the process properly. It does require effort and patience, but the results justify it. I would purchase it again.
N**E
Nice and good
Nice and good
D**K
Excellent product.
Works.
E**D
Geweldig resultaat! Mijn koplampen zijn weer als nieuw.
Ik ben echt onder de indruk van deze set. De instructies zijn heel duidelijk en het proces is makkelijk te volgen, zelfs als je geen ervaring hebt. Na drie simpele stappen zijn mijn doffe, vergeelde koplampen weer volledig helder geworden. Het mooiste is de keramische coating die voor een langdurige bescherming zorgt. Het bespaart je een hoop geld vergeleken met een professionele behandeling. Absoluut een aanrader voor iedereen die zijn auto weer een frisse look wil geven!
Y**N
Sehr gutes Ergebnis und einfache Anwendung
Die Anwendung war einfach und das Ergebnis wirklich überzeugend. Die Scheinwerfer sahen vorher matt und alt aus, nach der Behandlung wirken sie wieder deutlich klarer und gepflegter. Der Vorher-Nachher-Unterschied ist sofort sichtbar. Für den Preis ein sehr gutes Komplettpaket und definitiv empfehlenswert.
J**Y
Very simple and works
Works great for removing foggy or light scratches from headlights. But for deeper scratches more coarse paper is needed preferably together with electric tool.
Trustpilot
1 month ago
1 month ago