Desertcart purchases this item on your behalf and handles shipping, customs, and support to Croatia.
🌬️ Keep your engine cool and your ride cooler — no babysitting required!
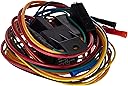
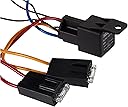
The Hayden Automotive 3652 Universal Add-On Preset Thermostatic Fan Control is a robust 185°F preset temperature switch designed for rapid-cool and super duty electric fans. Compatible with both Hayden and OEM fans, it features a radiator fin probe for accurate temperature sensing, supports dual fan wiring with manual override, and offers a straightforward installation process. Ideal for professional DIYers and millennial managers who demand reliable, maintenance-free engine cooling.


| ASIN | B000C3DD7M |
| Best Sellers Rank | #878,040 in Automotive ( See Top 100 in Automotive ) #253 in Automotive Replacement Engine Fan Electric Controls |
| Brand | Hayden Automotive |
| Brand Name | Hayden Automotive |
| Compatible Devices | Automotive Engine |
| Cooling Method | temperature-based |
| Customer Reviews | 4.2 out of 5 stars 886 Reviews |
| Global Trade Identification Number | 00036752036523 |
| Included Components | Wiring Harness |
| Item Dimensions L x W x H | 7.9"L x 4.5"W x 2.4"H |
| Item Type Name | Fan Control |
| Item Weight | 7.2 ounces |
| Manufacturer | Hayden Automotive |
| Material Type | Plastic |
| Model | 3652 |
| Noise Level | 14 db |
| Number of Items | 1 |
| Part Number | 3652 |
| Power Connector Type | [UN] Universal Connector (possibly requiring an adapter) |
| Product Dimensions | 7.9"L x 4.5"W x 2.4"H |
| UPC | 036752036523 |
| Unit Count | 1 Count |
| Voltage | 12 volts |
| Warranty Description | 1 year or 12K Miles |
B**Y
Works Great, Easy to Install
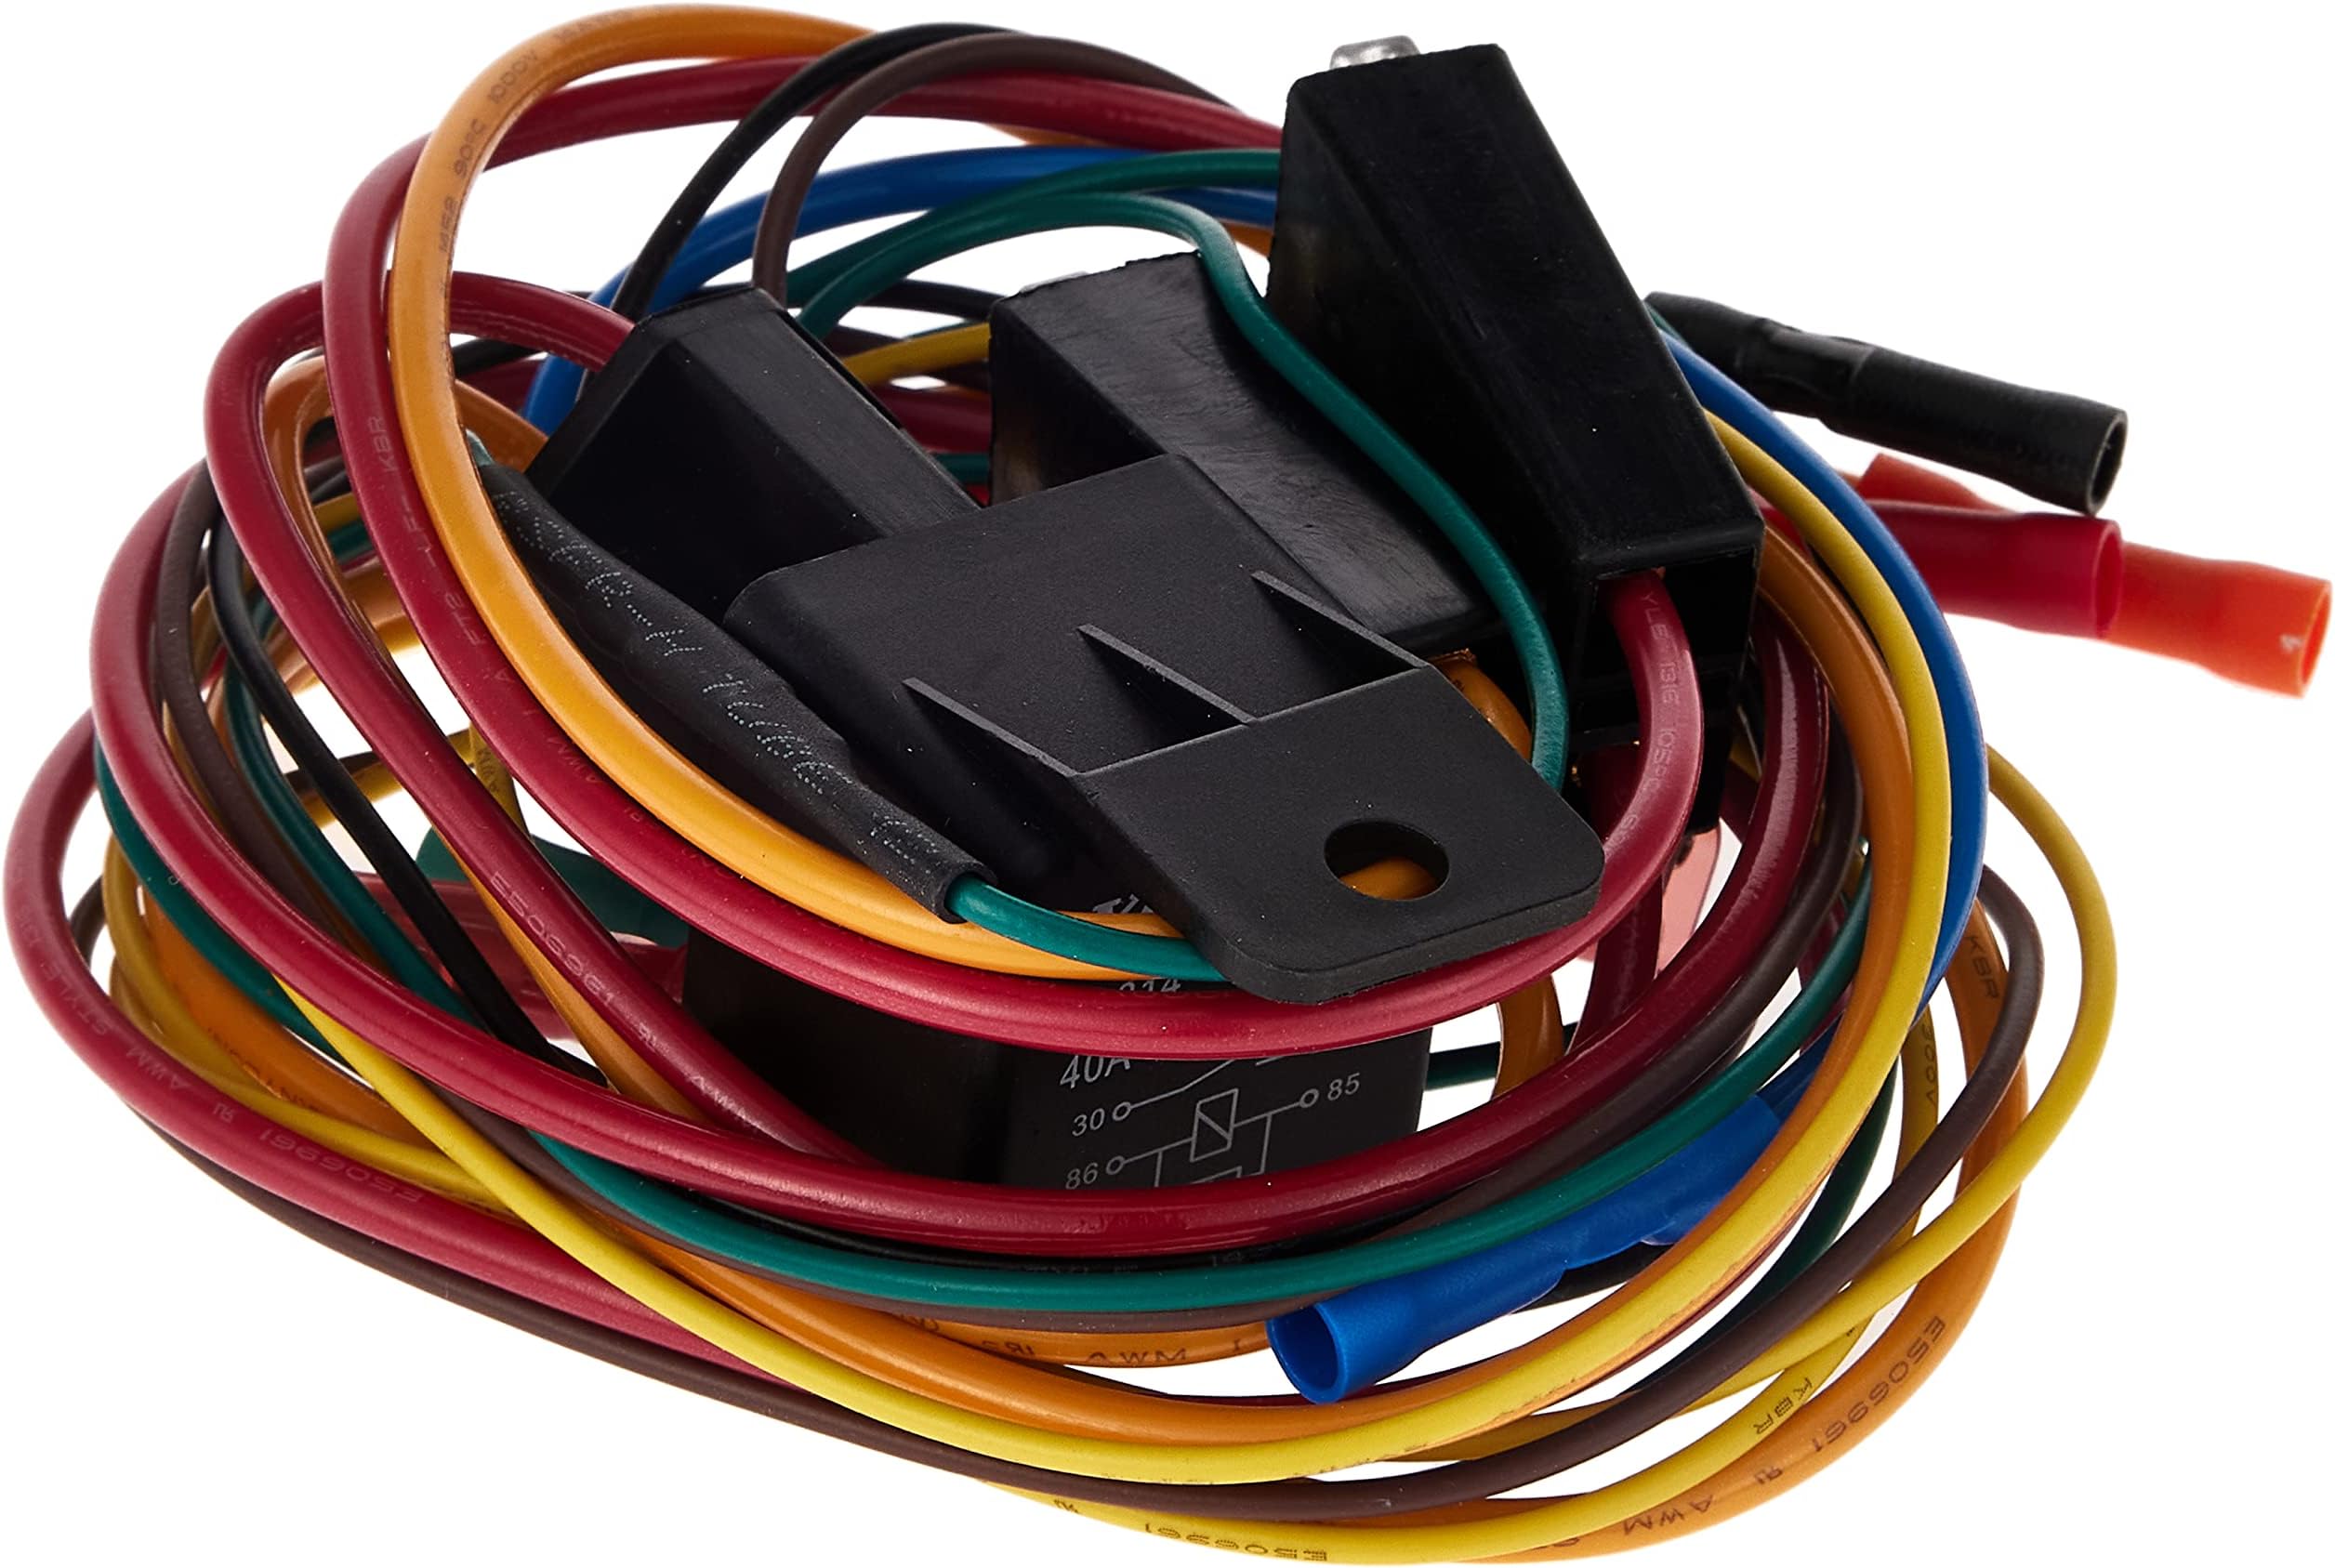
I got this for my 2005 Dodge Ram 1500 5.7 Hemi. I have 2 aftermarket radiators so I needed a thermostat to turn on the fans. I had installed previously a variable thermostat and that worked for about a year. SO I decided to try this one, it is not adjustable, and looks pretty sturdy, all the wires plug right into the relay. The thermostat looks replaceable as well, so if that goes bad, I can find a replacement. The wiring is pretty straight forward, if you have some skills with automotive or basic electronic skills, you can do this in your garage. So far, it works, I no longer have to baby-sit my temp gauge to make sure I'm not over-heating, turns itself on and off, and the wiring has wires for at least 2 fans, and both mine are working. There is also a 'over-ride' switch lead so you can manually turn on the fans. So far I'm pretty happy with this set up, time will tell if it will outlast the last one I had. Phoenix AZ heat will determine that.
J**.
Simple setup that works
**Update after 1 day** After driving at highway speeds then coming to a long red light, the fan doesn’t kick on until above 200 now. Sometimes 201, sometimes 207. The probe in the radiator just isn’t the most accurate. It’s not the probe, but how it relies on contact with the radiator. Hopefully it works in summer heat or I’ll be replacing the probe with an adjustable switch. I’ve seen temps as high as 220 with my stock clutch fan in Florida heat, so as long as it keeps to this range, I guess I’m fine. Used this to replace my mechanical fan. The thermostat in my truck is rated for 195. It’s a backward design with the thermostat in the lower (cool side) radiator hose. I placed the probe ~3” below the upper hose as described in the directions. Even though the switch is preset to 185, my fan actually kicked on at 195 according to my OBD2 scanner. That worked out perfectly. The temp raised to 197 briefly, then dropped down to 192 which is when the fan kicked back off. Hopefully it doesn’t short cycle a lot, but I imagine in summer heat, it’ll be running nonstop regardless in combination with the AC on. I spliced into the 12v wire on my AC clutch and it kicks the fan on when the AC compressor is engaged. The included diode in the green wire is a nice feature. The only complaint I have is the crappy self tapping screw. I drilled out a hole 3/4 the diameter of the screw and it still wouldn’t bite. I end up just bolting the relay to the hole I drilled.
I**D
Switch actually trips on around 215°F. But everything is easy to install.
The thermostat kit worked great and was easy to install on a 2001 Jeep Wrangler with an aftermarket radiator. The turn on temperature was supposed to be 185°F. But it turns on right at 215°F and turns off around 210. The ideal operating temperature for a Jeep Wrangler of my vintage is 210°F. It is just a bit over the ideal operating temperature for my Jeep but just barely. I will keep it. I really wanted to bring down the operating temperature of my beloved Jeep a bit. But perhaps that comes with its own problems anyway. The only reason for four verses five stars is the inaccurate temperature rating. But everything works great other than that and it was a very, very, simple install. All you need to know are your colours. Still working great after three months.
G**D
Tested to work as advertised.
Before installing, I placed the probe in a pan of water with a thermometer and raised the heat to test on/off switching temps with my multi-meter on the EL connections. It tested just as advertised. The probe inserts through radiator fins so the actual on/off temp is about 10 F higher than published in my installation. That's no problem as the coolant thermostat is at 210 F. The fan kicks in at about 220 F. I dribbled some two-part epoxy on the probe to make sure it doesn't walk out of the fins. I was skeptical about a probe through fins model but am quite happy with the action. I would recommend and purchase again.
J**.
Read the pitfalls of this before you buy
I can’t fault the seller for this product because this was something that was outside of their control. However I had a pretty bad misfortune my relays and my fuses melting out. Now mind you, it is a 12V system And yes mechanical parts break all the time. (Yes I’m still returning this) After wiring this up and running dual fans (10” and 12”) I noticed the fans stopped working. I checked the solder joints and continuity to the fan motors, no issues. (And yes I had the orientation of the props spinning correctly) The instructions say to hook up the green or trigger wire to the AC compressor, however I’ve come to terms that this might not be good, simply because if your AC compressor is kicking on and off at specific temperatures in frequently, it’s ultimately surging the relay. Honestly the more better way is to put a dedicated toggle switch. (And yes I also replaced most of the AC system) Simple bad luck. To those who left bad/negative reviews. This trigger wire might be the reason
C**D
Temp switch sucks, but cheap easy kit.
This kit installed fairly easily. Unfortunately, the temperature switch did not turn my fans on. My temperature got all the way upto 205 degrees before I gave up and turned the truck off.
W**E
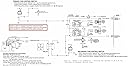
The included wiring diagram does not match the contents of the kit.
This kit is designed to handle 1 or 2 electric fans. The included wiring diagram shows two wires from (downstream of) the relay, each with a fuse, going to two fans. In fact, only one of the two wires has a fuse while the other does not. The second fuse is on the battery power wire going to (upstream of) the relay. In this configuration, if two fans are connected, one with have two fuses, one upstream of the relay and one downstream of the relay, in series, the other will have one fuse upstream of the relay. This will work, but it serves no purpose. One fuse upstream or one fuse in each fan circuit downstream would be correct. The thermostat switch is a convenient contact type switch that closes (fan on) at 185 F and opens (fan off) at 175 F. It fastens directly to the cooler surface. I wish it were adjustable. I'm using this product on a transmission cooler and these temps are on the low side. I tried to find a kit with an adjustable t-stat but all adjustable units that I identified used a sensor that threaded into a port for direct contact with the fluid. My cooler had no provisions for the addition of a thread-in sensor. With some trial and error, you can "adjust" the on / off temperature by changing the location of the sensor. Mounting the sensor at the inlet of the cooler will cause the fan to turn on sooner. Mounting the sensor at the outlet of the cooler will cause the fan to turn on later.
D**C
It works
For us less experienced vehicle wiring folks; you just have to take your time, and, make sure your Yellow wire goes to a 12 volt ignition-on stays-on activated power source, and to one side or the other (either side) of the temperature probe, Brown wire to the other side of the temp probe. If you have a fuse box in reach some spare power-on tabs are not 12 volts. I drilled a hole through the fan shroud for the wires to go down to the probe, and if you put the probe closer, about 3" down and away from the top of the radiator inlet hose it gives your wires a little more reach. Someone said they taped the probe to the upper radiator hose; if that works why not if it's a better position, just cover the whole probe end over so it gets hot enough.
Trustpilot
4 days ago
1 week ago