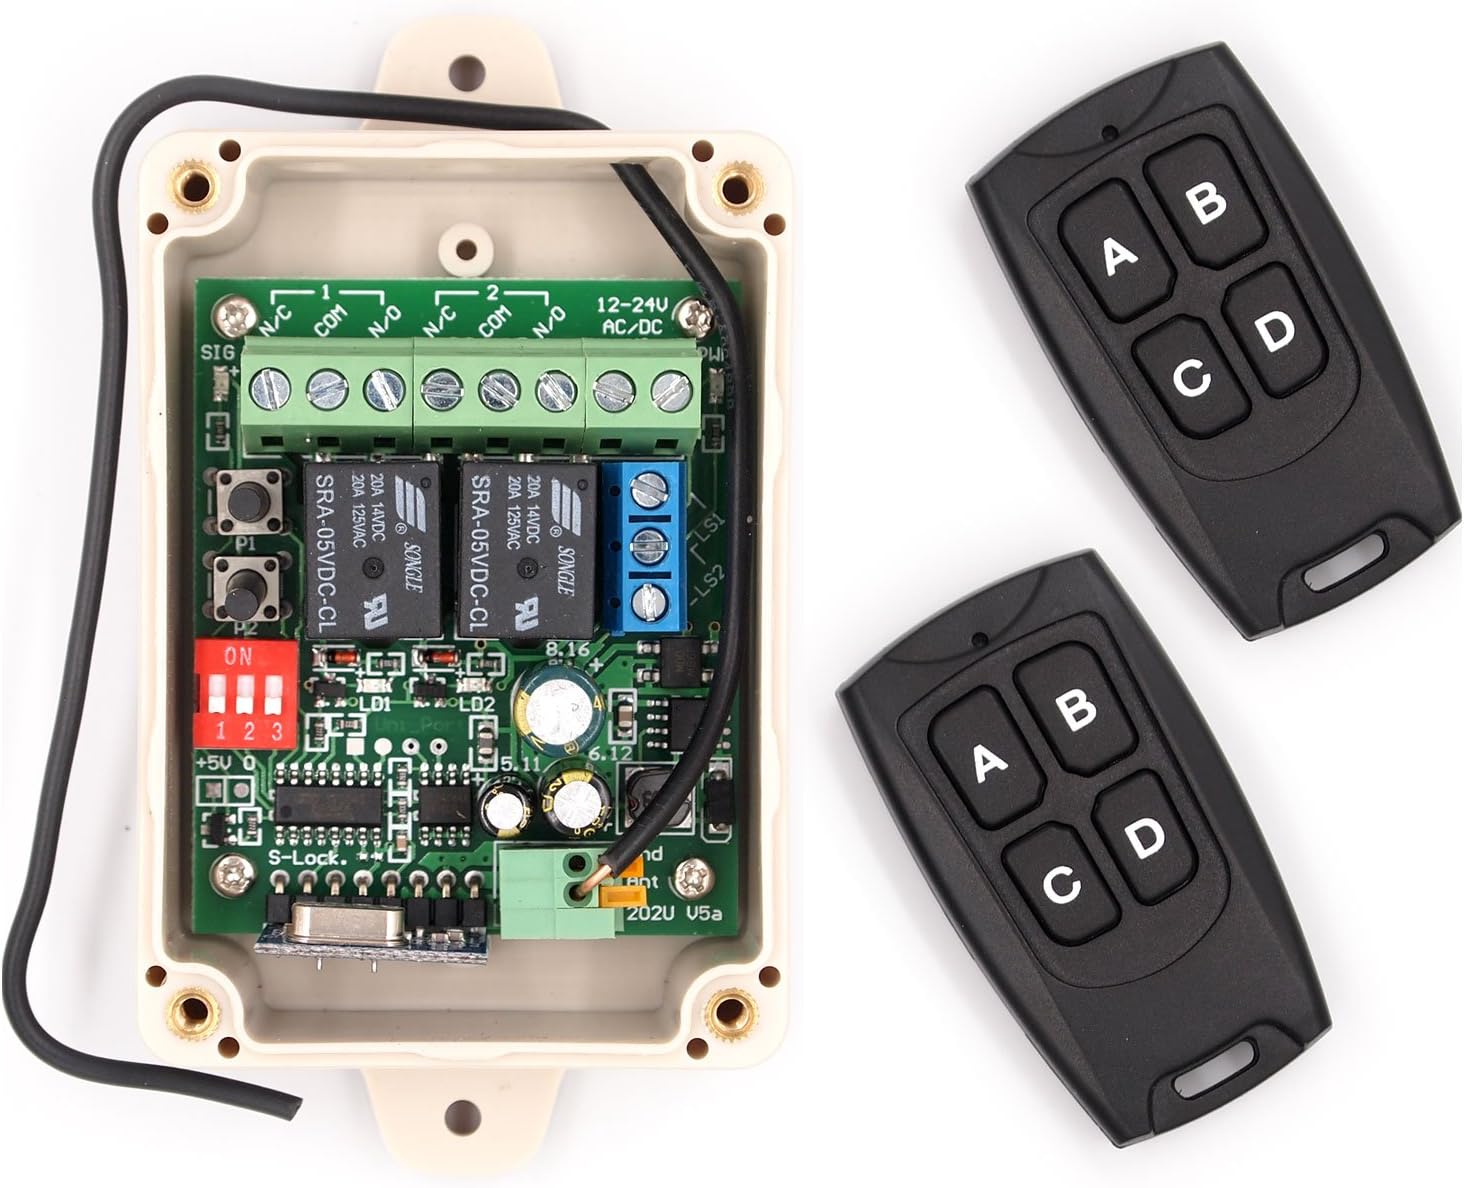
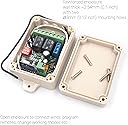
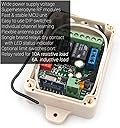
I am extremely happy with the Solidremote Receiver and ease of installation. I still can't believe what a simple, inexpensive and easy solution this is for my needs. I had been searching for a way to add a remote capability to a garage screen which could only be opened by a single button/switch, making it very inconvenient when coming home in the car and with the screen down. I saw several reviews here and a U Tube video and bought the Solidremote receiver unit (Receiver), a 12-24v AC/DC adapter to plug into an outlet to power the Receiver (I bought mine on Amazon), a length of doorbell wire (or similar gauge), 2 strand, (if only 3 strand available cut off 3d (usually green) wire) to splice into the existing switch and connect to the Receiver, and 2 extra remotes . The directions provided are essentially useless for installation and wire hook-up. If you have done any electrical work such as adding, changing outlets, switches, etc., an absolute breeze to install-I don't know about 5 minutes as another reviewer suggests, but very simple. Even without much experience, installation is still easy. All you are doing is splicing into your existing 12 v switch for your device and using the adapter to power the Receiver, so there is no running 110 wire or anything like that. My comments relate ONLY to installing the Receiver to switch 1 device- this Receiver has several other uses. You need to figure where you will install the Receiver, accounting for access to the existing switch for your device to install a length of the bell wire from the switch to the Receiver, and a 110 outlet to plug the 12/24 v adapter from the Receiver into. Do the wiring before you screw the Receiver to the wall/device. As you look at the Receiver, remove the cover, orient the Receiver to put the Terminal Block (light green), on the bottom-on the right of the Terminal Block are #1 and #2 relays, I used the #1 'relay' (R1) since I had only the one garage screen I wanted to switch-I suggest you do the wiring before you screw the Receiver down. Take your length of bell wire, strip off 1/4-1/2 inch of each wire and install one each in to the COM and NO terminals at R1, on the far right as you look at the Terminal Block, through the right hole in the "bottom" of the Receiver-polarity (color of wire) doesn't matter. Then go to far left of the Block, look for the last 2 terminals under the designation on the Block 12-24V AC DC, which is the power part of the Terminal you will hook up to your 12/24 v adapter. Depending on your model adapter, it may already have a terminal end you can use by adding a length of the bell wire, otherwise cut the end plug off, strip the wire exposing 2 wires, strip as necessary and install into each of the 2 terminals under 12-24V AC DC designation on the Block, through the left hole on the 'bottom' of the Receiver-polarity (color) of wires doesn't matter. NOTE: Also on the Receiver there is a red block with 3 or 4 switches -totally ignore, leave as is. There is also a blue block with 3 terminals, ignore, do not use. You are ready to splice into your existing switch. Go to your in use switch for your device, take off the cover if any, note the 2 terminals on the switch; strip off the other end from the wire you installed at R1 on the Receiver, exposing the other ends of the 2 wires and combine one each existing wire on the switch with one each of the wires from the NO & COM terminals on the Receiver, on each of the terminals of the existing switch-polarity of the wires you respectively install on the existing switch terminal doesn't matter. Plug the adapter into the outlet, on the circuit board of the Receiver should see some small LED lights. The directions supplied do a good job explaining how to program the new remote(s)-I suggest you use PRG 1 to program your remote(s). I also put a mark on the Receiver at PRG 1 as a guide for future re-programming. Be sure and test the remote(s) after programming. There also is a very narrow piece of white tubing as a gasket for the receiver if installed in a wet area-I didn't use. Once the remote(s) programming is done and tested, you can then reinstall the existing switch (which will still work independent of the remote(s), and install the receiver on a solid surface. Enjoy!