


Buy anything from 5,000+ international stores. One checkout price. No surprise fees. Join 2M+ shoppers on Desertcart.
Desertcart purchases this item on your behalf and handles shipping, customs, and support to Croatia.
๐ค Elevate your STEM game with the ultimate 5-DOF robotic arm kit!
The Adeept 5-DOF Robot Arm Kit is a sleek, black acrylic 5-axis robotic arm designed for STEM enthusiasts aged 14+. Compatible with Arduino IDE, it offers versatile control via manual knobs or PC software, complete with OLED display feedback. The kit includes detailed PDF tutorials and processing code, enabling users to program, learn, and innovate with ease. Weighing 680g and measuring 22.35 x 16 x 5.84 cm, this DIY kit is perfect for hands-on coding and robotics education, backed by responsive technical support.


| ASIN | B087R8DLG6 |
| Age Range (Description) | Youth |
| Age Range Description | Youth |
| Brand | Adeept |
| Country of Origin | USA |
| Customer Reviews | 3.9 out of 5 stars 301 Reviews |
| Is Assembly Required | Yes |
| Item Dimensions | 22.4 x 16 x 5.8 Centimeters |
| Item Weight | 0.68 Kilograms |
| Item dimensions L x W x H | 22.4 x 16 x 5.8 Centimeters |
| Language | English |
| Manufacturer | Adeept |
| Manufacturer Part Number | ADR031 |
| Material | Acrylic |
| Minimum Recommended age | 168.00 |
| Model Number | ADA031 |
| Set Name | Adeept 5-DOF Robot Arm Kit |
| Theme | Education, programming learning, science, math |
| UPC | 789371035568 789371036510 |
| Unit Count | 1 Count |
R**J
Zero instructions provided.
If you like to hunt for ways to assemble this project you can buy it. There are no manuals, no instructions and some videos which are not so good. If you find any instructions you would doing the rest of us a great favour by telling us how to assemble this. The board is NOT Arduino as far as I can tell It's a Chinese product and you should buy at your own risk.
R**N
Impressive instructions, straightforward to build, great fun overall!
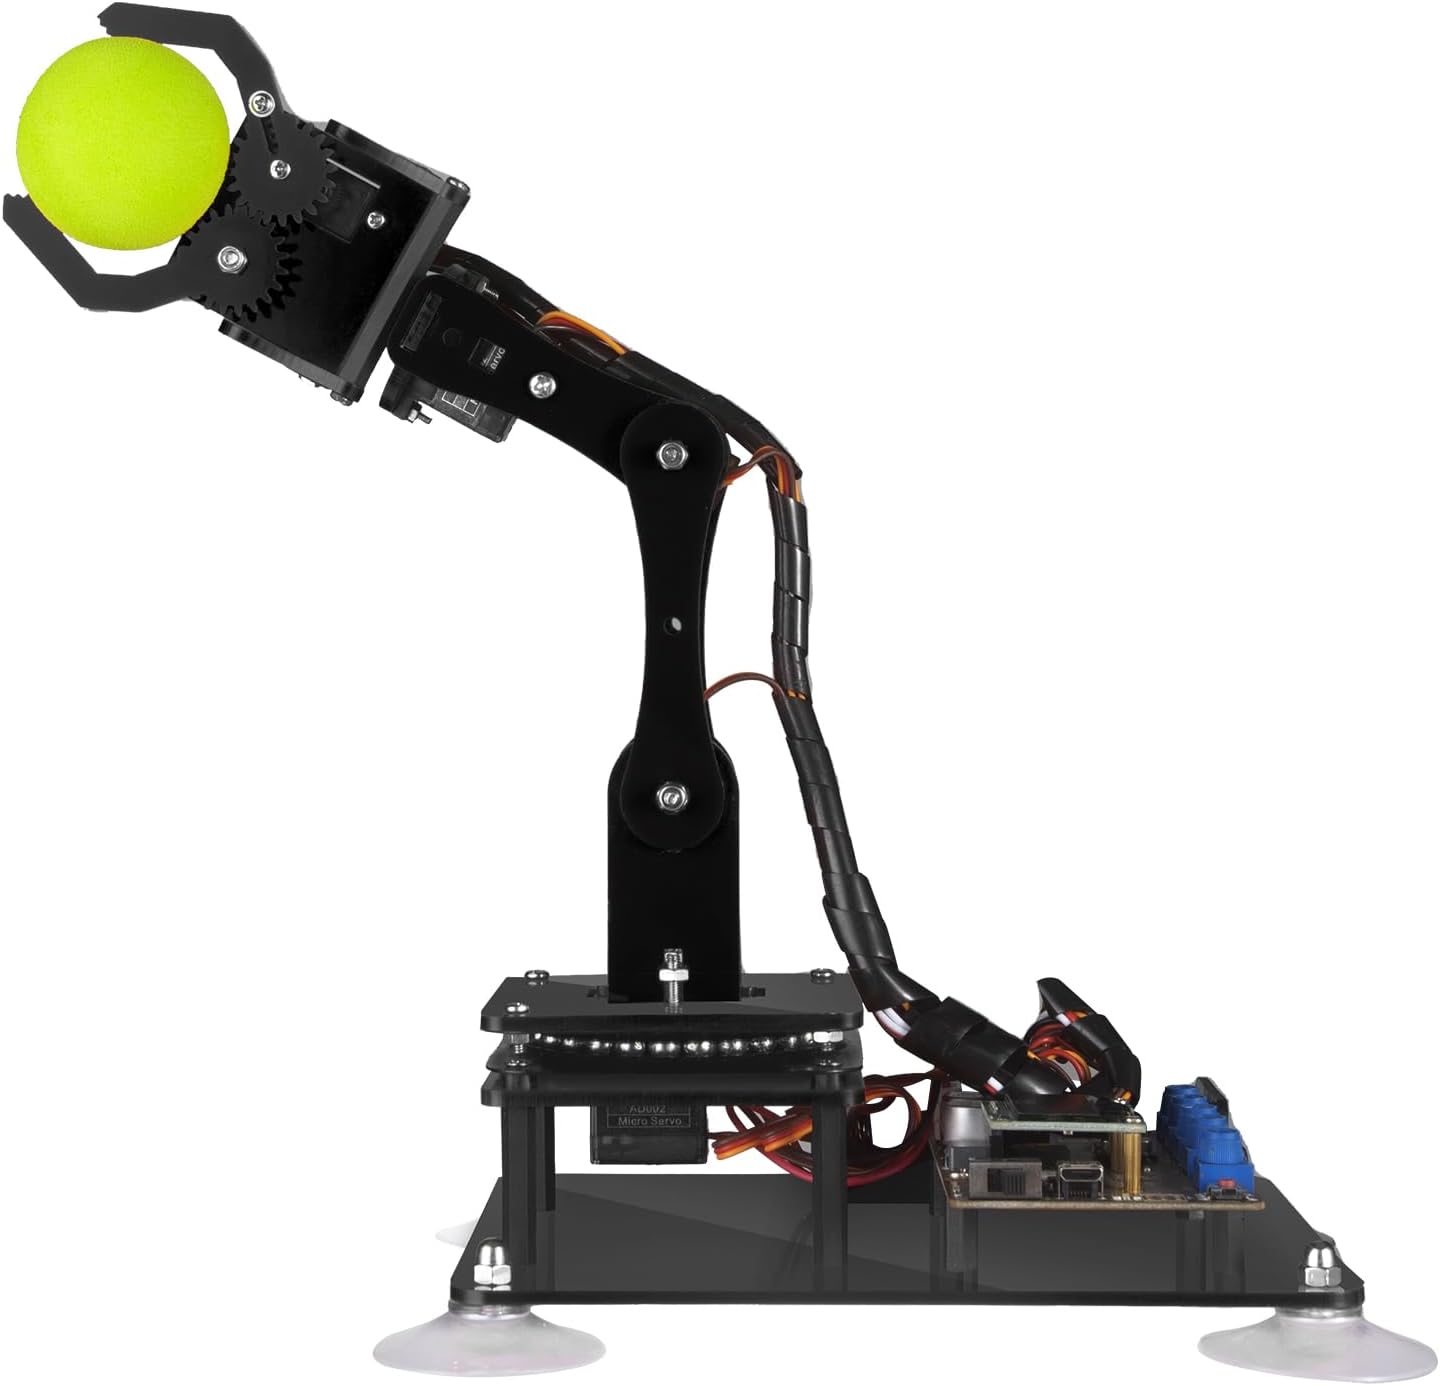
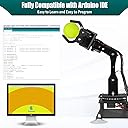
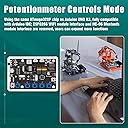
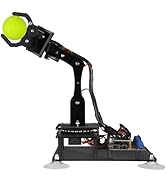
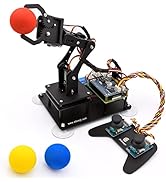
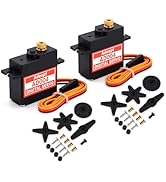
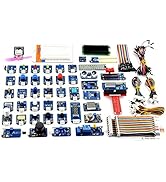
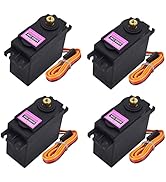
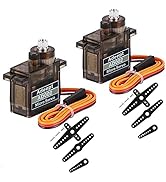
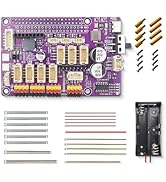
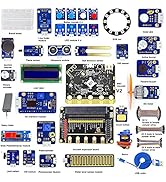
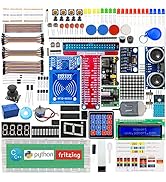
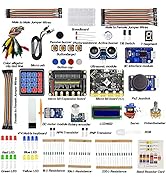
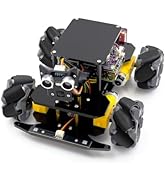
Wow - this has been great fun to assemble! After reading the other comments I was a little sceptical, but the assembly instructions were really clear and the quality of the components exceeded expectations. First, the instructions come in a rar/zip, and the download is linked to on the box. The directory structure in the archive is a little chaotic! The assembly instructions in particular can be found in Tutorials-pdf/5. Assembly of the Robotic Arm.pdf, and it's a good idea by starting the base, and pausing after mounting the board. I say that because the servos needed to be primed to a 90 degree angle, which can be done by plugging them in to the board, and running the relevant script. The script simply angles the servos correctly, so that when you attach the rocker-arms etc then you are attaching them at the same angle as the instructions. It was straightforward enough (I'm a software consultant by trade with experience in electronics, but with patience and a little help I think a 14y would be able to manage). The engineering behind the arm is quite impressive. And building the arm was great fun. To be honest, I bought this for my six year old as a summer holiday project, but after looking through the instructions decided the build was too complex. However, he's already using Scratch Junior at school (a wysiwyg programming environment) so we're going to code the arm together using a similar approach. I'd say the main advice I'd give someone when following the instructions would be to trust the model diagrams over the physical diagrams. Each step has a few models and a few photos - I found the photos to be a little inaccurate (i.e. when determining the angles of the parts connecting to the rocker-arms, the models are correct, the photos not). Also worth noting that some of the scripts need libraries installing before they will build. Searching for the name of the header should fix this in most cases (e.g. for "#include <Adafruit_GFX.h>", go to Tools>Manage Libraries.. and search for search Adafruit_GFX, install the "Adafruit GFX Library" that show up and it should then work - do for each include that generates an error). Final tip - I found a torch on amazon that cost ten quid and came with 4 x 18650 batteries, so now I can work the arm without being connected to a computer via the potentiometers, and I can see where I'm going at night. I though this was a good price for four of the batteries, and they arrived next day.. No charger though, but I'll come to that when I come to that! All in all, very impressive, well worth the price for the joy it brought building and the possibilities that extending this will bring.. Might buy another in four years and see if my boy wants to build it with me :)
D**V
Affordable Robot Arm Kit to learn programming but difficult to assemble.
This is my first Arduino kit as the starter kit I ordered still has not arrived. While watching videos on what projects can be done on Arduino starter kit. Saw this product with next day delivery and bought it.. The Good: - A single Arduino Board which can control 6 servo motors, an OLED screen and power supply for the motors. There is a Bluetooth and Wifi option but not sure what is required to use those. - Tutorial pdf on how to control the board using Arduino IDE, Python and a few others tools but it is not detailed, just enough to demonstrate it can be done. - There are extra part for every screw, nut, or bolt for assembling the kit. - Although the Robot Arm and the Potentiometer on-board only have 5 Servo motors, it maybe possible to control a 6DOF Robot Arm via software coding. The Bad: - The arm is fragile and can break easily. Tiny screws and nuts and took 6 hours to build and another few more hours to adjust as I skipped some steps shown on the video. The motor should be 'primed?' before assembly to set to 'default' position. - The PDF or the Video may not match the kit, so I have to watch both side by side during assembly. - The 18650 battery maybe a problem to those who does not have it yet, not only you need to buy this battery, may also need a charger. - The CH340 chip has some extra steps every time Arduino IDE is launch as the driver seems to lock some Arduino files. - The finish product sketch for the kit is not available on-line. Once a tutorial sketch is uploaded, there is no way to restore the original sketch and must quickly learn programming to enable the features. Edit: The default sketch maybe is the Learning sketch available on the tutorial. - The Servo1 on the base under the ball bearing was difficult to secure with the servo screw as it is blocked by Servo2. At first, have to use Adeept extra screw which was longer and can secure it but later decided to remove the Servo 2 with the Arm and use the shorter servo screw for Servo1. Overall, this product is good enough to learn Arduino/Python programming for the servos and the OLED display. Not sure yet what can be done for the bluetooth and wifi options if it can be enabled.
T**R
Very small
Unfortunately, the device is very small compared to the description, and there is no opportunity for a return.
A**R
Fun little robot.
The servos are bigger and more powerful than the MeArm open source robot. This robot is also easier and more straight forward to build than the MeArm as well. The first axis had a little slop between the servo plate parts A03 and A04, this was fixed by adding a piece of tape around the edge of part A03 to reduce the gap between. The quality of the parts is very high, they are several extra parts if you break any, I did not need any but still nice to have just in case. The first driver board I received was defective but after a few trouble shooting messages through the amazon messaging system a replacement board arrived and worked perfectly. The OLED display is bright and easy to read. The small text size is very tiny but it is easy to change through the Arduino IDE. Overall happy with the little robot.
A**Z
Excelente
Excelente
Trustpilot
2 weeks ago
4 days ago