Desertcart purchases this item on your behalf and handles shipping, customs, and support to Croatia.
๐ก๏ธ Restore, Seal, and ProtectโWoodโs Best Defense Against Rot!
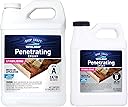
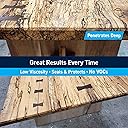
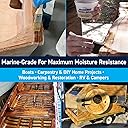
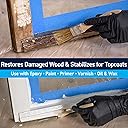
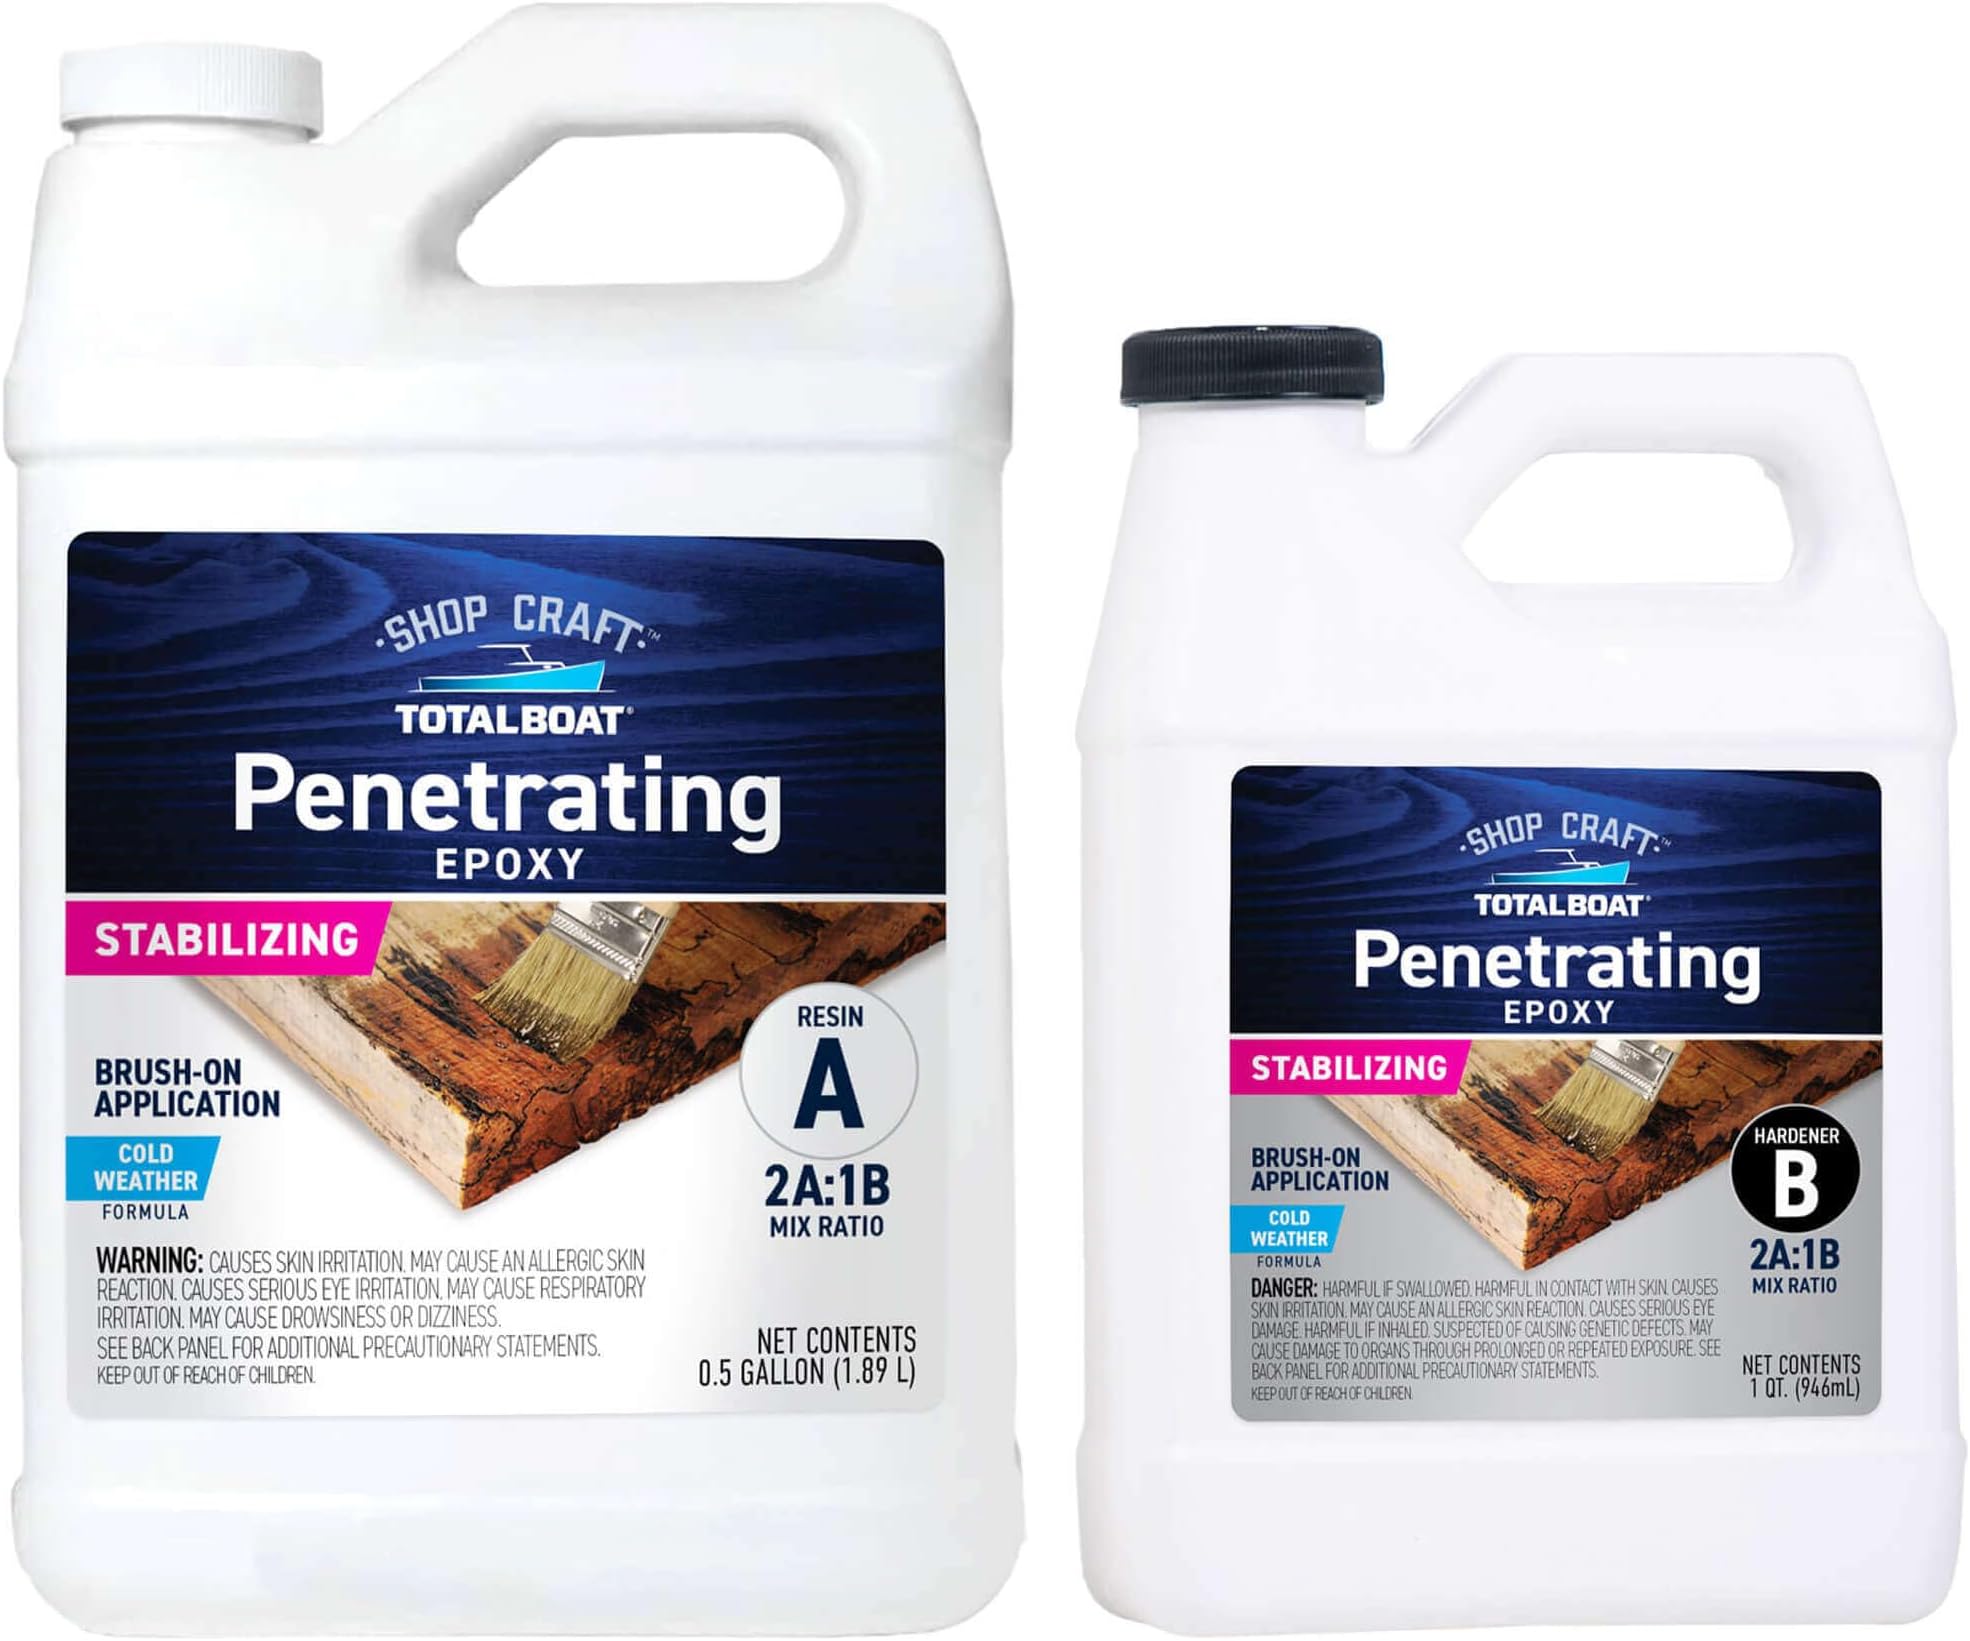
TotalBoat Clear Penetrating Epoxy Wood Sealer is a marine-grade, two-part epoxy system designed to stop wood rot by deeply penetrating and hardening wood fibers. Available in cold weather and traditional formulas, it cures waterproof and enhances finish adhesion without VOCs or harsh fumes. Ideal for restoring and protecting all types of wood in woodworking, boat restoration, and home repair projects.


| ASIN | B01K7WP1PY |
| Best Sellers Rank | #14,394 in Tools & Home Improvement ( See Top 100 in Tools & Home Improvement ) #36 in Household Stains |
| Brand | TotalBoat |
| Brand Name | TotalBoat |
| Color | Clear |
| Compatible Material | Wood |
| Container Type | Syringe |
| Customer Reviews | 4.6 out of 5 stars 1,676 Reviews |
| Global Trade Identification Number | 00811932022295 |
| Included Components | Resin, Hardener |
| Item Form | Liquid |
| Item Package Quantity | 1 |
| Manufacturer | TotalBoat |
| Material | Epoxy |
| Material Type | Epoxy |
| Model | Cold Weather 0.75 Gallon |
| Other Special Features of the Product | Cold Resistant |
| Part Number | 487749 |
| Special Feature | Cold Resistant |
| Specific Uses For Product | Woodworking, Repair |
| UPC | 811932022295 |
| Unit Count | 96.36 Fluid Ounces |
| Viscosity Level | Low |
| Volume | 0.5 Gallons |
| Water Resistance Level | Waterproof |
J**R
RV / travel trailer took care of soft floor and saved me reflooring our 2015 Palomino.
First things first, find and seal all water leaks! If that hasn't been done, it's a wasted weeks process. I followed the instructions to the T. This is a commercial product, not really a consumer product. I used to use this vendor as an MSC Industrial Sourcing Buyer for various different Marine products, so I was pleasantly surprised to find out where it was coming from. Don't be intimidated by this product but proper mixing, thinning and application are key to this giving you a professional result! I perforated the extremely soft if not soggy flooring as noted inn the instructions. Not wanting to remove any more substrate and make obvious repair-reference-points, I chose to us my knife of an awl to make holes that would swell closed and also create fibers to bond together. ๐ After 4 heavy coats applied in multiple directions, thinned with a proper commercial acetone (not nail polosh remover) as noted, I had full substrate penetration, so it was physically dripping out of the front of the trailer. Once I was done, I was able to install the right length screws and snug the diamond plate in tightly against the floor seam again. If you have had to put diamond plate on your trailers front radius, you know how hard it is to draw that metal in and you understand how relevant it is that this structural, 2-part epoxy works that well. I'm not sure it's going to cure all of your soft deck problems but $50 well spent to potentially save yourself $4000 on a noticeable repair that will ultimately hurt your resale value. Our floor was otherwise completely delaminated wood chips. Now its as hard as Kevlar! Not really but it's no longer soft partical board, unsealed from water saturation. It's not solid and impervious! If you're relatively mechanical and you understand how to properly mix, thin and apply part A and Part B epoxies and mix them properly by ratio with the cups provided, understand open life, skin cured and full cure, you'll have a good sturdy floor that's probably better than it was when the trailer was originally built. I've done a lot of technical assistance with adhesives and applications for some huge organizations and I'm super impressed at this epoxies finished result!
M**N
Great for soft wood repair and sealing
*Consider my 5 stars with a disclaimer that I've never used any other purpose built penetrating epoxy* Use - I'm restoring a 30yr old camper where the manufacturer had a few leak prone spots and used OSB sheating for the sub floor. In a few spots the OSB had water damage making it slightly soft but not what I would call serious dry rot. I cut out the really bad spots and patched with plywood, and looked for a product to restore the strength of the OSB in soft spots that weren't rotted away yet. I ended up finding this no VOC low viscosity epoxy on Amazon and decided it was worth a shot. I drilled 1/8" holes 2/3rds of the way through the OSB and spaced the holes about 3" apart. I bought disposable injectors and used them to inject this epoxy cut 33% with denatured alcohol into the OSB in a small section of my floor. After curing for about 48hrs at 45*F the subfloor was ROCK HARD, and the product had easily penetrated the areas between the drilled holes and cured into a hardened mass throughout the wood. I'm now 100% confident that this area of the OSB could be exposed to any leak and the steel frame beneath it would rust away before the OSB loses strength. I'm ordering more and drilling holes ALL THE WAY AROUND THE PERIMETER. I'm considering getting a filling agent and using it to level and seal the entire OSB surface. For the time and effort expended and the weight added to my trailer, there was no better way to make this repair and I couldn't find a better no VOC epoxy for the money. I've never personally worked with fiberglass or epoxy construction, but I have a chemical engineering degree and access to alot of expensive products unattainable to an average consumer so it takes alot for something to impress me like this. I think this is actually the first time I've been driven to write an Amazon review. Pros - Easy to mix 2:1 ratio - long enough pot life to load and reload a syringe with epoxy multiple times - Low enough viscosity out of the bottle to inject into 1/8" holes drilled into the OSB for better penetration - Contains NO VOCs!! - Able to be cut with the solvent of your choice to further reduce viscosity and increase penetration and pot life - Used in cold temperatures and still achieved impressive results Cons - None that I observed
V**Y
A Very Effective Product.
As a Structural Engineer, now retired, I have been involved in the use of epoxy for the repair and restoration of concrete and wood structures since the 60s. I am using the Total Boat Penetrating Epoxy Sealer to repair exposed outlooker beams in the roof of my home which have decayed and split . I also plan to preserve the wood handles of a walk behind horse drawn turning plow which my father used as a share cropper in the 1940s. The beams are drilled and the penetrating epoxy is poured into holes and allowed to soak the wood - the wood having decay is more porous than the sound wood, and the wonder of the penetrating epoxy is the degree to which it penetrates - it seems it is literally "sucked into the porous zones". The mixed product .seems to get thinner as the curing begins. Bare wood exposed in the process will be coated with the epoxy sealer and painted, creating a permanent barrier to the intrusion of moisture. I also used Total Boat on a large 3 tier water fountain which had developed small cracks in the concrete and rust in the wire reinforcing. A single coat, brushed onto the cleaned concrete, seems to have sealed the cracks and will coat the reinforcing, halting the rust there. Great product, easy to mix and use, good instructions. The package included graduated mixing cups, mixing sticks, and a pair of latex gloves. I can't imagine anyone building a wooden boat without treating every piece of wood with penetrating epoxy sealer. The cost is practically nothing compared to the hours of work being preserved.
W**N
Works as penetrating epoxy is supposed to
I bought this to use on a section of RV floor that would have been super difficult and extremely destructive to replace. I've used other epoxies thinned with recommended ingredients as penetrating epoxy for rot or water damage on wood before, so knew to both follow directions and use "penetrating' holes (whatever they are called) to get best saturation. This product worked extremely well without needing to thin at all. Material used on was 3/4" OSB underlayment used in the RV industry. Small area to repair (roughly 1'x1'). Process: Removed flooring, drilled holes at 3/4" intervals with a 3/16" drill bit and stop set to 1/2", extending holes an additional 4-5" on sides of severely damaged underlayment. Allowed to dry out for 2 days of 90+ temperature. Did test pour on 2" square on day 2, allowed to set overnight. This was satisfactory the next day (and penetrated thoroughly). Did full pour on day 3, temperature around 84 at start. Poured, worked in with rubber squeegee and chip brush. Left windows and screen door open for 24 hours, checked the next morning. Process was successful, and penetration was even better than hoped. Scraped and sanded some bumps because I didn't vacuum sawdust from drilling adequately and replaced flooring after 48 hours. We left the windows open for 3 days after (RV is under cover, so no concerns about rain getting in) The floor is sturdy now. There was never significant smell or concern about VOCs. I did wear a NIOSH mask and use a vacuum while sanding. I wore gloves at all times while using the uncured product, and while sanding. If I had used a larger bit for my penetrating holes, I would have put a second coat on to thoroughly fill the holes, but with a small bit I didn't need to do that. If this were to be visible instead of a structural repair under the vinyl flooring, I would have sanded thoroughly and put a thinned skim coat on, then some sort of UV protectant like Polyurethane, paint, or whatever. Hope this helps others :).
M**N
It does what it says it will but is lots of work - and don't watch the shipwright video.
I used the Totalboat penetrating epoxy for sealing new wood before finishing with Totalboat Halcyon clear varnish. My application was a set of folding chairs that I had made out of red oak that I decided I might want to use outside once and awhile (after making all the parts) and am hoping that the penetrating epoxy w/ marine varnish topcoat will help make up for the choice of wood... I have used epoxy before over the years but this was a learning experience in several areas. First - I would order directly from the Totalboat website next time. They provide a nice kit with stir sticks, gloves, and mixing cups vs from Amazon you just get the resin and hardener. Second - do not thin with denatured alcohol as shown on the shipwright demonstration video... I found that the resin hardener mix in the pot would start to boil fairly violently after about 15-20 minutes. For subsequent batches I switched to Resin / Hardener / Acetone 2:1:1 mix and had much better working time and no issues with pot time. Third - it takes hours to cure and it and will flow, sag, and drip on vertical or slanted surfaces for a long time (e.g. you will come back 4-5 hours later and it will have drips, runs, etc. no matter how thin you tried to put it on). Fourth - it does not penetrate evenly on new wood which contributes to the previously mentioned runs & sags, this also means that you will have high spots and low spots that will take a significant amount of effort to sand later. Fifth - amine blush is real... if you do not scrub with water and a Scotch-brite pad before you try to sand you will have an irritating sandpaper clogging mess when you start to sand. The extra step of the scrub makes sanding go much easier. Final thoughts - after I figured out how to use it and after a lot of sanding I think I did end up with some waterproofed epoxy impregnated oak that finished really well with the Halcyon product. One thing that the epoxy undercoat did really well was fill the grain in the oak so after sanding the varnish was able to span the grain really well and get a truly flat mirror finish surface that would have taken lots and lots of coats to do with just varnish. Time will tell how it holds up but for now looks pretty nice.
D**C
Works great for fixing rotted wood
Had extensive damage on the fascia board on a customer's house. Over the years the previous painters had not properly prepared the wood fascia and just kept repainting over rotted wood. This last winter we had a wet winter here in So Cal and stuff that usually would dry out didn't. When we started scraping the wood, under the peeling paint was just soaked. We literally waited 2 weeks for the wood to dry completely before moving on to the next step. When scraping as long as the wood is still fibrous don't totally dig it out as the epoxy will harden and hold the fibers together. You want a rougher surface for whatever comes next to grip onto. This is where the TotalBoat Clear Penetrating Epoxy Wood Sealer Stabilizer comes in. At first I thought that this stuff was way overpriced but found that a little goes a long way. This epoxy is mixed at a 2 to 1 ratio which is different than most of the other brands so when mixing it you'll need to pay more attention when mixing to make sure the ratio is close. If you try to eyeball it you'll run out of one of the two parts. I used a plastic amber pill bottle and marked different amount levels on the bottle using a Sharpie. I mixed two ounces of resin and one ounce hardener in a red Solo cup like the ones used for beer pong. The instructions say don't mix more than you can use in 20-30 minutes but if it's a cooler day you can go longer. Put some tarps down. Using a disposable chip brush brush the epoxy on liberally and be prepared to hold the cup below where your applying it to catch any that runs off. Work a 5-10 square foot area letting it soak in for a minute or two then reapply over the same area. When working off of tall ladders it helps a lot to have several ladders set up so you can work a larger area before having to stop to move the ladders. You can use a plank or platform between two ladders using ladder jacks but these can be treacherous if not set up properly. Let dry overnight. Fill in damaged areas with Bondo or for deeper areas use epoxy wood putty. Sand, prime, and paint.
A**R
What's most important to know!
READ THIS- LEARN FROM MY EXPERIENCE This is a great product, but with caveats. In small batches in basement weather (50 degrees and low humidity) it is very easy to use and takes a day or 2 to set up. Small batch- I have found a coffee scoop with 1/2 scoop of hardener is good with 1/2 to 1 scoop of denatured alcohol (as desired) to thin it. With this, it is very forgiving and makes a beautiful product. I once mixed a larger batch and was outside in 70 degree weather. It started clouding/thickening. I added a little more alcohol and it boiled up, got mad and hardened in about 3 minutes. It is a chemical reaction and heat and larger batches make it set up. Make repeated small batches and air conditioning to get your job done.
L**E
Instructions aren't clear - 3 star
I bought this epoxy to seal the edges of my plywood yard decorations. It's not very good for that. It's very runny so if you have a plywood cutout ( for example Grinch or Charlie Brown ) lying across 2 sawhorses and you try to coat the edges some will soak in but part will drip off. So it's not good for vertical surfaces. It would probably be fine for horizontal surfaces. Another thing I don't like is the directions. I bought the regular formula and the cold weather formula. I assumed they would be the same except for the temperature range to use them in. But the directions are not consistent. The cold weather formula says to only use when the air temperature is between 40 and 65 degrees. Using at higher temps can cause it not to penetrate or cure properly. The next sentence says gel time is 40-50 minutes at 40 degrees and gel time is 15-20 minutes at 70 degrees. So they tell you not to use it if the temperature is over 65 but then they tell you how fast it will gel at 70 degrees. So which is it? Can you use it at 70 degrees or not? The regular formula directions gives working times and cure times for 85 degrees and for 40 degrees. Well, if you can use it down to 40 degrees, why is there a cold weather formula? Also, the cold weather formula directions say you can re-coat if the first coat is still tacky. If you don't re-coat while it's tacky you need to wait til it's fully cured, which is 2-4 days. The regular formula doesn't say anything about re-coating. Can you re-coat with the regular formula or not? The directions are just too unclear. For my purpose, sealing the edges of plywood yard decorations, I can't recommend this. I ended up buying another epoxy that was thicker and would stay on a vertical surface better and it seems to have sealed the edges very well. If you are going to seal the large surface of a piece of plywood while it lies flat this will probably work but I'd be shocked if the 1 pint size is enough to cover the whole sheet, so it could get very expensive. I would like to point out this has a good rating on Amazon so it probably will work well for some applications, just not for mine - that's why I give it 3 stars.
Trustpilot
1 month ago
3 weeks ago