

Buy anything from 5,000+ international stores. One checkout price. No surprise fees. Join 2M+ shoppers on Desertcart.
Desertcart purchases this item on your behalf and handles shipping, customs, and support to Croatia.
🚙 Elevate your Jeep JK’s towing game with effortless style and power!
The TYGER Towing Combo is a custom-fit 2-inch receiver hitch kit designed exclusively for 2007-2018 Jeep Wrangler JK models (2Dr & 4Dr). Rated for a robust 3500 lb towing capacity and 350 lb tongue weight, it features a durable black powder-coated finish for corrosion resistance. The kit includes a plug & play wiring harness with factory appearance and a hitch cover to protect the receiver when not in use. Installation is straightforward, requiring minimal tools and no bumper removal, making it the perfect upgrade for Jeep owners seeking reliable towing performance with clean aesthetics.


| ASIN | B00JZQXJ3K |
| Automotive Fit Type | Vehicle Specific Fit |
| Best Sellers Rank | #47,508 in Automotive ( See Top 100 in Automotive ) #115 in Towing Hitch Receivers |
| Brand Name | Tyger Auto |
| Compatible with Vehicle Type | 2007-2018 Jeep Wrangler JK |
| Customer Reviews | 4.7 4.7 out of 5 stars (2,982) |
| Finish Type | Powder Coated |
| Global Trade Identification Number | 00816239021354 |
| Included Components | Hitch, Hardware, Wiring Harness, Hitch Cover |
| Item Type Name | Tyger Auto TG-HC2J001K Towing Combo: 2inch Receiver Hitch Kit & Wiring Harness & Hitch Cover Compatible with 2007-2018 Wrangler JK (2Dr & 4Dr) |
| Item Weight | 7.7 Pounds |
| Manufacturer | Tyger Auto |
| Manufacturer Part Number | TG-HC2J001K |
| Manufacturer Warranty Description | Limited Lifetime |
| Material Type | Carbon Steel |
| Maximum Towing Capacity | 3500 Pounds |
| Model Number | TG-HC2J001K |
| Pull Force | 3500 Pounds |
| UPC | 816239021354 |
E**E
Great Deal. Easy Installation. No need to remove your two hook or your bumper cover.
The hitch seems well made. The price was best on the internet. The installation was pretty easy. The instructions said you have to remove your rear tow hook. Disregard that. You don't. I really can't envision any scenario where removing the tow hook would make the install easier. It is no where near where the hitch is attached. That part of the instruction might be necessary if you buy a heavier hitch that bolts to the frame rails. The online video shows installation with the rear plastic bumper wrap removed. Disregard that as well. You can leave it on. There is just enough room between the plastic bumper wrap and the actual metal bumper to get the washers on and the nuts started if you take your time and use some needle nosed pliers, tweezers, or forceps to assist you in getting the washers on and the nuts started. It looks impossible, but it isn't. I did drop them several times, but was working on a surface that made them easy to find. Had I been in grass or gravel I might have had to spend some time looking for dropped hardware. At one point It did need an extra little bit of gap between the plastic and the metal. I wedged a socket in between which spread the gap maybe 1/8", which was all I needed. An open end wrench easily fits in for the final tightening. I only need that because I had a GearWrench under the Jeep with me and I was too lazy to crawl out and get a static box end wrench. My GearWrench on the open end side is straight on and would line up right, until I wedged the bumper cover back a tiny bit. Another thing in the instructions to disregard is that they show the bolts going from back of Jeep to front. Do it the other way, insert from front of bumper - you can angle down over the muffler and get them in. One YouTube video, which was very helpful, showed working the rubber muffler hangers off their hooks and letting the muffler drop down. That would give you a little better angle to get the bolts into place, but again - it isn't necessary and really is just an invitation for getting an exhaust leak or rattle that you didn't have before. Getting the washers on and nuts started is the only challenging thing about this install and the challenge is patience rather than strength or knowledge. All in all it is a 20 minute job. The wiring takes another 10 minutes and it is very easy. The instructions for that are pretty good. There is a foam pad in bottom of the tail light housing. You can take that out, run you wiring, and then put it back in. I didn't take any pictures. Sorry about that. Just look everything over before you start. Try the installation with everything in place as I suggested. If that doesn't work for you, then consider removing the plastic bumper cover. I didn't really even look at what that entails, Who knows, maybe that wouldn't be difficult. If that plastic cover was off, this would be a 5 minute or less install, four bolts, washers, and nuts.
M**K
Great product, easy installation and all this for an unbelievable price!
WOW! I ordered this Saturday evening and received it Monday around noon. I had it installed 30 minutes later! The hitch fits perfect, the wiring harness made it very easy to install the electrical portion. For $60 you can't beat the ease of install and product appears to be very well made. Installed on a 2011 Jeep Wrangler Sport. Will be used to pull motorcycles and/or atv and luggage on hitch carrier. Update 11/11/2015 - After a couple of uses, I've found the only drawback to be the location of the 4 prong wire holder. If you use a locking hitch pin you may difficulty getting the pin in/out with wire holder being line with the hitch pin holes. Here are some tips for proper installation: - Tools required - 1. Torque wrench 2. 18 mm box wrench (adjustable wrench works, but distance between bumper and bolt make it more difficult to use) 3. 18 mm socket and ratchet 4. Flashlight 5. Needle-nose pliers 6. Phillips head screwdriver - Instruction update - 1. When installing the wiring start at the hitch. There are a couple of pre-installed wire clips that attach to the frame and starting from the hitch, working toward the taillight makes it easier to determine the best route to install. 2. Run the wiring through the square cutout in the foam behind the taillight instead of in the corner as the picture shows. There is also a place to snap in the wire clip that is pre-installed on the wiring. 3. Use needle-nose pliers to install the washers and nuts as there isn't much room between the bumper and the frame.
P**N
OEM-like quality product; Simple installation; Excellent results
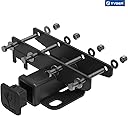
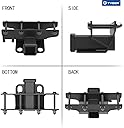
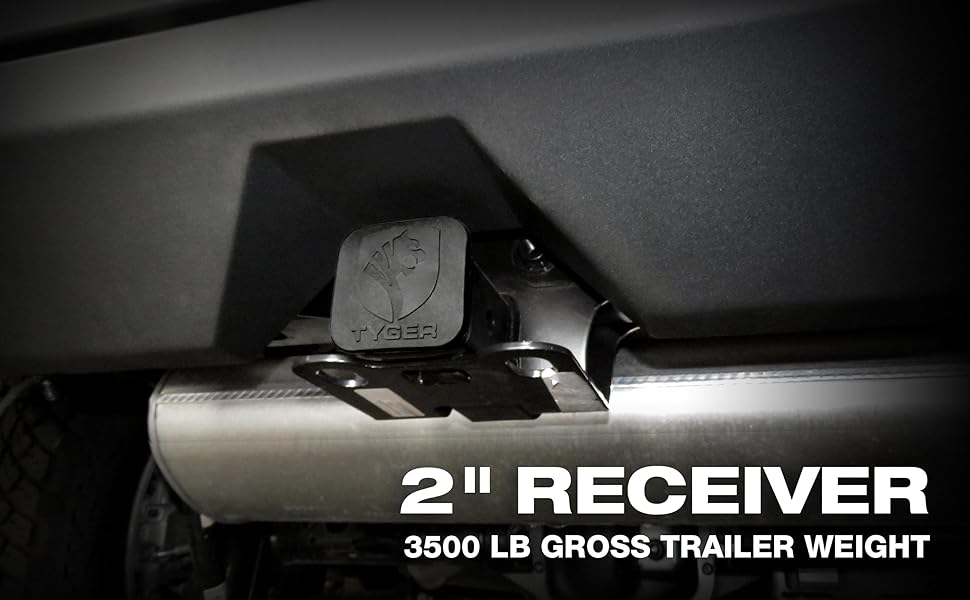
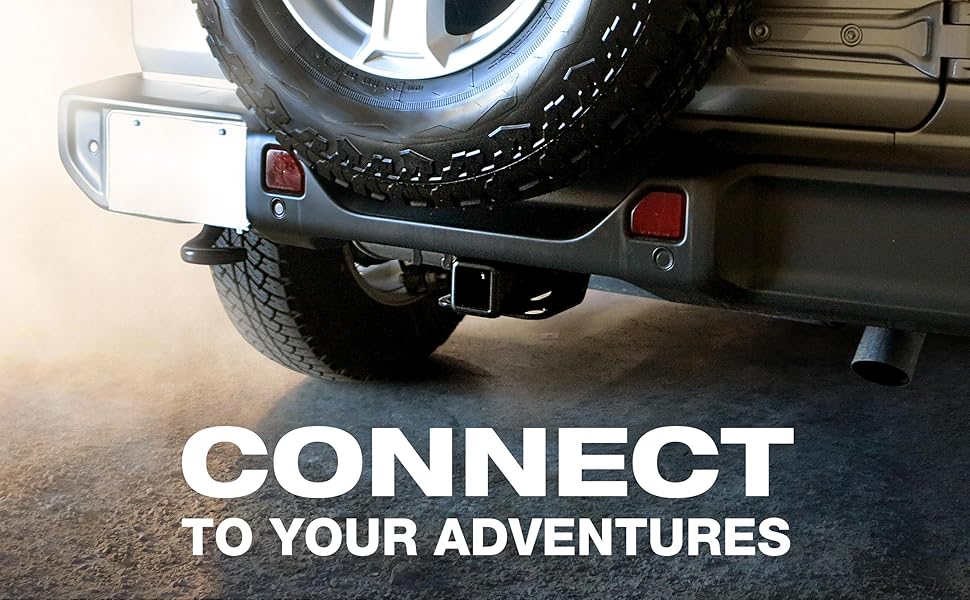
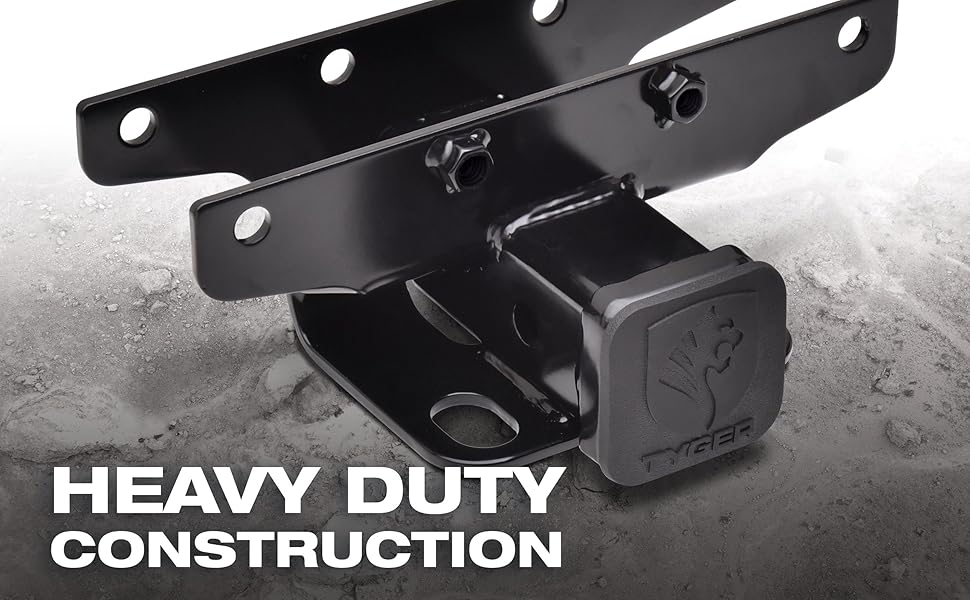
I recently purchased a certified pre-owned 2013 Wrangler 2-door. I need to pull a 16' speedboat weighing about 1200lbs. The dealer wanted over $200 for the hitch set-up, so I opted to shop around Amazon before accepting their offer. Found this one for just under $60 that looked pretty much the same as the dealer issue, so I went for it. In regard to the installation, it took about an hour, but more time was spent getting the wrenches, droplight and creeper out than the actual installation time itself. The kit carton was sealed with all hardware within plastic envelopes or wrapped in foam. There was NO instruction sheet whatsoever, so it must have been a mfg oversight, but because this is such a simple product to install, reading other reviews and videos filled in any technical gaps. For instance, I took the advice of another reviewer to crazy glue the washers to the hitch on the nut side of the assy. This helped for 3 out of 4 of them. One fell off due to the weld line of the connector holder, but was not a big issue. I used Knipex slip joint plyers to hold the nuts to get them started. Knipex are similar to Channelocks, but the jaws are thinner which was easier to fit between the frame and the bumper. I used a torque wrench to tighten to 80 ft/lbs, but this became a little bit of a challenge due to the angle I was at under the vehicle and how to hold the open end wrench and torque wrench at the same time. For the 2 nuts toward the driver's side, I simply let the open end wrench turn with the nuts until they contacted the hitch itself, and used it as stop to counteract the torque wrench. On the 2 nuts toward the passenger side, there was nothing to stop the wrench from turning, so I used a screwdriver placed under the bumper and frame to stop the open end wrench from turning. I included a photo of this technique. In regard to the wiring kit, I had a slight issue with the lights malfunctioning. This was an oversight on my part with the connectors. Being over careful, I was concerned with pushing them together too hard in fear of breakage. I late found out that they really need to be pushed together, so I used my Knipex plyers. I heard a click from both connectors, which it was what they supposed to do. All lights worked perfectly. The wire tubing has 4 push stays that are pushed into pre-existing holes in the frame, so no zip-ties are necessary. All served to provide a factory-like installation of both the hitch and the wiring kit.
A**R
Took 20 minutes to install. Wiring is plug n play. Solid hitch. 4 pin plug mounts snug on the hitch. All looks factory after install. Great buy.
M**S
This cannot be installed with the OEM rear bumper of Wrangler 2013, be aware! I tried but the rear plate thing come on its way... The hitch is sturdy enough, but i am thinking what kind of modificafion now i need to do....
K**R
Easy to install.
B**E
Ottimo
P**S
I installed this on my 2018 Jeep wrangler which was pretty much as new. Took the 4 bolts out of the bumper. Hung the hitch with one turn up into position and bolted the other 3. Easy peasy. Wiring was the same, easy to do as in instructions. This all worked easy because the captive nuts were held in place by the factory retainers. If the retainers were rusty and didn't hold the nuts in place it would have made the job a lot harder.
Trustpilot
2 days ago
2 weeks ago