Desertcart purchases this item on your behalf and handles shipping, customs, and support to Croatia.
🏡 Elevate your backyard game with secure, spacious, and stylish storage!
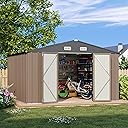
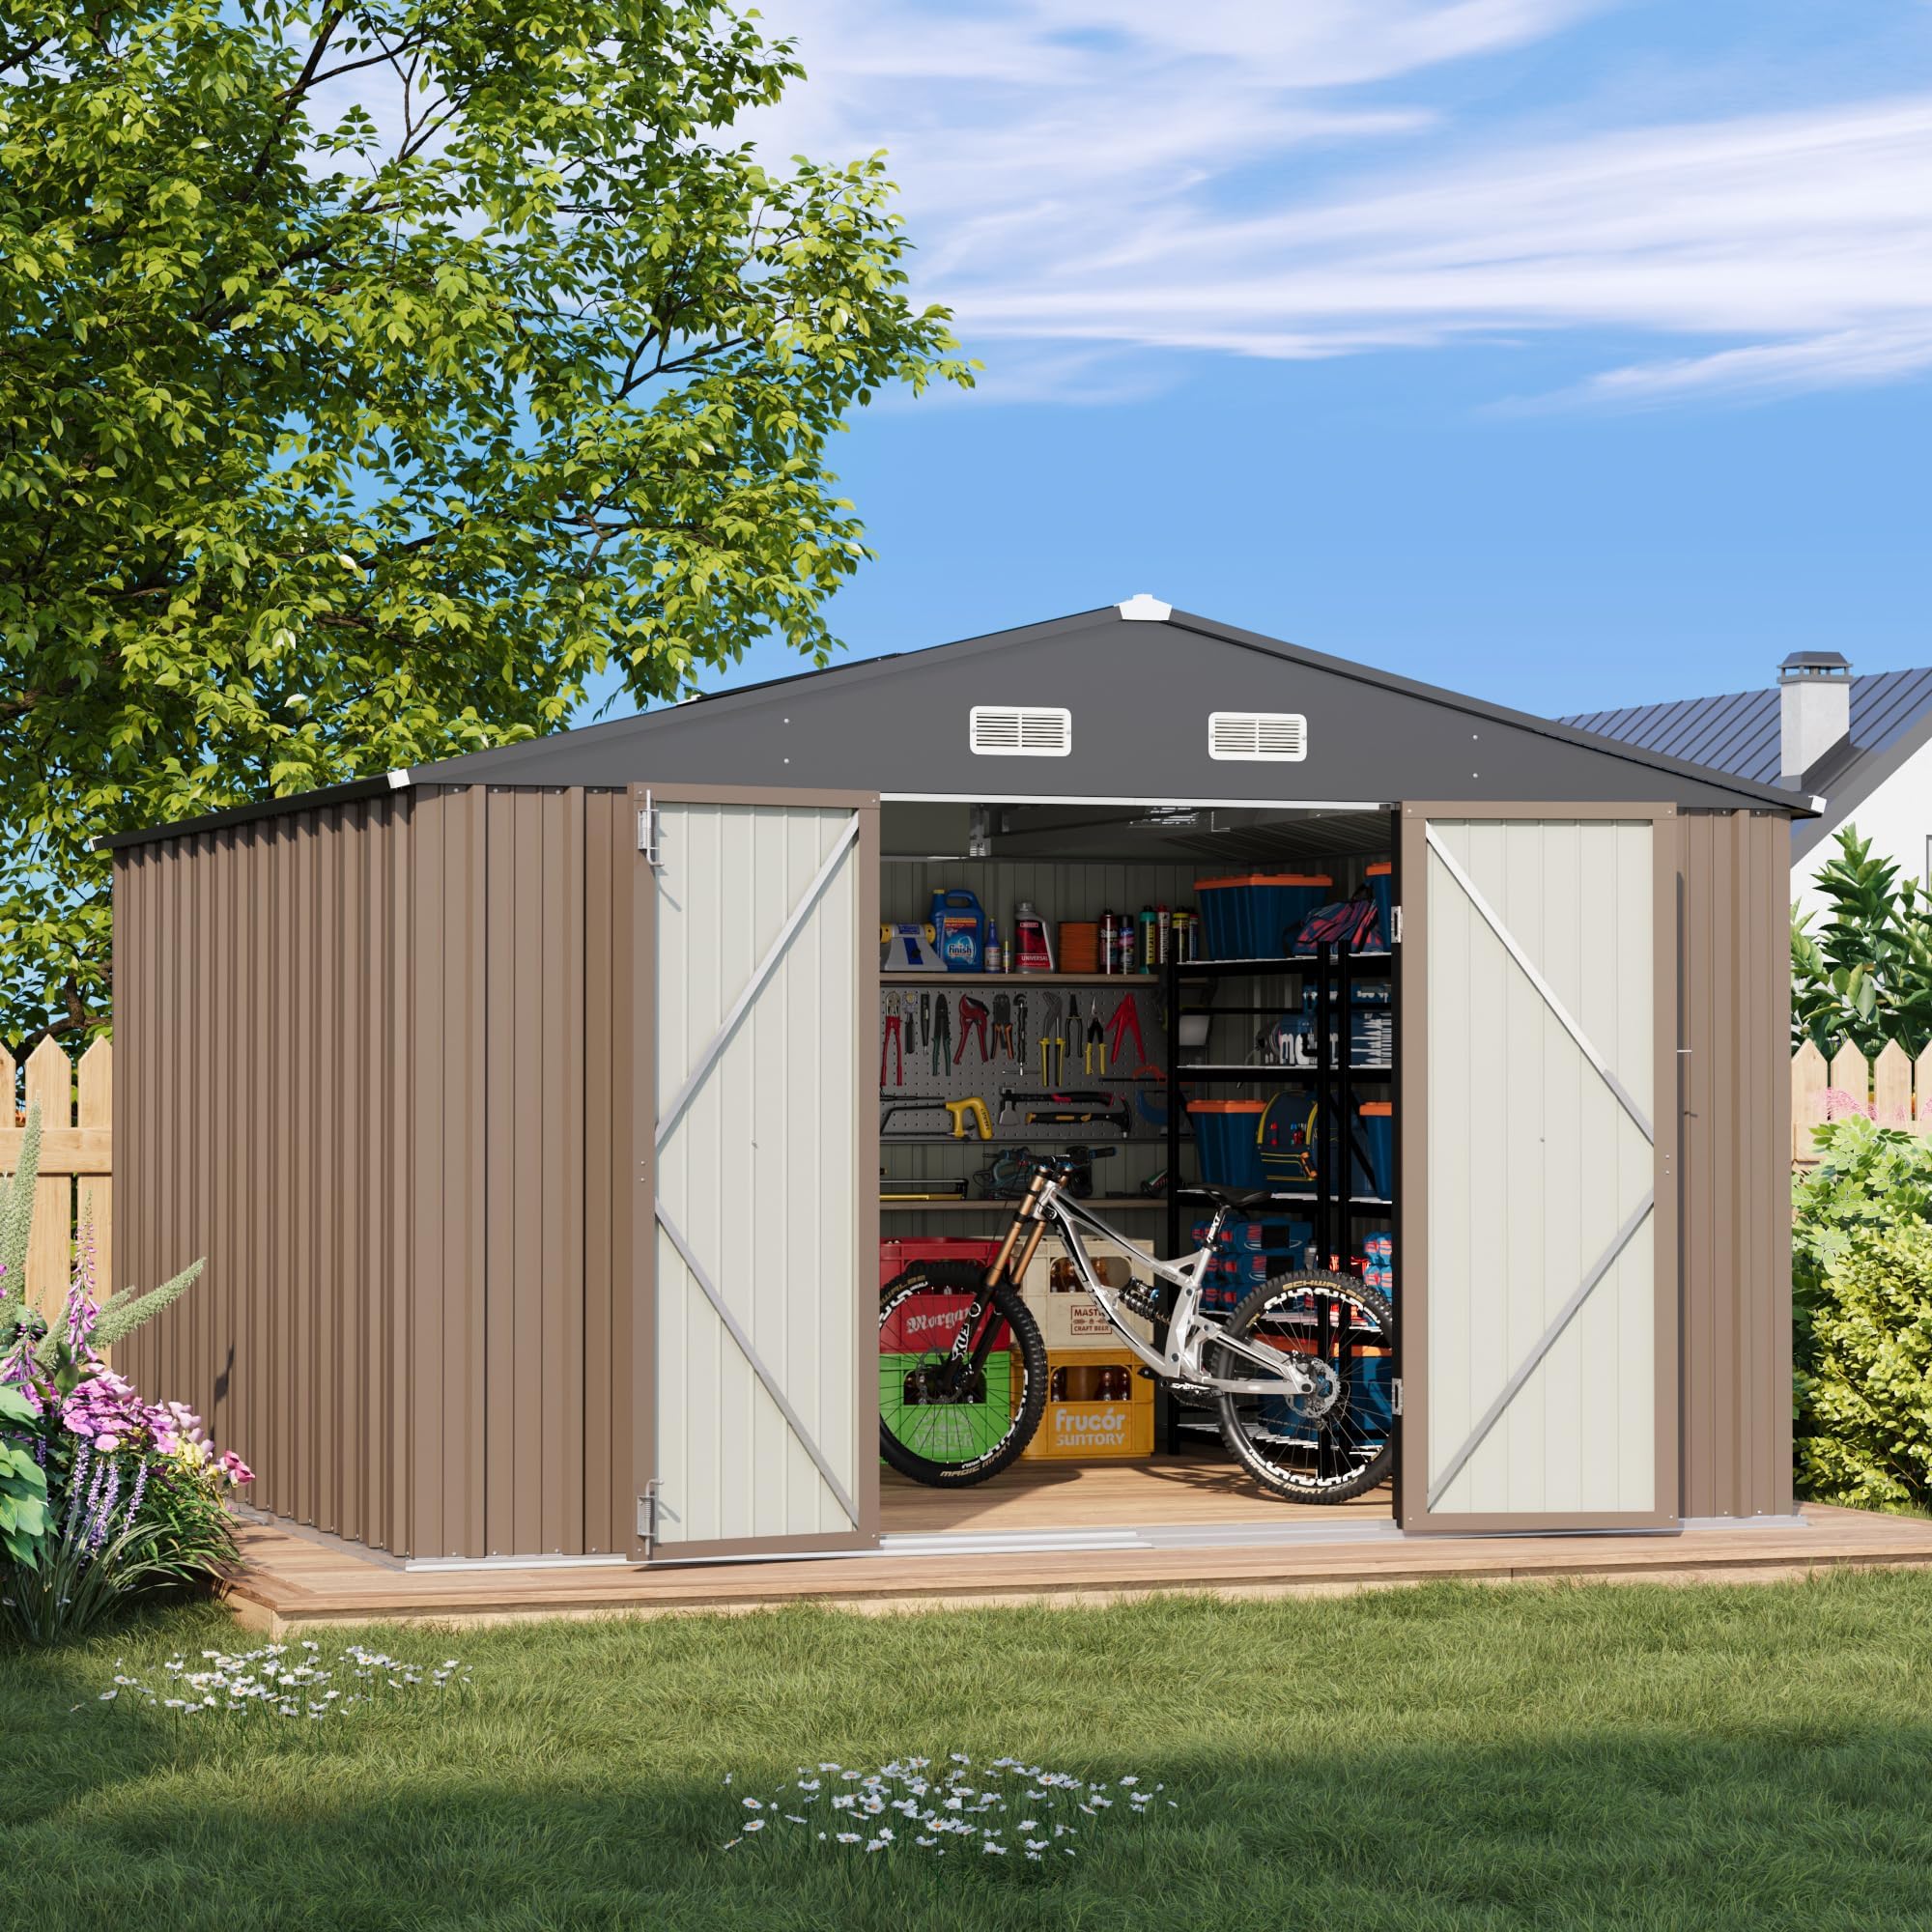
The Patiowell 10 x 10 FT Outdoor Storage Shed is a durable, corrosion-resistant metal structure designed to protect your tools and equipment from harsh weather. Featuring a spacious 100 sq ft interior, lockable reinforced double doors, and easy DIY assembly, it offers versatile utility for garden, patio, or backyard use. Its neutral brown finish complements any outdoor setting, making it a practical and secure storage solution for millennial professionals seeking organized, stylish outdoor living.


| ASIN | B0C1SPV2XF |
| Base Material | Metal |
| Best Sellers Rank | #9,365 in Patio, Lawn & Garden ( See Top 100 in Patio, Lawn & Garden ) #8 in Storage Sheds |
| Brand | Patiowell |
| Brand Name | Patiowell |
| Chamber Depth | 80.3 Inches |
| Color | Brown |
| Customer Reviews | 3.8 out of 5 stars 1,004 Reviews |
| Door Height | 64.5 Inches |
| Door Style | Swinging door |
| Door Width | 44.4 Inches |
| Floor Area | 99 Square Feet |
| Frame Material | Metal |
| Item Dimensions D x W x H | 108.3"D x 113.4"W x 75.6"H |
| Item Type Name | Storage Shed |
| Manufacturer | Patiowell |
| Manufacturer Part Number | 406-8 |
| Material | Metal |
| Material Type | Metal |
| Model Number | 406-8 |
| Product Dimensions | 108.3"D x 113.4"W x 75.6"H |
| Required Assembly | Yes |
| Style | Garden,Outdoor,Patio Outdoor Shed |
| Style Name | Garden,Outdoor,Patio Outdoor Shed |
| Top Material Type | Metal |
| UPC | 731694686583 |
| Ultraviolet Light Protection | Some Protection |
| Unit Count | 1.0 Count |
| Water Resistance Level | Water Resistant |
| Weight Capacity Maximum | 440 Pounds |
N**R
Great budget shed
This is a great budget shed. The 10’ x 10’ size took about 5 hours to assemble. The material is sturdy enough against high winds and keeps most of the rain out. You can always add silicone around the screws. It comes with a floor frame, you just need to get the floor. I opted for 19/32” thick plywood with a water proof rubber industrial mat over it and it works well. All in all, this shed serves my landscaping and home maintenance storage needs.
A**A
Sturdy, Spacious, and Weather-Resistant — Perfect Backyard Storage Solution!”
’m really impressed with this shed! The metal structure feels solid and well-built — once assembled, it doesn’t shake or move even during strong wind or heavy rain. The design is simple but looks very clean and modern in the yard. I love that it has double doors, which make it super easy to move big tools or equipment in and out. Inside, it offers plenty of storage space for lawn equipment, bikes, gardening tools, and even some extra boxes. The roof vents are a great touch — they help with airflow so it doesn’t get too hot or humid inside. Assembly takes a bit of time if you’re doing it alone, but the instructions are clear and the parts fit together tightly. Once finished, it feels extremely durable and weather-resistant. Overall, this shed is an excellent investment for anyone who wants a clean, strong, and weather-proof space to organize their backyard. Definitely worth it for the price!
B**C
Keep shopping, don't buy this 3X3 ft shed
Take the one star reviews seriously (I wish I had). 1. Assembly involves 224 pieces. 2. Assembly will require 2 people because the panels are too flimsy to support themselves while being fit in place. 3. The shed cannot be assembled while wearing the included sets of gloves (the parts are too small). So, you will almost certainly cut your hands on the sharp edges. I got cuts on both of mine. 4. The shrink wrap on the panels is too thin to protect them from getting scratched during transit. 5. Removing the shrink wrap from the panels probably comes close to doubling the assembly time. Laying the panels in the sun prior to trying to remove the protective film helps, but it is still a tedious and time-consuming process. This is made all the more frustrating because the film does not perform its protective duties. 6. Pictures of the product show it with shelving. It does not have shelves. The sides panels are too flimsy to support adding any shelving. After having received the product, I purchased free-standing shelving to meet my needs. This more than doubled the cost of the project. I needed a storage shed to fit into a very specific space (under an exterior stairwell), and this product fits that bill. In my experience, that is its only redeeming quality. My advice would be to keep shopping. Don't bother with this product unless you have a very compelling reason (like size/shape) to do so.
B**E
Good buy, a few suggestions!
Assembly took just as long as expected if not quicker than what most reviews suggest. Took my husband and I about 4 hours total. We put ours up on pavers and plan on putting in a base later down the road, it was light enough that the two of us could move it fully assembled. Storage wise, it is the perfect amount to hold a couple of shelving units and all of your essential gardening equipment. For $250 this is a good quality and value purchase. We definitely wish the packaging it came in was a little better, a few pieces came pretty bent and there were a few dings. We also noticed it came with hardly any extra screws/washers so keep track of your supplies and try not to lose any or you may end up a couple short. The instructions were fine, but a couple of the photos and diagrams didn’t match the parts so we had to do some guess work. Overall the appearance is pretty clean and nice, it’s a sturdy little shed, and didn’t give us too much trouble setting up! Definitely would recommend assembling with a partner.
A**R
Before assemble layout all the pieces that are supposed to be in there.
I like how it turns out. Instructions are pretty straightforward to assemble. Have fews dents at the corners but it’s alright. And had a roof panel missing and contacted the seller. The seller was helpful, responded quick and redelivery what I was missing. Thank you. Highly recommend.
J**H
This is a, "You get what you pay for," shed...
First off...I knocked off one star because the packaging wasn't terrible but it also left me with several pieces with some visible dents. The second star was knocked off because of various items...overall build quality, visible gaps between some parts (minor but noticeable), and a little frustration. As I graded this project, I tried to keep in mind that this was a project that cost me under $1,000 for a complete 10x10 shed including shipping and additional materials to build the platform. Similar sheds were anywhere from $1000 - $3000+ for the shed alone. So to answer the question of is this the best bang for the buck? Absolutely. This shed was shipped in 4 boxes via FedEx. All boxes were a manageable size if you're relatively strong or had a helper. I think the largest box was just under 75 lbs. During unpacking, it was easy to check that you received all the parts (each box contained a packing sheet for verification). I laid all the parts out in the yard for quick and easy identification. There's only a few different types of screws to worry about and don't worry, there are extra screws and washers so don't panic when you lose a few (despite the gold screws and white washers seeming easy to spot in green grass, they are like freaking Houdini and disappear out of nowhere). Before you begin assembly, I can't stress this enough. Make sure you are building it on a PERFECTLY level and square platform or other form of foundation. When we built it, everything went together smoothly, the holes mostly lined up aside from where we may have bent something or had something a hair crooked, and the doors opened and closed with no binding. We realized it was crooked after building it and using a come-along, we straightened it up which knocked it ever-so-slightly out of level, which as I learned was just enough to make the doors bind (so I will be releveling my platform soon). During assembly, much of it can be done by one person but there are a couple spots that are absolutely crucial to use a helper with: 1.) When installing the sheet metal corners, they will fold right over if you don't have someone hanging onto them. Don't even attempt that step alone, trust me. 2.) You will want assistance with the upper rail installation as well just to help ensure they are all squared up during installation. 3.) I installed the gable ends alone so it can be done carefully with one person but if you aren't extremely careful, they will fold right over on you. You need to carefully set them into place and make sure you get probably 4 screws in spread out far enough before you let them go. If you do one screw and then let go to reposition or grab another screw, your piece is going to fall off and fold over. Best method is to have a helper assist so you aren't trying to carry everything and do it all at once. They're super light and it'll take 5 minutes with a helper. Assembling the center beam is a pain in the butt. Follow the directions carefully and where it says to leave the screws loose, leave them very loose, because you will be needing to slide part of the metal in-between it. On that note, when you get to the step of installing the center beam, if you didn't choose to wear the gloves during assembly, wear the gloves for that step. I ended up supergluing my finger when the piece of metal snapped into place and my finger was still in there. Don't be like me. When I did the roofing panels, this was where I ran into issues with the holes lining up. Keep your screws loose until you have EVERY hole lined up and then try to verify your sheets are perfectly straight otherwise they will get worse the further down the row you go. Follow the directions carefully so you can reach the center screws for the ridge cap. I installed the panels from the inside standing on a short ladder until I could no longer fit and then finished attaching them from the outside. The ridge cap will need to be bent pretty far to access the screws for the remaining panels once you reach that point. Just try to be a careful as you can. The rest of the installation (door assembly and installation) went pretty easy. I didn't install the plastic covers that went over the exposed screws from the roof panels. They're not exactly in an area anyone should ever be sticking their hands but if you think people will be reaching up there, install them. Those screws are sharp. 😂 Verify your doors close okay and adjust your latch if needed. Other tips... 1.) I used an impact driver (and pliers when applicable) to install all screws but when using the F1 screws, but don't torque them down. They strip super easy. Snug them. If using plastic washers, make sure they're just tight enough to give the washer a little squish so they're doing their job (sealing from rain). On that note, when it calls for washers, use them or your shed will leak. I have not had any rain yet to verify it's leak free even with the washers. 2.) The sheet metal parts are shrinkwrapped with plastic, I assume to prevent scratches. Good luck removing it. I removed it from the pieces where it was noticeable and left it alone if it wasn't too noticeable. You will spend at least a day just unwrapping parts if you try to unwrap it all. It does not come off easy at all. 3.) I'm not sure what idiot came up with the 2-3 hour assembly time, but I can tell you I am generally a jack of all trades and this was nothing at all out of the ordinary for me or my assistant (who assisted for approximately 4-6 hours). Not counting the shed platform assembly. I had around 12 hours in it, split up over 3-4 days. 4.) I would tape or add padding to the roof beams on the underside. They are sharp where spliced together and if you're any taller than about 5'8", you could slice your head on them if you step under that part. 5.) DON'T lean anything against the walls inside or out. While installing a ground anchor kit, my buddy leaned against the wall lightly with his hand and immediately put a dent in one of the ridges. We popped it right back out, but as easy as it dented, you don't want to lean on it at all. 6.) Almost forgot this one but it may be one of the most important tips... Patiowell has both a YouTube assembly video and then a playlist that actually focuses on step-by-step assembly. These videos were a tremendous help as the instructions sometimes lacked the detail needed to align the parts properly or which side to overlap, etc. In conclusion... Pros: Inexpensive, looks pretty good, assembly was fairly straightforward. No special skills or tools needed. Basically tape measure, level, Phillips screwdriver (or impact driver), pliers, and maybe a hammer to gently assist a few parts into place if you couldn't force them into place by hand. Cons: Sheet metal is a bit thin and flimsy, some visible gaps between areas you wouldn't expect to see through, plastic protector nearly impossible to remove, some exposed sharp edges on the finished product, took much longer to assemble than advertised, packaging caused product to incur minor damages, door latch hardware is a little on the cheap side. Hope this helps you make a decision. Overall, I would still recommend this to others looking for a decent shed on a tight budget. Update: I was cautious when installing the screws on the roof to make sure all screws had a plastic washer and were appropriately torqued to prevent leaks from loose or overtightened washers. I still ended up with a few leaks. I am going to have to find a way to sell them up before my floor rots out. Otherwise, the shed is still solid.
H**E
So nice I bought it twice
I needed a shed to fit in a particular space and these sheds fit the bill. My daughter and I put them together, it took a bit of time. The directions are like IKEA directions so if you are not good with that, find someone that is. Two pairs of gloves are included with the kit and I recommend using them. Building the first shed, I really didn’t need the gloves. There are small screws and nuts and bolts which makes it difficult with gloves, but with the second shed, the edges were much sharper and i sliced my hand twice. So wear the gloves. Not all of the holes line up perfectly, some not at all. Having a fine drill bit was definitely doable to drill proper holes. I'd say that probably 98% of the holes connections line up. On the first shed, it was missing one piece…the very last piece. I contacted their customer service and they replied quickly and sent out the missing piece immediately. Also, with shipping dates, both sheds arrived before their predicted dates, so that was fine, too. For the money, i think these sheds are excellent. I didn’t fancy spending a few thousand dollars for a shed that I'd have to get permits to build. My sheds are nestled between some trees and have a bit of protection from the wind ( it’s very wind where I live). I did put them on pallets in case of minor flooding and I built a floor on those pallets from leftover flooring. You can get that at any ReStore for little money. Then I attached the shed to the floor. I don’t think these sheds would be great standing alone as they are very lightweight. I’m almost 70 years old and could lift the shed by myself onto the pallets. All in all, I am quite happy with them and would buy another if I needed. At first, I was going to give four stars, but I changed it to five stars because they suit my needs perfectly.
R**N
Beware: Very cheap, and very tedious and annoying to assemble. 15 hour job
I helped by dad put together this shed because he really wanted a 10x10 shed and arrow didn't seem to make one that exact size. The first problem was the dimensions on the website don't match the actual shed, he went off that and made his concrete base patio a bit too small. Using 10x10 1 foot patio bricks would suffice. The metal panels are very flimsy and cheap, just a bit stronger than those disposable foil cooking pans, but less sturdy than a cookie sheet. There is is about 400 small screws at least that you have to manually put a cheap plastic washer on, its extremely tedious. (in my case I ran short of the washers and had to get extra hardware on my own). Many screws are also near the ground so you will be on your hands and knees a lot, and need a few feet around the shed to put screws in, so don't put it anywhere cramped. As far as required tools a light weight drill with magnetic bit would be highly recommended, 1 or 2 ladders, and you need someone else to help you or this would not be possible. Magnetic trays to hold the screws were also very helpful. I also ended up using a 7mm nut driver. Rubber mallet for getting things to fit better. The instructions were mostly decent, but were vague in some areas and you just need to use your common sense about how things fit together. Despite following the directions, the doors ended up misaligned and we had to use some of our own ideas to get things to fit properly. Using extra screws, drilling holes, etc. Would not recommend to a novice handyman. My dad and I are both fairly handy and this took about 15 hours to complete. I would not recommend this product and wish we spent more on a better product. I worry this will not last a long time and have water leaking issues in the future. The way the roof is designed looks like it would trap leaves or pine needs if your shed is near a tree. Many of the panels arrived with bends or dents.
タ**キ
1人乗ってもつぶれる!倉庫。
屋根の下地に強度が、必要。しっかり作ったが雨漏りします。最初から薄い金物だから! 配送で折れて曲がっていたり、部品も枚数が足らなかった。
Trustpilot
2 months ago
2 weeks ago