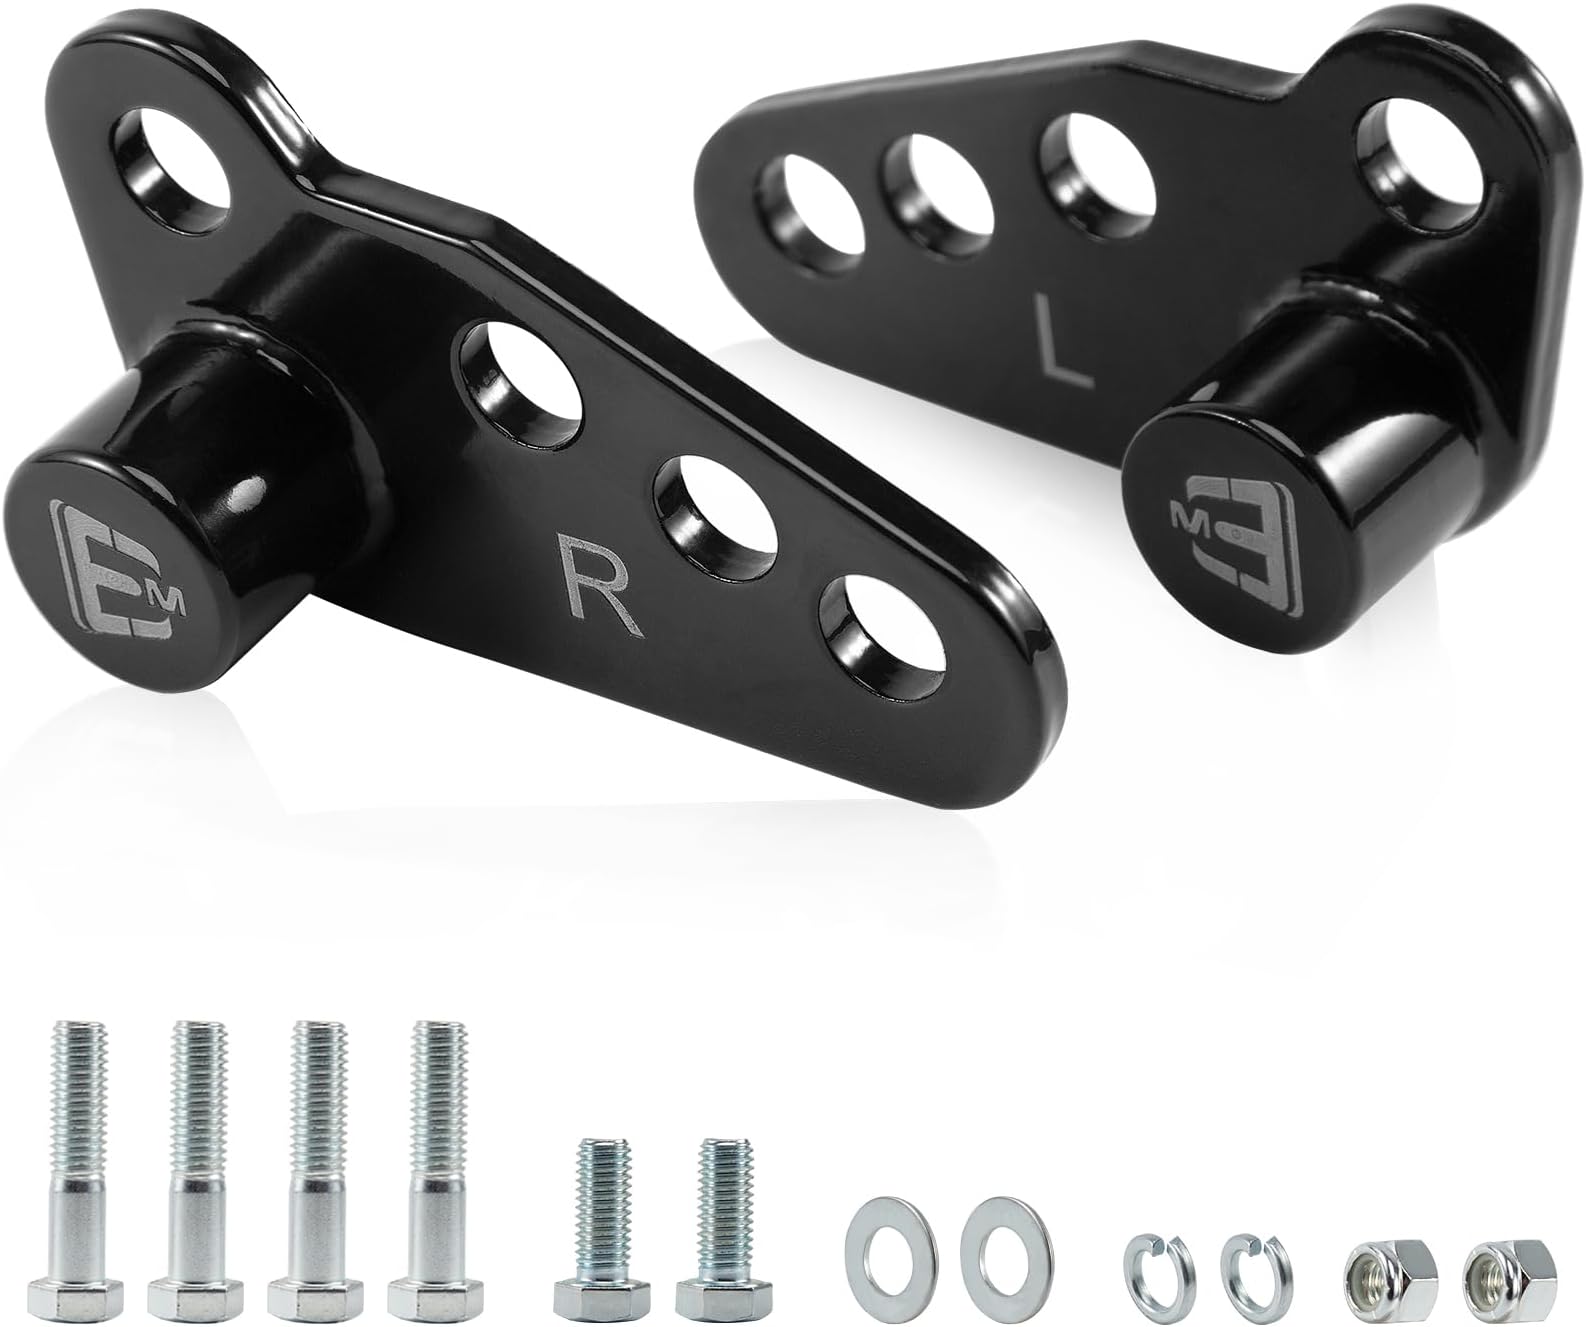
The instructions are confusing, and the schematic picture on the Amazon page is incorrect. These work well but have to be installed correctly. It only takes 15 or 20 minutes. Here's a summary: Lift the bike so the rear tire is barely touching the ground. Remove saddlebags to expose shocks. loosen the top and bottom bolts on the shock (3/4"). On the top, you are going to replace the original bolt with the slightly longer bolt supplied with the kit. You will reuse the original washer and lock washer, but you will add the new washer supplied with the kit BETWEEN THE SHOCK AND THE MOUNT. This is necessary to space the shock about 1-2mm outward so that it clears the fender support when its angle is increased. Use a bit of Loctite Blue on all the bolts. Snug the top bolt but don't tighten it yet - the shock should pivot freely when the bottom bolt is removed. Next, remove the bottom bolt. Mount the new bracket so that the black knob faces inward and the row of holes is along the top, facing to the rear. Use the short supplied bolts and lock washer, snug it down but don't tighten yet. Then choose which hole you want - 1", 2" or 3" drop. Using one of the long supplied bolts and the original washer and lock washer, mount the bottom of the shock in that hole and fasten in the back using supplied Nylock locknut (you'll need a second 3/4" wrench to hold the nut during tightening). Snug it down but don't tighten yet. Repeat all this on the other side. You should now have used all the parts and have left over only the four original mounting bolts - all washers and lockwashers, and all supplied parts, will have been used. Lower the bike down so that the bike's weight is off the stand. Now tighten down all six 3/4" bolts. You're done! Remember your bike is now lower, so it might be a challenge to get your lift jack out from underneath it without holding the bike upright. Don't drop it. You'll also have to experiment a bit with the air pressure in the shocks to get them as comfortable as possible. Oh and if you're not also lowering the front, you'll probably want to dip the headlight down a bit as its angle will have changed.