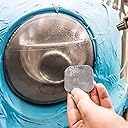
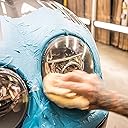
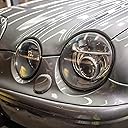
🚗 Clear Vision, Confident Drive — Don’t Let Cloudy Headlights Hold You Back!
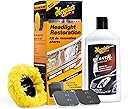
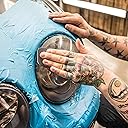
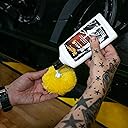
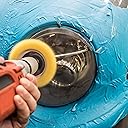
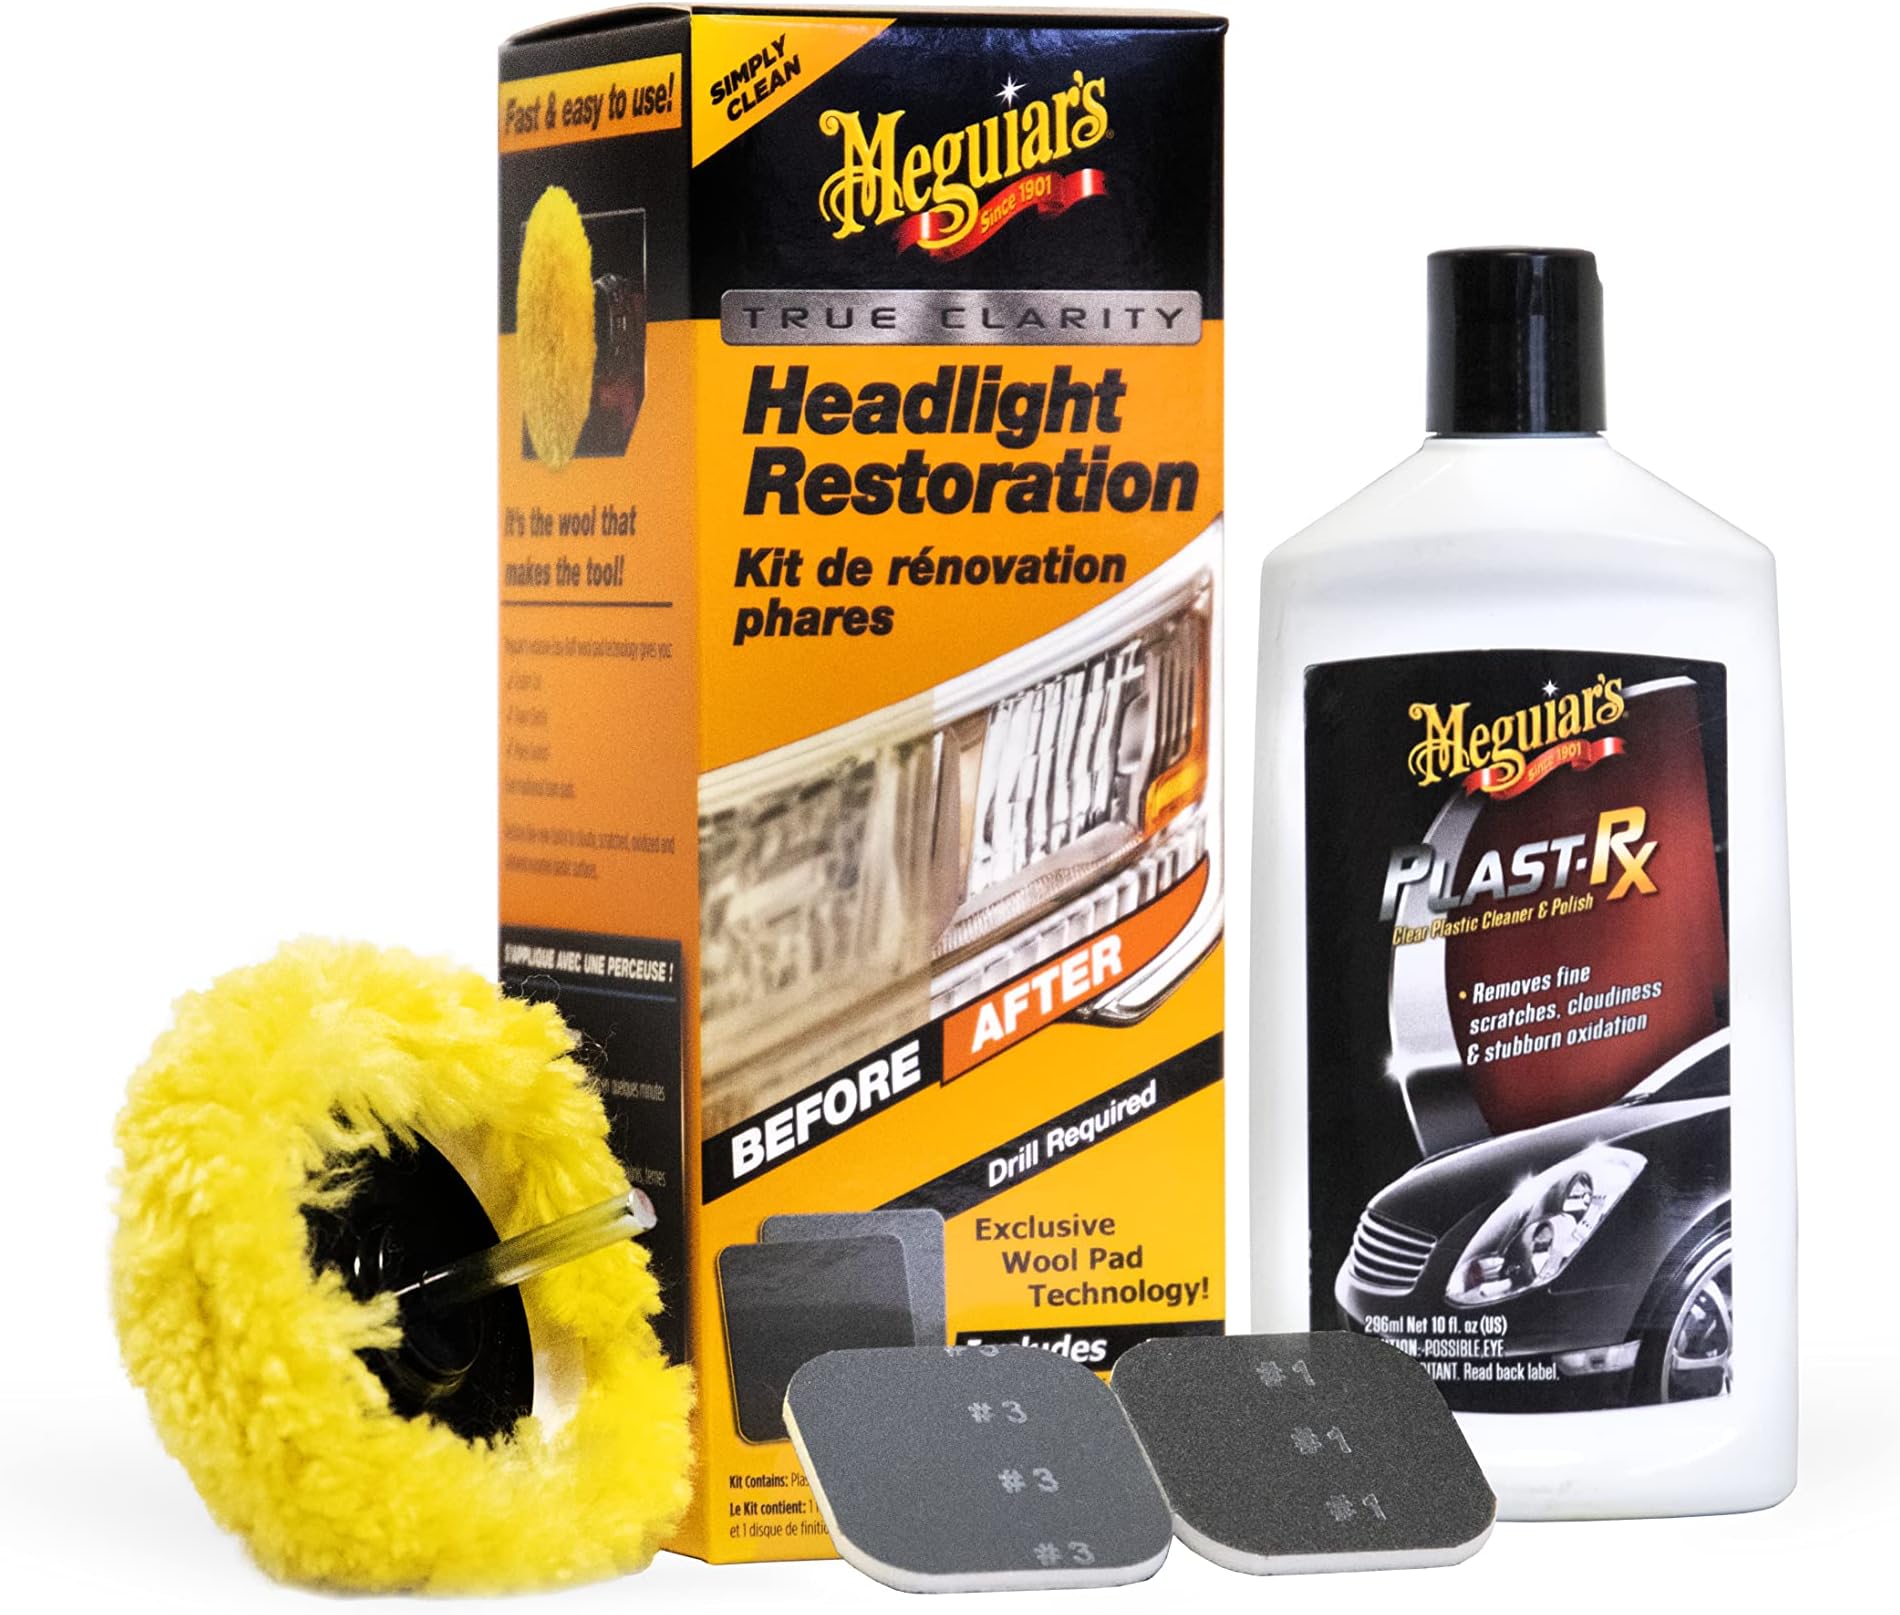
Meguiar's G1900K Headlight and Clear Plastic Restoration Kit uses a unique PlastX gel combined with a drill-operated Easy Buff wool pad to quickly remove oxidation, fine scratches, and yellowing from uncoated plastic surfaces. Safe for use on headlights, brake lights, and other clear plastics, it restores brilliant clarity in minutes without damaging paint or clear coats. The kit includes everything needed for a professional-grade restoration at home, enhancing nighttime visibility and vehicle aesthetics.
| ASIN | B001O7I7FS |
| Best Sellers Rank | #2,174,127 in Automotive ( See Top 100 in Automotive ) #601 in Automotive Headlight Restoration Kits |
| Brand | Meguiar's |
| Brand Name | Meguiar's |
| Customer Reviews | 4.2 out of 5 stars 2,008 Reviews |
| Global Trade Identification Number | 00070382019006 |
| Included Components | Underhood Performance Parts and Accessories;Lighting ;Lights & Lighting Accessories Headlight & Taillight Conversion Kits ;automotive lighting conversion kits Included Components Underhood Performance Parts and Accessories;Lighting ;Lights & Lighting Accessories Headlight & Taillight Conversion Kits ;automotive lighting conversion kits See more |
| Item Type Name | Headlight and Clear Plastic Restoration Kit |
| Item Weight | 0.73 Pounds |
| Liquid Volume | 118 Milliliters |
| Manufacturer | Meguiar's |
| Manufacturer Part Number | G1900KEU |
| Model Number | G1900KEU |
| UPC | 070382019006 |
D**V
WORKS
First, you do need a good drill. I have a cheesy Black and Decker 20V drill and it worked for me. I was extremely happy to see this worked on my semi hazi headlights. I decided to get on move on as I started seeing a heavier haze. Hopefully I did this on time. for now, they look great, almost going on a month. I do read other reviews that say this is a temporary fix and that they'll be back to yellow in no time, so I will update my review whenever yellowing starts. I have been giving my lenses a dose of Blue Magic 730-6 Headlight Lens Sealer which i bought at my local auto parts store, so hopefully they'll last a while. If you can live with the fact that your lenses will not look as new as the first day you got your car, this product will satisfy you.
G**U
Really nice Headlight restoration Kit
GREAT Headlight Clear Plastic Restoration Kit Pros: - Comes with all you need to start - The Drill Operated Easy Buff Wool Pad works with any drill - Really easy one Step process (if needed it also comes with extra pads for more difficult headlight with lots of oxidation0 Cons: - None so far This Headlight and Clear Plastic Restoration Kit from Maguiar`s is really GREAT and easy to use! I used this on my Audi A4 2005 with little oxidation on my headlights, i just needed to clear it using the one step process. It took me 30 minutes to get best results 15 minutes per side, i applied few times with the drill pad and once done i could tell the difference right away!!!
J**N
Easy to use. Works great. Great for older, yellowing, cloudy lenses.
The headlight restorer kit is easy to use and contains everything you need. You can do both headlights on a car in under 10 minutes with this kit. The restorer works best on older, yellowing, cloudy lenses. On these headlights, the difference is very dramatic. It doesn't bring the polish back to new, but makes it much better than it was. If you are using this on a newer car (less than 5 years old) the results aren't nearly as promising. I used this on a 5 year old car and it didn't make a ton of difference. My advice is to buy this if you have cloudy, yellow lenses. But, if you have a newer car, it's not going to bring them back to showroom quality.
S**.
Even worked to take paint off tail lights!
We purchased a 10 year old car and the headlights were very cloudy and the previous owner had painted the tail lights black and they looked really bad. Originally we were just going to purchase new but they were very expensive because we would have to replace the whole assembly. After seeing photos and reading reviews we decided it was a small price to pay and if it did not work it was still worth a try. We were so surprised at the results! We did purchase extra sandpaper as I read in a previous review but did not need much of it. It does take a lot of elbow grease but the results are worth it. After the tail lights the yellow buffer that comes with it was destroyed, but still go the job done. We forgot to take a before photo of the first headlight so we took one of the other side. I would most definitely purchase again.
R**N
Not as easy as it looks
cleans the lens and got rid of the scale- made my lights brighter- thats one thing i do like about this product... but the scale seem to be back again after a few months - would not purchase again. Would take it in to have it done..
F**Y
My 2003 Mitsubishi Outlander headlights were pretty yellowed and dirty
I got this delivered today in the mail. My 2003 Mitsubishi Outlander headlights were pretty yellowed and dirty. While the plastic does have some cracks that will never come out I can tell you this stuff works wonders. I usually don't write reviews or one this quick. I have to say it was easy to use and did what it said it would. I am going to change out the oem halogen bulbs tomorrow. I will report back as to how long the lens stay looking like new or nearly. It did the trick for me and I bet I can do 3-4 maybe more sets of headlights with the bottle. It is not snake oil. 2-10-17 I have a 92 Ford F250 truck.....headlights were pretty bad on it........used this stuff on them.....happy to report that it made a huge difference. ANOTHER WINNER!!!
S**N
Worked Great
This little kit works great. In a matter of minutes I was able to remove all of the nasty film that had build up on my headlights and have them clear and clean. Plan do a couple of "passes" to make this really work well. My only complaint - the buffer pad will throw off a lot of loose fibers on your 1st use. Stand away from the car and let it spin a couple of times lest ye be packing cotton strands off the paint.
R**H
DOES NOT WORK; WASTE OF TIME AND MONEY
I speculated a lot before pushing the buy button; I should have agreed with the negative reviews. Headlights on my 2002 Cadillac STS just started to haze; a light yellow tinge appeared on it, so reading thru the reviews i thought i could get by. spent about 25-30 minutes buffing each headlight in hot florida sun, they never got restored what so ever. So much for Restoration ! Do not buy this product waste of money and time. if you want to give it a shot anyways try this, Harbor freight tool has the same plastx product a bigger bottle for 7 bucks, you can always pick up a buffing pad for couple of bucks from the same store. anyways over all highly unsatisfied with the product.
C**N
Rinnova fanali
Ottimo prodotto. Eccellente risultato sui fanali: tornano come nuovi!!! Lo consiglio vivamente a tutti quelli che hanno i fanali opacizzati.
M**S
Excellent !
Rapide et efficace, excellent ! Je recommande malgré le prix un peu cher mais le résultat est là
V**R
Worth the money
Very good product. I forgot to make a photo before I started. First photo it's from the middle of process.
P**E
Bien nettoyer le phare avant
Tout dépend l'état du phare
S**D
Sceptical but Amazed!
After choosing not to physically replace the scuffed, dull, yellowed headlight covers on my 2012 Honda Jazz at a cost of nearly £200, I googled cleaners and this came up. Always sceptical of a "Miracle product", I read a good chunk of the reviews and reluctantly parted with my £27. I needn't have worried. This stuff really is incredible! The state of my headlights was so bad that they felt like running your hand over a scouring pad. Yellower than my teeth, and so dim that a few weeks ago I purchased brighter bulbs thinking it was the bulb that was the problem. Extra things you need though.. 1. Cordless drill. 2. Masking tape. 3. Couple of microfibre cloths. 4. Water spray bottle. 5. Something padded to kneel on. (I'm 52) 6. About an hour to complete the job. The method I used is as follows and got epic results: 1. Mask off the area round the headlights to protect your paintwork from the gunk and chemicals. 2. Clean headlight free of any dirt thoroughly. 3. Spray headlight with water and start with the #1 pad in a horizontal motion for 2 minutes, keeping wet with a few sprays of water, then wash and wipe clean. 4. Wet headlight again then use the #2 pad in a vertical motion, keeping wet as above, for another 2 minutes, then wash and wipe clean. 5. Repeat as above with pad #3 left - right, and finally pad #4 up - down, keeping wet all the time. I chose this order as you can get more force applied on the last pad going up - down. After a final rinse and dry it was time for the bottle of magic juice. Applied a good dollop to the drill attachment buffer head thingy and with the drill at its slowest speed, gently worked the cleaning fluid over the entire headlight for about a minute. Once polished off with another clean, dry microfibre cloth I stood back to admire the results. Absolutely amazing! Seriously looked like brand new (see photo) Well impressed. 5*
Trustpilot
3 weeks ago
2 weeks ago