
DOWNLOAD THE APP


Customer Services
Copyright © 2025 Desertcart Holdings Limited
DOWNLOAD THE APP


🔥 Elevate your lab game with precision heating that means business!
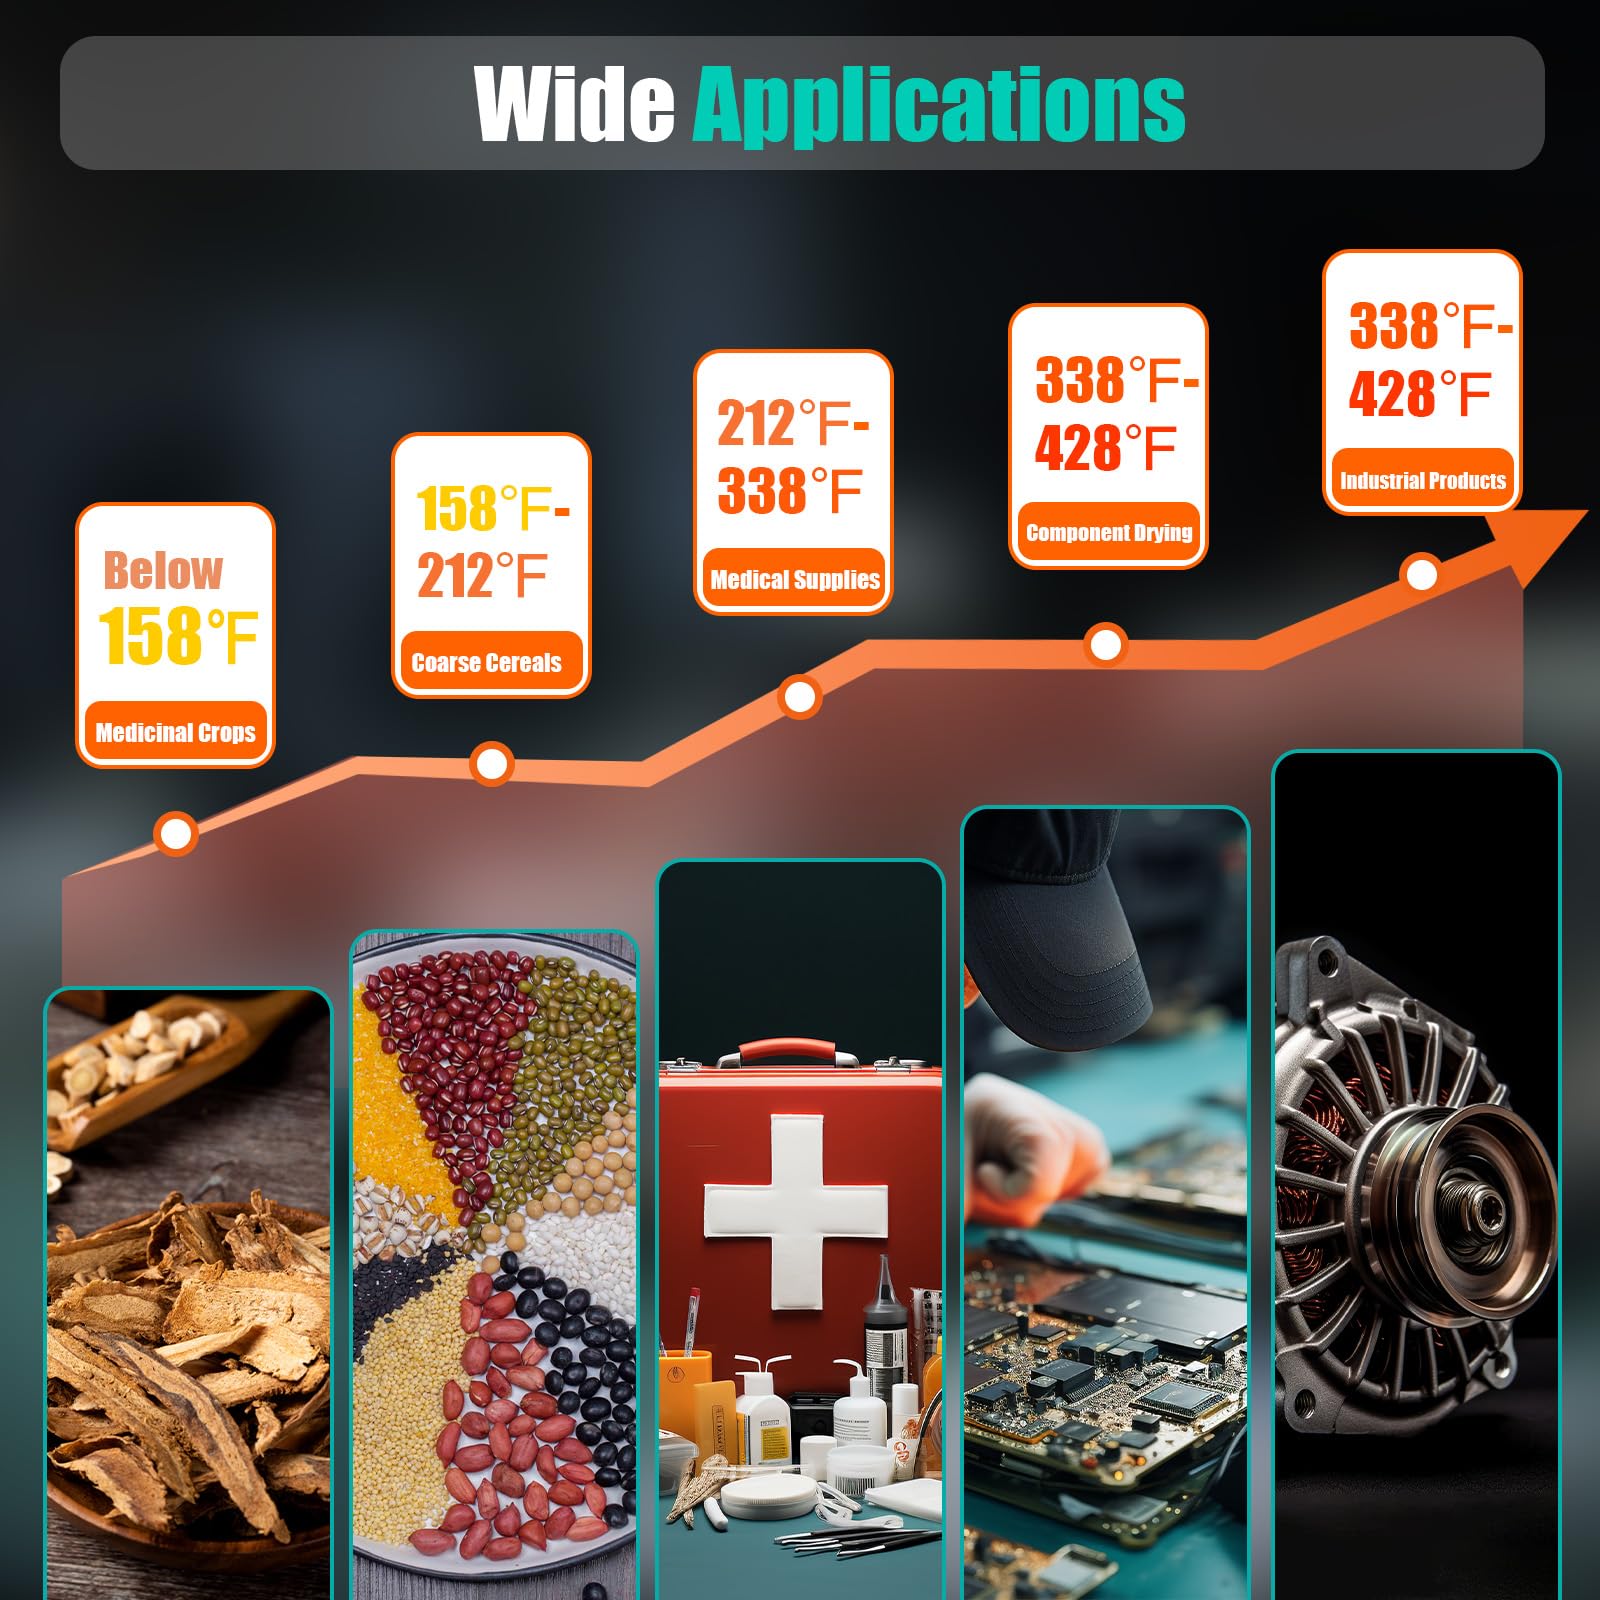
The Zivisamt Lab Oven Digital 101-0Ab is a 1000W, 45L convection drying oven designed for professional labs and workshops. Featuring a digital PID controller, it offers precise temperature control up to 572°F with uniform heat distribution via forced air circulation. Its double-tier trays support heavy loads, while the stainless steel interior and cold-rolled steel exterior provide durability. Quiet operation and real-time dual temperature display make it an efficient, reliable choice for scientific and industrial drying tasks.
| ASIN | B0CYLT4BZB |
| Best Sellers Rank | #203,142 in Industrial & Scientific ( See Top 100 in Industrial & Scientific ) #12 in Lab Convection Ovens |
| Brand | Zivisamt |
| Control Type | Button Control |
| Customer Reviews | 4.2 4.2 out of 5 stars (14) |
| Date First Available | March 20, 2024 |
| Door Material Type | Stainless Steel |
| Door Style | Side Swing |
| Included Components | 1*Horizontal Electric Blast Drying Oven 1*English Manual Assembly Accessories |
| Item model number | Lab Convection Ovens |
| Manufacturer | SHanxiym |
| Model Name | Lab Convection Ovens |
| Number of Shelves | 2 |
| Power Source | AC adapter |
| Product Dimensions | 19.49"D x 13.39"W x 19.49"H |
| Size | 49.5 cm (D) x 34 cm (W) x 49.5 cm (H) |
| Temperature Range | 3E+2 Degrees Celsius |
| UPC | 764909070693 |
A**A
scientist-approved oven
SUMMARY This is a good oven and I'm satisfied with it for use in my scientific research lab. Pros: * It heats things. * Accuracy is good to at least a degree once it reaches steady state. * It shows both target temp and current temp at the same time. I really love this. * Outside stays cool (except the vent thing on top). Minor cons: * Settings uses confusing symbols, manual is in glitchy English and incomplete (but sellers sent me additional manual with the rest of the info; see attached menus). * It only came with the metal racks, which are not good for placing small vials on (easily solved with a tray, if you have one that fits) For those who want more than a summary... ACCURACY I ran a set of thermocouples into (a) the air inside the oven, (b) a vial of water, and (c) a vial of glycerol, and...then I sat there and hand-typed the oven-displayed temperature, every few seconds, for several hours. You're welcome. See attached graphs. Initial trials showed some wonkier behavior (overshooting the target by 20ºC, reported air temps 50ºC below oven-reported temps), but this seemed to go away in later runs, so the oven may have just needed to burn the dust off its sensors or something. USEFUL NOTE: Hit any key to turn off the over-temperature alarm. The behavior that did continue is that the air in the oven heated faster than the oven reported. How much faster depends on fan speed: higher fan speed keeps the two temperatures more closely in sync with each other because of better circulation. Whatever samples you put in the oven, of course, heat slower than the air does; the attached graphs can give you an idea of by how much. Once the oven reached the target temperature and stayed there, the separately-measured temperature matched it quite closely, within a degree. "Within a degree" is about as close as I can usually get with three different thermometers that have been sitting in the same room for several days, so I'm happy with that. HANDLING When you turn the oven on, after flashing through a couple (relatively meaningless) displays, it shows the measured temp on top and the target temp on bottom. I very much like that you can see both at the same time, as most of the other temperature devices in my lab will only show you the target for a few seconds after setting it, then revert to showing measured temp only. The manual seems to indicate that you might see something else if you use the countdown timer, but I didn't pay much attention to that, because I haven't wanted to use it. Even at 110ºC, the top, sides, and back of the oven are cool to the touch, with a couple exceptions. On the top, the area right near the door is warm, and the metal vent thing is hot, but not hot enough to melt my waxy parafilm (at least not when it's still attached to the paper). On the first use or two, there was the predictable smell of burning, which eventually went away. It was much like the smell I get when I turn my furnace on after a summer of disuse, and I assume it came from the same source: burning off dust accumulated (during transport). LABELS On the panel, "PV" means measured temp, and "SV" means target temp. It would be slightly more helpful to have more interpretable labels, but this is not a big deal. Either the two temperatures are the same, in which case it doesn't matter, or one of them is a nice round number and the other is a frequently-changing not-round number, and you know which is which. USER MANUAL The manual is in glitchy English. "please install the external grounding device" apparently means 'please plug it into a grounded outlet'; there is no extra grounding device in the package, besides the power cord. "Press the function key to display st (in minutes) in the upper row, or key to display the value in the lower row" apparently means 'Press the Set key, which will display "St" in the upper row and the value (in minutes) in the lower row". If you have an engineering mindset and are willing to try things out, the glitchy English is translatable, so this is a minor issue for me. Aside from the issues in the next section(s), the user manual did not make any mention of the metal coverable hole on the top of the oven. It would have been nice to have some explanation of why there's a...vent?... on top of the oven, and recommended usage, or some such. INCEPTION SETTINGS Navigation of the menu(s) is relatively straightforward.... * Up/down arrows to change numbers * "Shift" to move between digits * "Set" to take you to the next option ... but I don't like that last part, because it means there's no way to just exit the menu. You have to keep cycling through the other options to get back. Fortunately, the main menu only has two options, so it's a short cycle. Exiting the other menus IS possible, by holding the Set key down. Which brings us to the fact that there are three different menus... * Main Menu * Internal Parameters Menu (which I will call "IP menu") * why-are-there-three-menus Menu (aka "Inception Menu") The IP and Inception menus appear to be built into to the PID/chip/controller-thing by the people who make the PID controller, and the oven-makers stack the Main menu on top of that, or something like that. The manual explains the Main menu, and tells you that there is an internal parameters menu, but doesn't mention there are two of them, nor does it explain any of the items. It is less than maximally convenient, but not a big deal, to be faced with an "SP" and have to look at the manual to find out that that's code for "the temperature you want the oven to go to". It's slightly more frustrating to be faced with an upside-down-backwards L-shape, and find the manual doesn't even mention what that is. I wanted to know what the IP options meant, so I asked the sellers, and they helpfully sent me a .doc that's a manual for the PID controller, which explains the IP and Inception options. What's actually in the menus? What settings can you actually change, and how far deep into the dream-wiffin-a-dream do you have to go to find the setting you want? I'm attaching tables that are copied from the second-manual, with a few of my own additions to add clarity. Yes, that's right, "bM" is listed as "no effect". Who makes a setting with no effect? I was very, very amused to see that. And yes, indeed, you have to get into the very last item on the very last menu if you want to use Fahrenheit. Serves you right, non-metric-users. PASSWORD The IP and Inception menus need a password to access them. The original manual only says that after holding SET for 3 sec, the "controller will display the password prompt 'Lc=18'." Trial and error revealed that 0018 was not the password, nor was 1800, 0180, nor 0000. However, when I started at 0 and worked my way up, it didn't take long to find it. I won't tell you what it is, because obviously I don't want random amazon readers to...uh...sneak into my lab and...uh...change my oven settings to not include the decimal point. Ok, fine, it was 0003. The second-manual said that the Inception menu could be accessed by holding the SET key for 5 sec, but when I tried that, nothing additional happened after the 3 sec switch to the password request for the IP menu. But it also said the password was 9, and I found that entering that after the 3-sec switch did indeed access new options. So, to recap: * Main Menu: Press SET * IP Menu: Hold SET 3 sec, enter 0003 * Inception Menu: Hold SET 3 sec, enter 0009 AUTO-TUNING? The second-manual has this, and only this, to say on the subject: ----------------- 5.3 Controller's auto-tuning function (set the setting time to 0, cancel the timing, and set the timing time after the auto-tuning is completed) If the temperature control effect is not satisfactory, please start the auto-tuning function. After the button is pressed for 4 seconds, the AT indicator flashes, the controller starts auto-tuning, and the RUN indicator is on after the auto-tuning ends automatically; the control effect will be greatly improved at this time. During the auto-tuning process, After 5 seconds of pressing thekey running indicator light is on, the auto-tuning will stop, and the controller will control according to the original PID parameters. ----------------- The ascii code for the original symbols didn't come through on the doc, hence the "". But it...doesn't say which button to press in the first place? Still, if you don't like how your oven is heating, you can try holding the shift/up/down buttons (one at a time) for 4 sec and see which one triggers the AT. I'd guess the process will take a significant amount of time, since they tell you to turn the auto-shut-off off before starting it. Anyhow, it's a good oven, and I'm happy with it.
C**R
Great product.
I've been exceedingly happy with this oven. Temperatures are accurate (compared with another accurate thermometer), and remain very stable. While the oven is not completely silent duing operation, it makes much less noise than my 3D filament dryers that are a fraction of the size. It does take up some space - it's not a desktop unit, and larger than I had expected, but on the flipside, it has ample space inside for parts, so it's a worthwhile tradeoff. The exterior does not get hot - the heat exits through the vents. Just to be extra safe, I have it standing on top of 2300F-rated fire bricks, with a 2300F-rated ceramic fiber insulation board in the back, and the cable wrapped in fiberglass, but I think it'd be fine even without these extra precautions because I haven't seen the chassis getting hot during operation even while running for extended periods at 200C. The price was very competitive, the delivery was fast, and the manufacturer was very quick to respond to questions and share the PDF manual. You can also find the PDF manual and a bunch of useful tips in one of the other reviews.
T**I
Excellent for drying 3d printing filament
Awesome for 3d printing filament. I didn't want to waste my time with single and double roll filament dryers that don't get hot enough. I can fit 4 spools in here, set a temp and time, then let it go. Check out that other persons review for how to operate it.
M**S
Nice except for startup temperature jumps out of control for 15 minutes or so.
I’d like to give this more stars. But the problem is that when you turn it on it tends to go more than 10 c over the set point, the alarm goes off, and it takes a bit of time to go down where it belongs. Then it’s ok until you turn it on again. I hoped it would settle down after a few uses, but it hasn’t. Otherwise, it’s made well, looks nice and is worth the price. That initial,temperature jump is a problem though.
M**.
Still works after 1yr, good temp stability, fan not great
Have had for a couple months now, works good for annealing nylon prints. But the fan makes bad noises, probably needs replacing. Otherwise it’s accurate and very temp stable, and still going strong after about a year now.
P**R
Works very well as a 3D printer filament drier
Basically just read Anna's review. It's very comprehensive, and has all the information you need. Only things I want to note: I never had the burnt smell that she reported, set up was easy thanks to her information on what the different settings meant, and having used the timer, it works really well. Note that you don't have to set the timer each time you use the machine. Whatever your last timer setting was, it will remember that. Finally, I don't recall if Anna said this, but the timer is in minutes. So "St = 100" is "100 minutes on the timer".
M**N
Poorly built Dagerous
Im going to write a review everyday until the bad reviews are shown. This is poorly wired and fried my breaker in my home. Amazon doesnt back up third party products.
G**S
It’s an oven. What else?
Works as described.
Trustpilot
1 day ago
2 weeks ago