Desertcart purchases this item on your behalf and handles shipping, customs, and support to Croatia.
🌊 Skim smarter, not harder — keep your pool pristine with zero fuss!
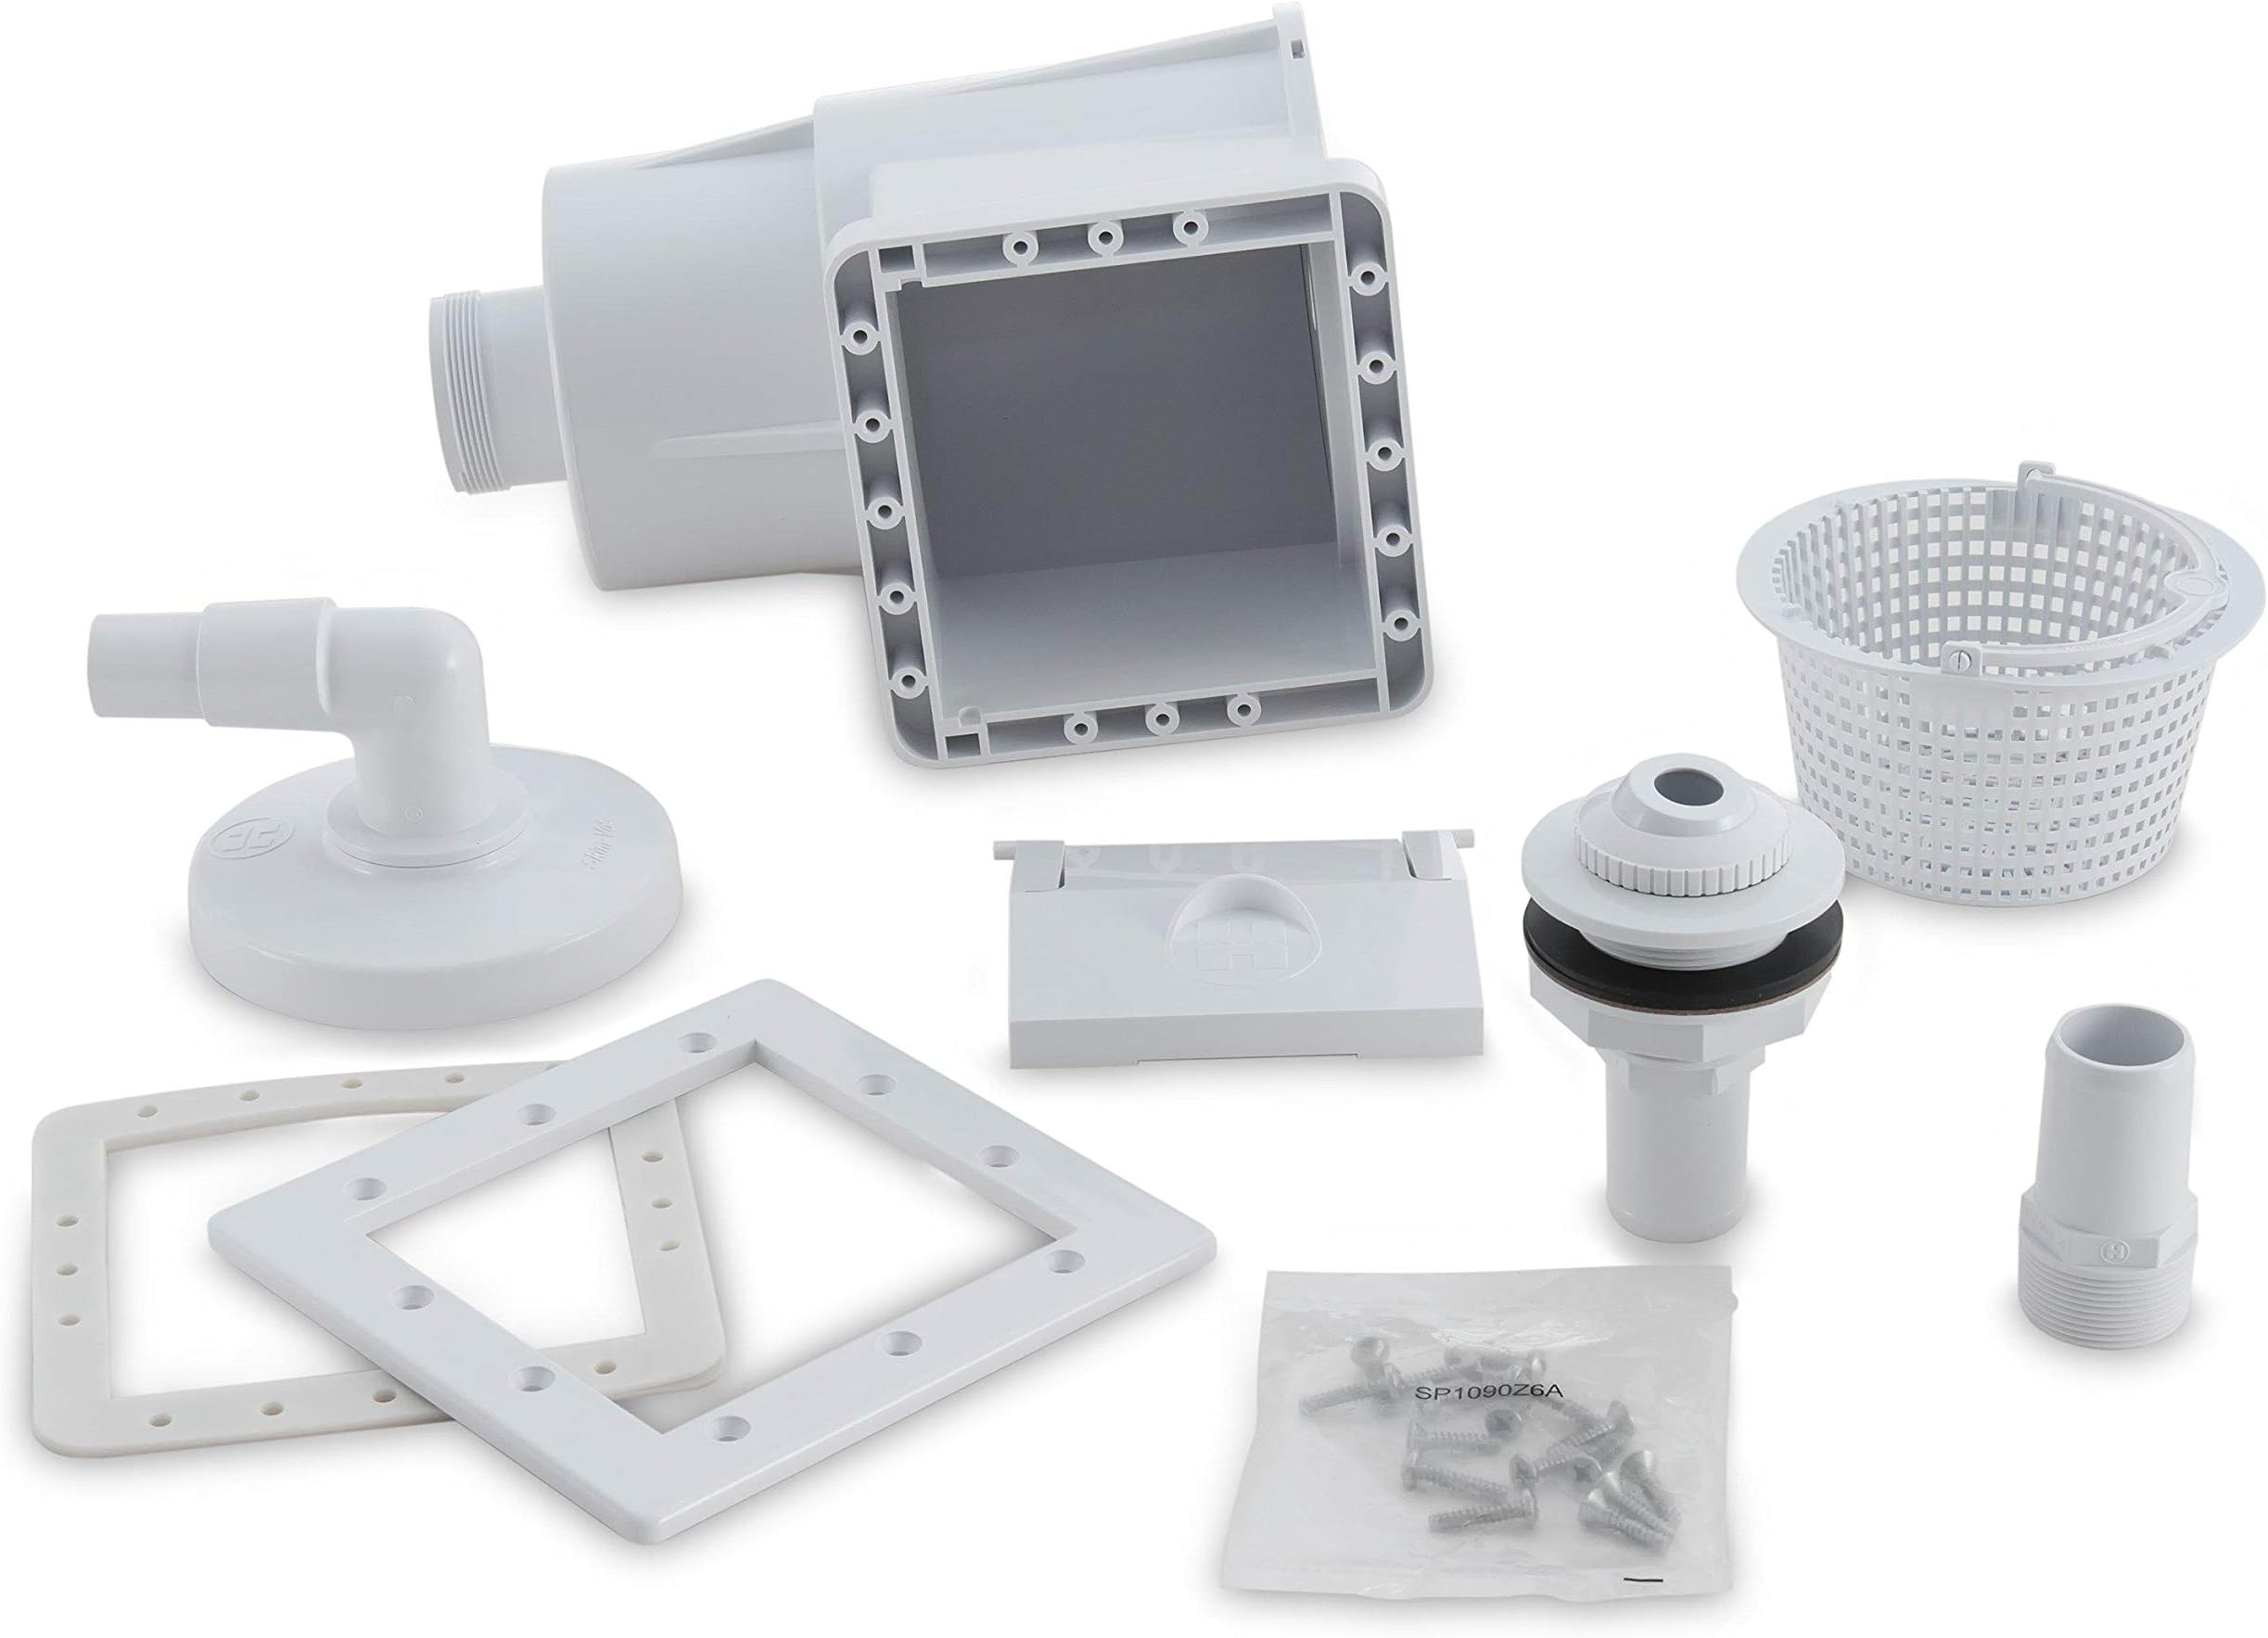
The Hayward SP1091LX Dyna-Skim is a premium above-ground pool skimmer crafted from UV-resistant ABS for long-lasting outdoor durability. Featuring a large-capacity basket and a one-piece leak-proof body, it simplifies pool maintenance with dual-access basket removal and a comprehensive installation kit. Trusted by thousands, it’s engineered to keep your pool surface crystal clear with minimal effort.


| Asin | B002DPY196 |
| Best Sellers Rank | #12,071 in Patio, Lawn & Garden (See Top 100 in Patio, Lawn & Garden) #113 in Pool Rakes, Skimmers & Nets |
| Customer Reviews | 4.7 4.7 out of 5 stars (9,740) 4.7 out of 5 stars |
| Is Discontinued By Manufacturer | No |
| Item Model Number | SP1091LX |
| Item Weight | 4.9 pounds |
| Manufacturer | Hayward |
| Product Dimensions | 12.75 x 10.25 x 8.25 inches |
User
Essential for a Clean, Clear Pool!
The Hayward SP1091LX Dyna-Skim is a total game-changer for keeping my above-ground pool clean! This skimmer is incredibly efficient, and the design is both sturdy and easy to use. It effortlessly removes debris like leaves, bugs, and dirt from the surface of the water, keeping the pool looking crystal clear.What I love most about this skimmer is the automatic operation. Once it's installed, it does all the work—no need to constantly fish out leaves or debris by hand. The Dyna-Skim’s surface skimming is so effective that I can actually see a difference in water clarity after just one use.The build quality is excellent—it's made of durable materials that stand up to the wear and tear of constant use in the pool. The installation process was quick and easy, and it fits perfectly with my existing pool setup. The large debris basket is also a great feature, as it holds plenty of material before needing to be emptied, making maintenance hassle-free.For anyone with an above-ground pool, the Hayward Dyna-Skim is a must-have. It’s a time-saver, and it keeps the pool in pristine condition with minimal effort. I highly recommend it to anyone looking for an easy-to-use, high-quality pool skimmer. It’s worth every penny!
User
Great Upgrade
This skimmer was very easy to install, even if you’re not super experienced with pool equipment. Everything fit together well, and the instructions were straightforward.Once installed, it does a great job keeping the surface of the pool clean. It consistently pulls in leaves, bugs, and debris, making a noticeable difference in water quality and reducing how often I have to manually skim.Overall, it’s a simple, effective upgrade that works exactly as it should.
User
Great addition to cheap bestway pool
Install was very easy and only took about 20 minutes once water was drained down low enough. Decided to install like others have on YouTube with the gasket on the outside completely so I could cut out pool after it was bolted on. Worked great and no leaks
User
Best addition to above ground pool!
This has saved me countless hours of work! It helps to keep my water much clearer! I am happy the body of the unit sits outside the pool instead of inside like some other models. I had the inside type before and the kids kept knocking it around. The Hayward is out of the way of their activities. It was easy to install, although a bit scary to cut into my liner! I used it on one pool for a season, then reinstalled it on my newer pool. It’s very sturdy. Seems well made. Never leaks. Looks nice. I do use skimmer socks to catch even smaller particles than the basket alone would do. I just make sure to check it daily and change the sock frequently to maintain free flow. Highly recommend!
User
Ok
Functions, but the design could do with some improvements.
User
Every above ground pool needs this.
This is an excellent product and highly recommended to replace the over-the-railing basket skimmer that comes with above ground pools. The only issue is the minimal instructions. Must read between the lines and use common sense. The gasket is made like a butterfly gasket that must be intact if you have a double hull pool, or like a vinyl liner with metal or plastic outside support. My Intex pool is just the vinyl liner, so I split the gasket carefully and installed it without draining any water. The water line was half way up the skimmer, but not a drop was spilled installing this. Just wait until all screws are tight to cut the vinyl liner - common sense, make sure the hose is connected first!! Be sure to install the flapper gate BEFORE putting any screws on or starting install. Just a little tricky to hold it in place. 2 people works best, but I installed everything myself with no issues. Must REALLY hold the outside unit TIGHT against the gasket when putting in each of the screws as they cut their own threads. Screw them down tight - the tough plastic will take it. I put in the 4 corner screws in first, starting with top 2 above the water line, and left all just slightly loose until all screws were started. It says to make holes for screws with blunt object - but that won't work as vinyl liner is tough. I used a small drill bit, much smaller than screw, but used pliers instead of getting my drill wet. Just held bit in the pliers and pushed and twisted. The first couple is when 2 people really helps, but even alone I did it easily. Then tightened them all down. The adapter to attach a vacuum hose comes with and works great. I didn't think it would seal well as it is just plastic to plastic, not rubber gasket, but works fine - the suction holds it firmly in place. A little tricky - put adapter on first without the hose, moving it around the flapper, then connect the hose. Make sure vacuum is in the water so it doesn't suck air. The parts of this unit are very heavy plastic. Nothing flimsy. Flow-through rate increased, as I can tell by the higher pressure and flow coming out the exit valve. A new one comes with this, but I didn't install, just used the old one. I will get a ball valve shut-off at Lowe's or Home Depot to install where hose connects. Good for doing any hose work or working on pump or filter. This is really a bargain.
User
Installed skimmer onto Intex 22'x52" Ultra Frame Pool
Like many of you, I bought this skimmer to attach it to my Intex pool that did not come with one from the manufacturer. I have an Intex 22'x52" Ultra-Frame pool that I had recently upgraded with an Intex sand filter and pump with salt water ECO system combo from the lousy cartridge filter pump that came with the pool. I searched all through the reviews and questions asked on this product, many YouTube videos, and Google searches to determine the best way to install this skimmer. This Hayward skimmer is very durable and looks great. It comes with a filter-basket, hardware, gasket, and everything needed to install to your pool. A lot of the reviews on here said to cut the butterfly gasket into two pieces, install your skimmer onto your liner, then cut out the liner at the opening of the skimmer. I did the opposite, by taking the skimmer inlet faceplate and tracing around the inside of the inlet and also the screw holes. I then used a punch and poked through the liner where the screws should go. With my water level below the bottom of my inlet outline, I used a box cutter and slowly cut out the liner around my inlet outline I had marked earlier. Now I was able to install the gasket around both sides of my liner like it was intended. I then poked my screws through the inlet faceplate and the gasket and screwed them down tight into the skimmer body. No trimming of the screws was necessary and everything bolted together tight without a single leak. I didn't want to hard plumb the skimmer to my pump, and thanks to my new sand filter pump I had two extra Intex hoses laying around that I wanted to try to use to make the plumbing look as clean and factory as possible. Intex hose end fittings are 40mm and aren't your typical pump fitting size (1 1/2"), so I went to Lowe's and got everything I could find to make this work. I wanted to be able to still use the two inlet ports on the pool as well as the skimmer and I wanted to be able to shut off flow to the skimmer also. To do this I needed a ballcock to install onto the skimmer and a tee fitting to bring the skimmer hose and the original inlet hose together at the pump inlet. I found a 3" long double threaded pipe with 1 1/2" threads that threaded right into the bottom of the skimmer body. I wrapped both ends of the pipe in PTFE tape to minimize leaks, then installed the ballcock (1 1/2" threads as well) onto the pipe. I was able to find some special adapter fittings on Amazon that allows you to attach an Intex 40mm hose onto a 1 1/2" standard fitting. These are made by GAME and come in a pack of two. I bought two packs and installed one of the fittings into the ballcock and attached my extra Intex hose onto this fitting using the supplied gasket. I installed two more of the special adapter fittings onto my 1 1/2" tee fitting and installed the other end of my skimmer hose onto one side of the tee with a gasket, then attached my original inlet hose to the other end of the tee using a gasket as well. Since I didn't have anything to attach two of the Intex 40mm fittings together at the pump inlet and my other end of the tee, I decided to use the slide-on hose fitting that came with the skimmer and attached it to the middle tee fitting. I took a box cutter and cut the end off of one of my extra Intex hoses and jammed it down tight onto the Hayward slide-on fitting and put a nice bead of silicone RTV sealant around the outside and inside edge where the hose end meets up with the Hayward fitting. Let that sit and dry for an hour, then connected my tee with my two new skimmer and original inlet hoses to my sand filter pump. I wrapped several layers of PTFE tape around all threads before connecting any hoses and so far no leaks! Hopefully this will help someone in the future who wants to add one of these nice skimmers to their pools.
User
Good Deal! Easy peasy!
We bought this skimmer to replace the WORTHLESS filter/skimmer that came with our 18 ft Summer Waves. Never could get the water to clear up in spite of cleaning the "just as worthless" filter daily and constantly running it. We had a large Heyward sandfilter from our previous Doughboy we had taken down that was not very old when we took that pool down so we started figuring out a way to use it instead. We had thrown away the old Doughboy skimmer and, at the point in the process, we assumed we had to use the Summer Waves skimmer. We found out there was a conversion plate (literally just a plastic saucer) that fits on the bottom of the SW skimmer so you can remove that little motor and bypass it and then use our Heyward motor also. The plate worked without leaking at all but the DB filter and pump was way to powerful for that flimsy skimmer and overwhelmed it so I wasted almost $50 on that plastic conversion plate. We were very apprehensive about replacing the skimmer. After reading reviews, we decided to go for it. I bought the wide mouth version as someone "thought" might be easier to install but had to return it because it was just too wide and heavy and too much liner would need to be cut out. Decided to exchange for this one and it has worked perfectly. Not one problem. Like everyone, the screws are a little difficult to go in because the holes in skimmer box are not threaded but prepare in advance and use a larger screwdriver. I got in the pool and centered the inside bracket over the existing hole. My husband stood on the outside and he could see the outline of it thru the vinyl. He used a small screwdriver to punch holes through the corners which gave us our guide. Then he got in and screwed the plate to the skimmer box while I held it in place and took a box cutter and trimmed any excess liner out which was minimal. A lot of people was nervous about that, as we were, but it wound up being no big deal. Just stay within the DOUBLED vinyl area where the previous skimmer was. We did put a 2x4 under the skimmer for support out of caution as others recommended. We did not use any silicone or caulking on the gaskets. The pool was sparkling clean in two hours. It has been over two weeks and have not had one leak yet. We are beyond satisfied and love it. It came with everything necessary to install, is very sturdy with quality material and was almost $15 less than that conversion plate I'd just bought. Don't waste your time and aggravation over it. Just do it. I'd buy it again! Great product!
User
Excellent product that works brilliantly! Highly recommended 👍😁
I’ve seen numerous videos online for this product and was very excited to get it. It does not disappoint!Works brilliantly in conjunction with my Intex sand filter. Great flow and great surface pull to clear debris floating on top of the water.Easily installed. Just take your time, especially with cutting the pool lining. There are two ways of cutting the lining, either before or after installing the skimmer. I chose before as it gives a much neater looking ‘hole’ but both ways will work. Watch an installation video online first to get confident.Cut the lining very slowly and carefully ( it’s quite nerve wracking 😳 ) and you will be fine.I can’t say anything negative about this skimmer as there are no negatives. It’s a great addition to any decent sized above ground pool and works beautifully.Highly recommended 👍😁
User
👍
👍
User
Şahane
Sizlerde prefabrik havuz kullanıyor ve üzerine biriken böcek,yaprak temizlemekten sıkıldıysanız alın kurtulun :))
User
A must have
Brilliant.. was worried about cutting the pool liner.. so took the risk. Upraded to sand filter at the same time. Its impressive.
User
Good quality
Strong plastic. Good quality. It worked
Trustpilot
1 month ago
3 weeks ago