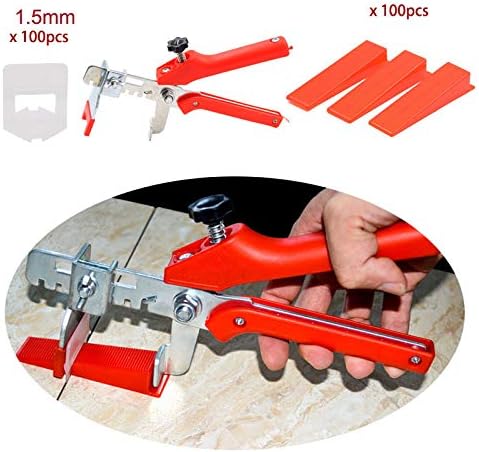
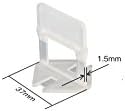

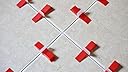
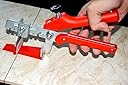
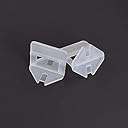
201 PCS 1.5mm Ceramic Floor Tile Leveling System Kit Starter Kit Tile Spacer Leveler Floor Leveling Compound
Product ID: 87664452
Buy anything from 5,000+ international stores. One checkout price. No surprise fees. Join 2M+ shoppers on Desertcart.
Desertcart purchases this item on your behalf and handles shipping, customs, and support to Croatia.
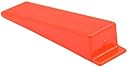
Products Description: <br>1.First part of a 2-part system to level, align, space and hold porcelain tile, marble and stone during installation <br>2.Use on tiles up to 1/2 in. thick <br>3.Small holes allow mortar to disperse evenly to eliminate potential voids <br>How to use: <br>STEP 1: After spreading your tile adhesive, insert leveling spacer underneath the tiles along the 4 sides, use traditional spacers as you normally would to square up the corners. For larger tiles, it may be necessary to "double up", using 2 leveling spacers for each side. <br>STEP 2: Set the tile and beat it with a rubber mallet <br>STEP 3: Use the special traction-adjustable pliers to insert the wedge into the leveling spacers, paying attention not to pass the breakpoint. <br>STEP 4: Once the tile adhesive has been allowed to set. Remove the leveling spacers with the traction-adjustable pliers, rubber mallet, or kicking them out with your feet. <br>Coverage - how many to buy ? <br>6"x24" tiles -100 clips cover up to 25 sqft <br>6"x36" tiles - 100 clips cover up to 30 sqft <br>12"x12" tiles -100 clips cover up to 25 sqft <br>12"x24" tiles -100 clips cover up to 40 sqft <br>24"x24" tiles -100 clips cover up to 65 sqft <br>Coverage depend on tile quality and pattern. I am recommending to have 10-20% extra on job site.   <br>Note: <br>Removal must be done after the cement dry, otherwise it is easy to joint and several tiles will appear roughness error.
Trustpilot
2 weeks ago
1 month ago