


🚀 Light Up Your Journey with Style!
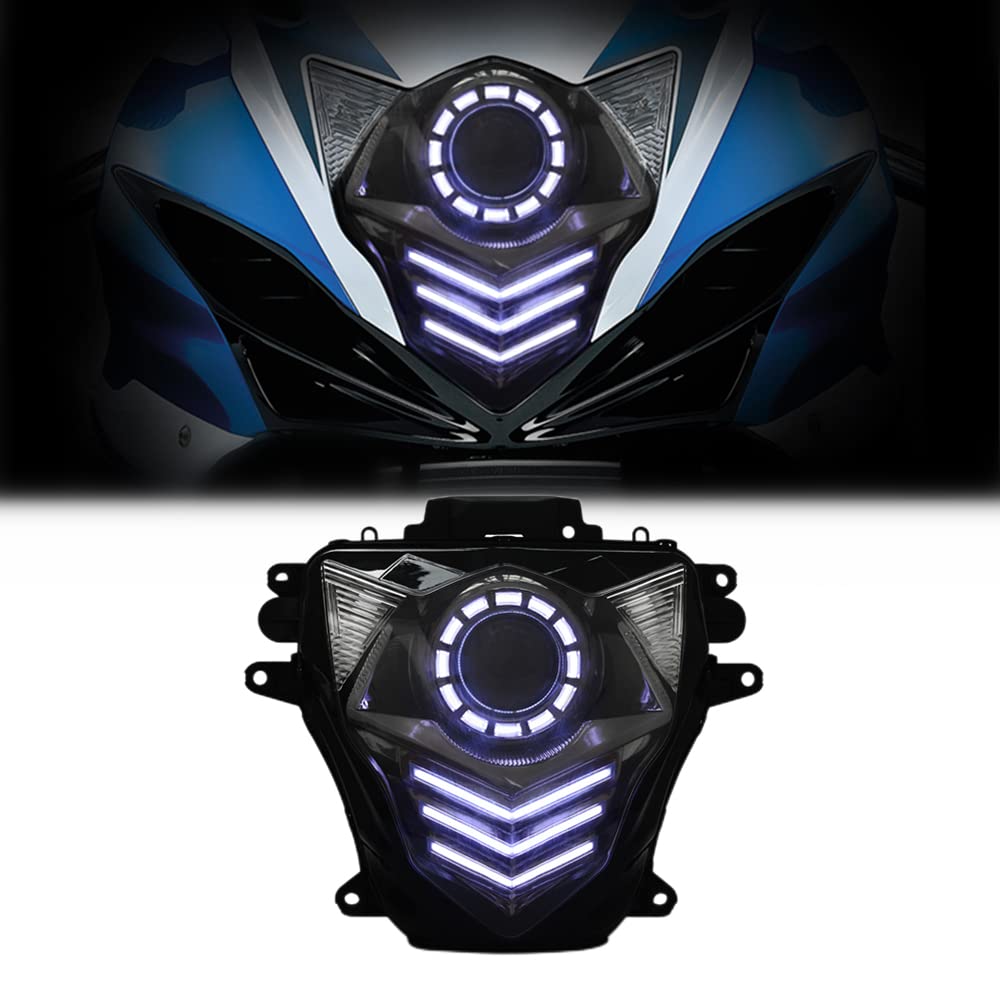
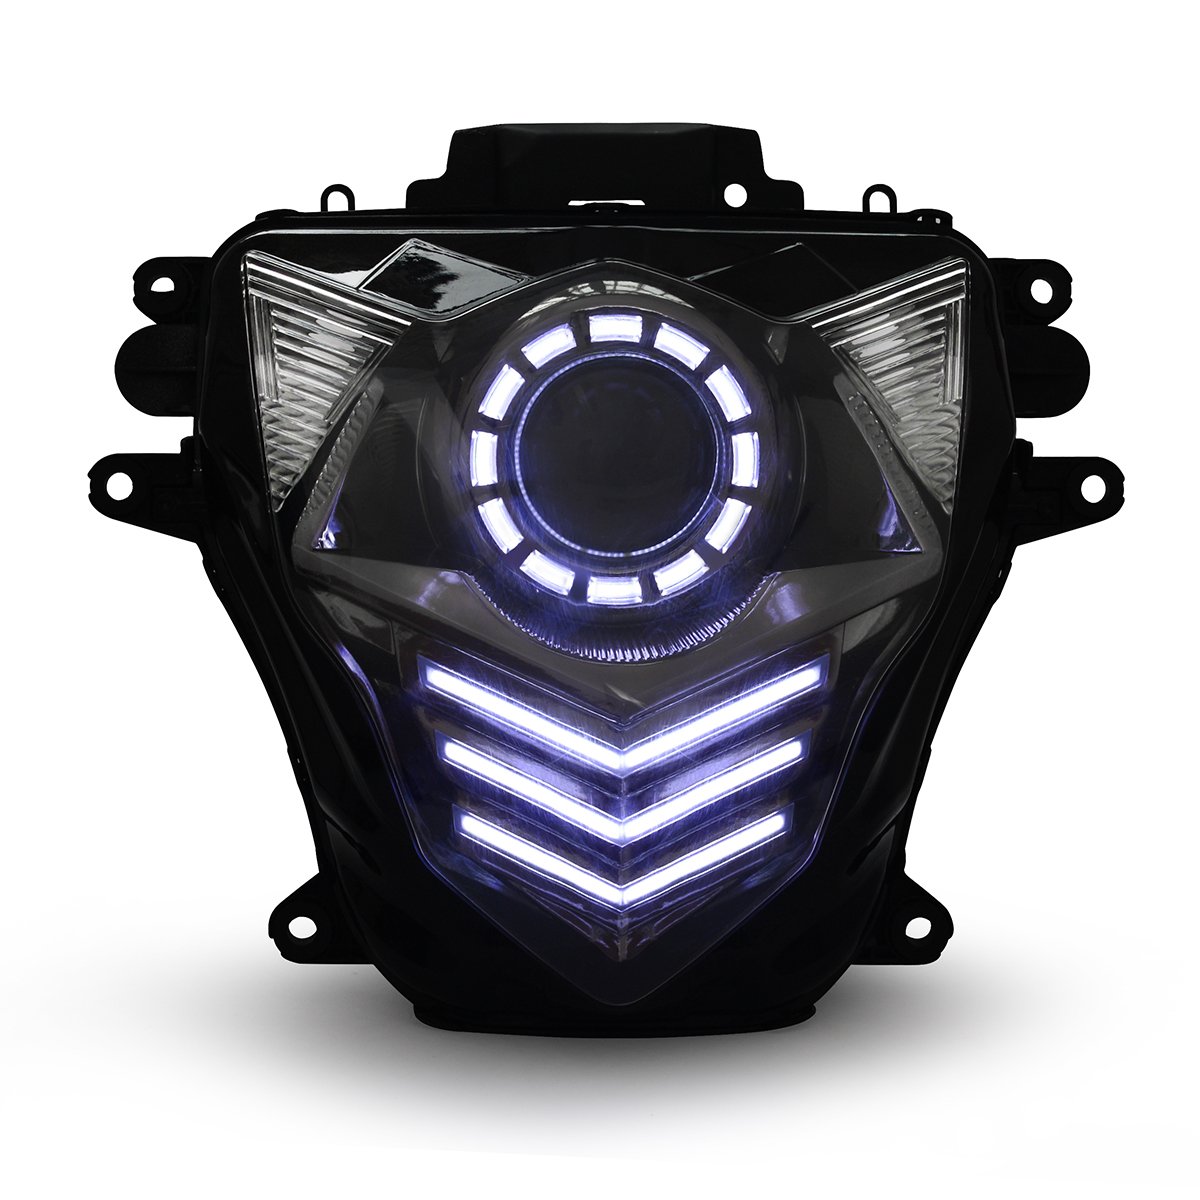
The KTLED Headlight Assembly is a custom-modified front headlamp designed specifically for Suzuki GSX-R600 models from 2011 to 2021. It features a striking white daytime running light, high and low beam capabilities, and advanced optics for enhanced safety and visibility. With a power consumption of just 55W and a powerful output of 4000LM on high beam, this headlight not only elevates your motorcycle's aesthetic but also ensures a safer riding experience. Plus, it comes with a 12-month warranty for added assurance.


| Brand | KT |
| Color | White Daytime Running Light |
| Specific Uses For Product | Head Lights |
| Vehicle Service Type | GSX-R600 2011-2021 |
| Year | 2011 |
| Special Feature | High Beam |
| Wattage | 55 watts |
| Auto Part Position | Front |
| Lens Color | Clear |
| Item dimensions L x W x H | 16.93 x 12.99 x 9.45 inches |
| UPC | 763769859165 |
| Manufacturer | Kingtech |
| Item Weight | 6.89 pounds |
| Product Dimensions | 16.93 x 12.99 x 9.45 inches |
| Country of Origin | China |
| Manufacturer Part Number | KT-CS007 |
| Special Features | High Beam |
W**Y
Installation instructions
This unit does no good if you do not have any video of the installation or even a diagram instruction on how to install. I’m highly upset with the fact that the install has already waisted 2 hrs of my life and it’s not complete. Please provide install instructions beyond paper with no diagramAlso I tried to check if it worked to begin with and I got no luck.
D**D
Not plug and play and requires the transfer of parts from the OE unit
Instructions are fairly limited. On my 2011 GSXR 600, I had to cut the factory lighting connectors and wire the new light with generic disconnects. You must connect to the OE high beam positive, but terminate the OE high beam negative. Connect the new negative on the same loom to the OE low beam negative. There is an independent ground loop which I attached to the frame under the horn mount on the driver's side. Just sand the frame under the bolt to bare metal and reinstall (Pic 3).Everything just barely tucks into the fairing and zip ties will be your friend to maintain steering clearance. The light comes with a bunch of white zips, but I swapped in some black to draw less attention. There is also an off switch for the projector in case you want just the running lights on. I mounted this to the fairing stay on the left side (Pic 2).All in, the install took 9 hrs including a trip to the auto store to source disconnects. You have to take the entire front end apart to install the light. It does not come apart, nor go back together easily. I had some spare clips and hardware available from previous body work which came in handy.4 stars because the install was a PITA and this could have been plug and play.
B**8
Scratches on the glass. 2 star to 5 star for great customer service!
Hard to see.. phone camera cant capture scratches on glass.. but in person the front glass has a significant amount of wear and tear.. could be polished with compound but very disappointed.. I was excited and installed it any ways. Everything works well just the major scratches on the glass itself is annoying.Change and edited my review from 2 to 5 star review due to customer service. They are very helpful and quick to response. Had to send the headlight unit back for some internal repairs but very helpful. 5 stars!
J**E
Wiring is a pain in the A**
Expect at least 3-6 hours assembly this yourself (if you know what you’re doing). You have to use the OE wiring harness and from there splice 3 different wires to make it work. From there you have the ballast and 2 other bulky obbjects you have to strategically mount with very little room. If you can pray to God get all that done then, yes, it’s an amazing headlight that looks great! Otherwise, get it professionally wired as this is NOT a plug and play item. You think it would be after forking over $400 dollars on. Buyers beware!
1**3
Looks promising
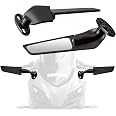
I bought it from their site. As price including shipping was cheaper. So far the unit looks good and the front glass screen is free of scratches.I received a handlebar rounded switch which I suppose will install on the left side lever but I'll have to remove the clutch lever assembly or the left handlebar grips.The pics showed a toggle switch which you have to mount somewhere after you cut a space for. Hopefully KT considered the correct handlebar's diameter when they supplied the handlebar add-on switch.Will come back with edit and pics after testing it. But I hope in the future to ditch those external ballast and go for d1 design bulbs as they're compact and less space consuming.
Trustpilot
1 month ago
1 week ago