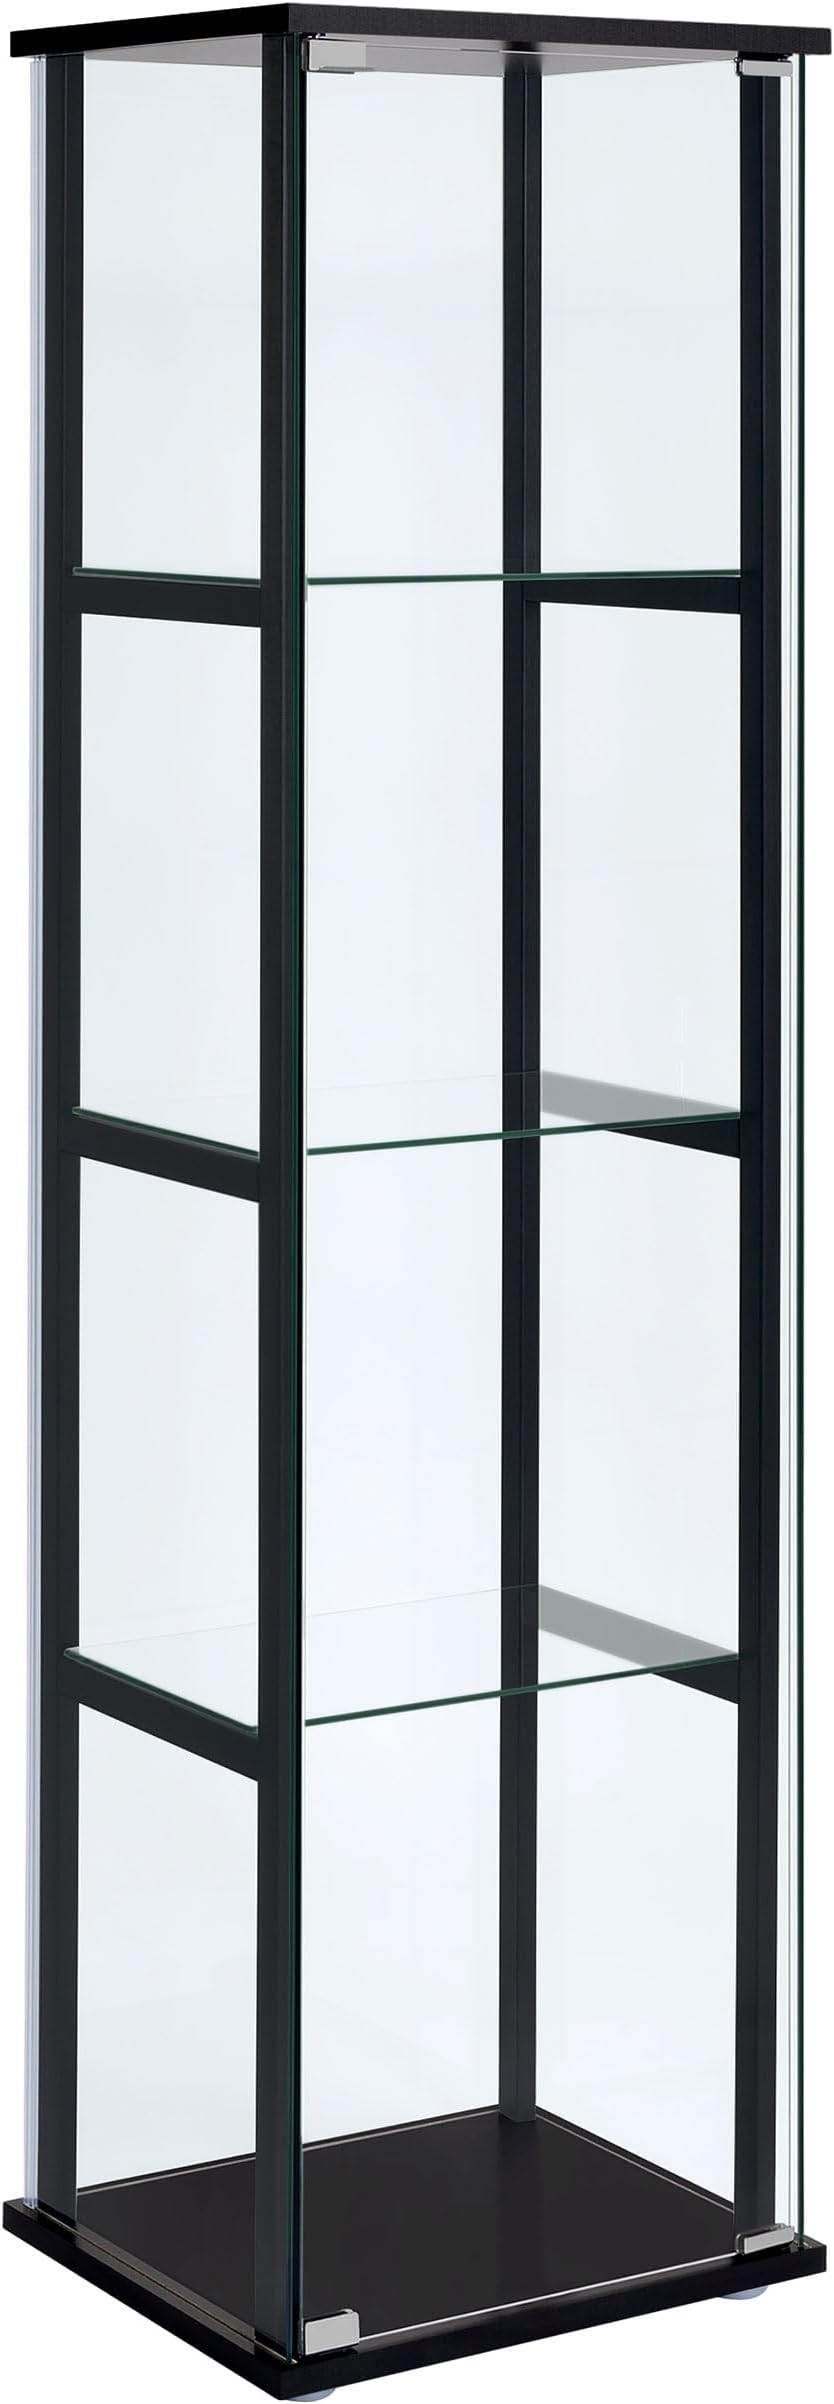
Description
🖤 Elevate your space with sleek, handle-free sophistication!
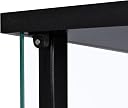
- EFFORTLESS ACCESS - Innovative push-to-open door design eliminates handles for a clean look and smooth, tactile convenience.
- SPACE SAVVY STORAGE - Four tiers of shelving provide ample room to organize collectibles, books, or office essentials without clutter.
- SHOWCASE WITH CLARITY - Four tempered glass shelves create a luminous display that elevates your decor and keeps prized items in full view.
- BUILT TO LAST IMPRESS - Crafted with durable materials supporting up to 165 lbs, this cabinet balances style with robust functionality.
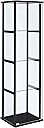
- MINIMALIST BLACK ELEGANCE - A slender black wood frame blends seamlessly with modern interiors, adding a refined, professional vibe to your space.
The Coaster Cyclamen 64-inch Curio Cabinet features four tempered glass shelves within a minimalist black wood frame, designed for modern living rooms or offices. Its push-to-open door system offers handle-free access, combining elegance with practicality. Standing nearly 64 inches tall and supporting up to 165 pounds, this freestanding cabinet provides organized, visible storage that enhances any contemporary decor.