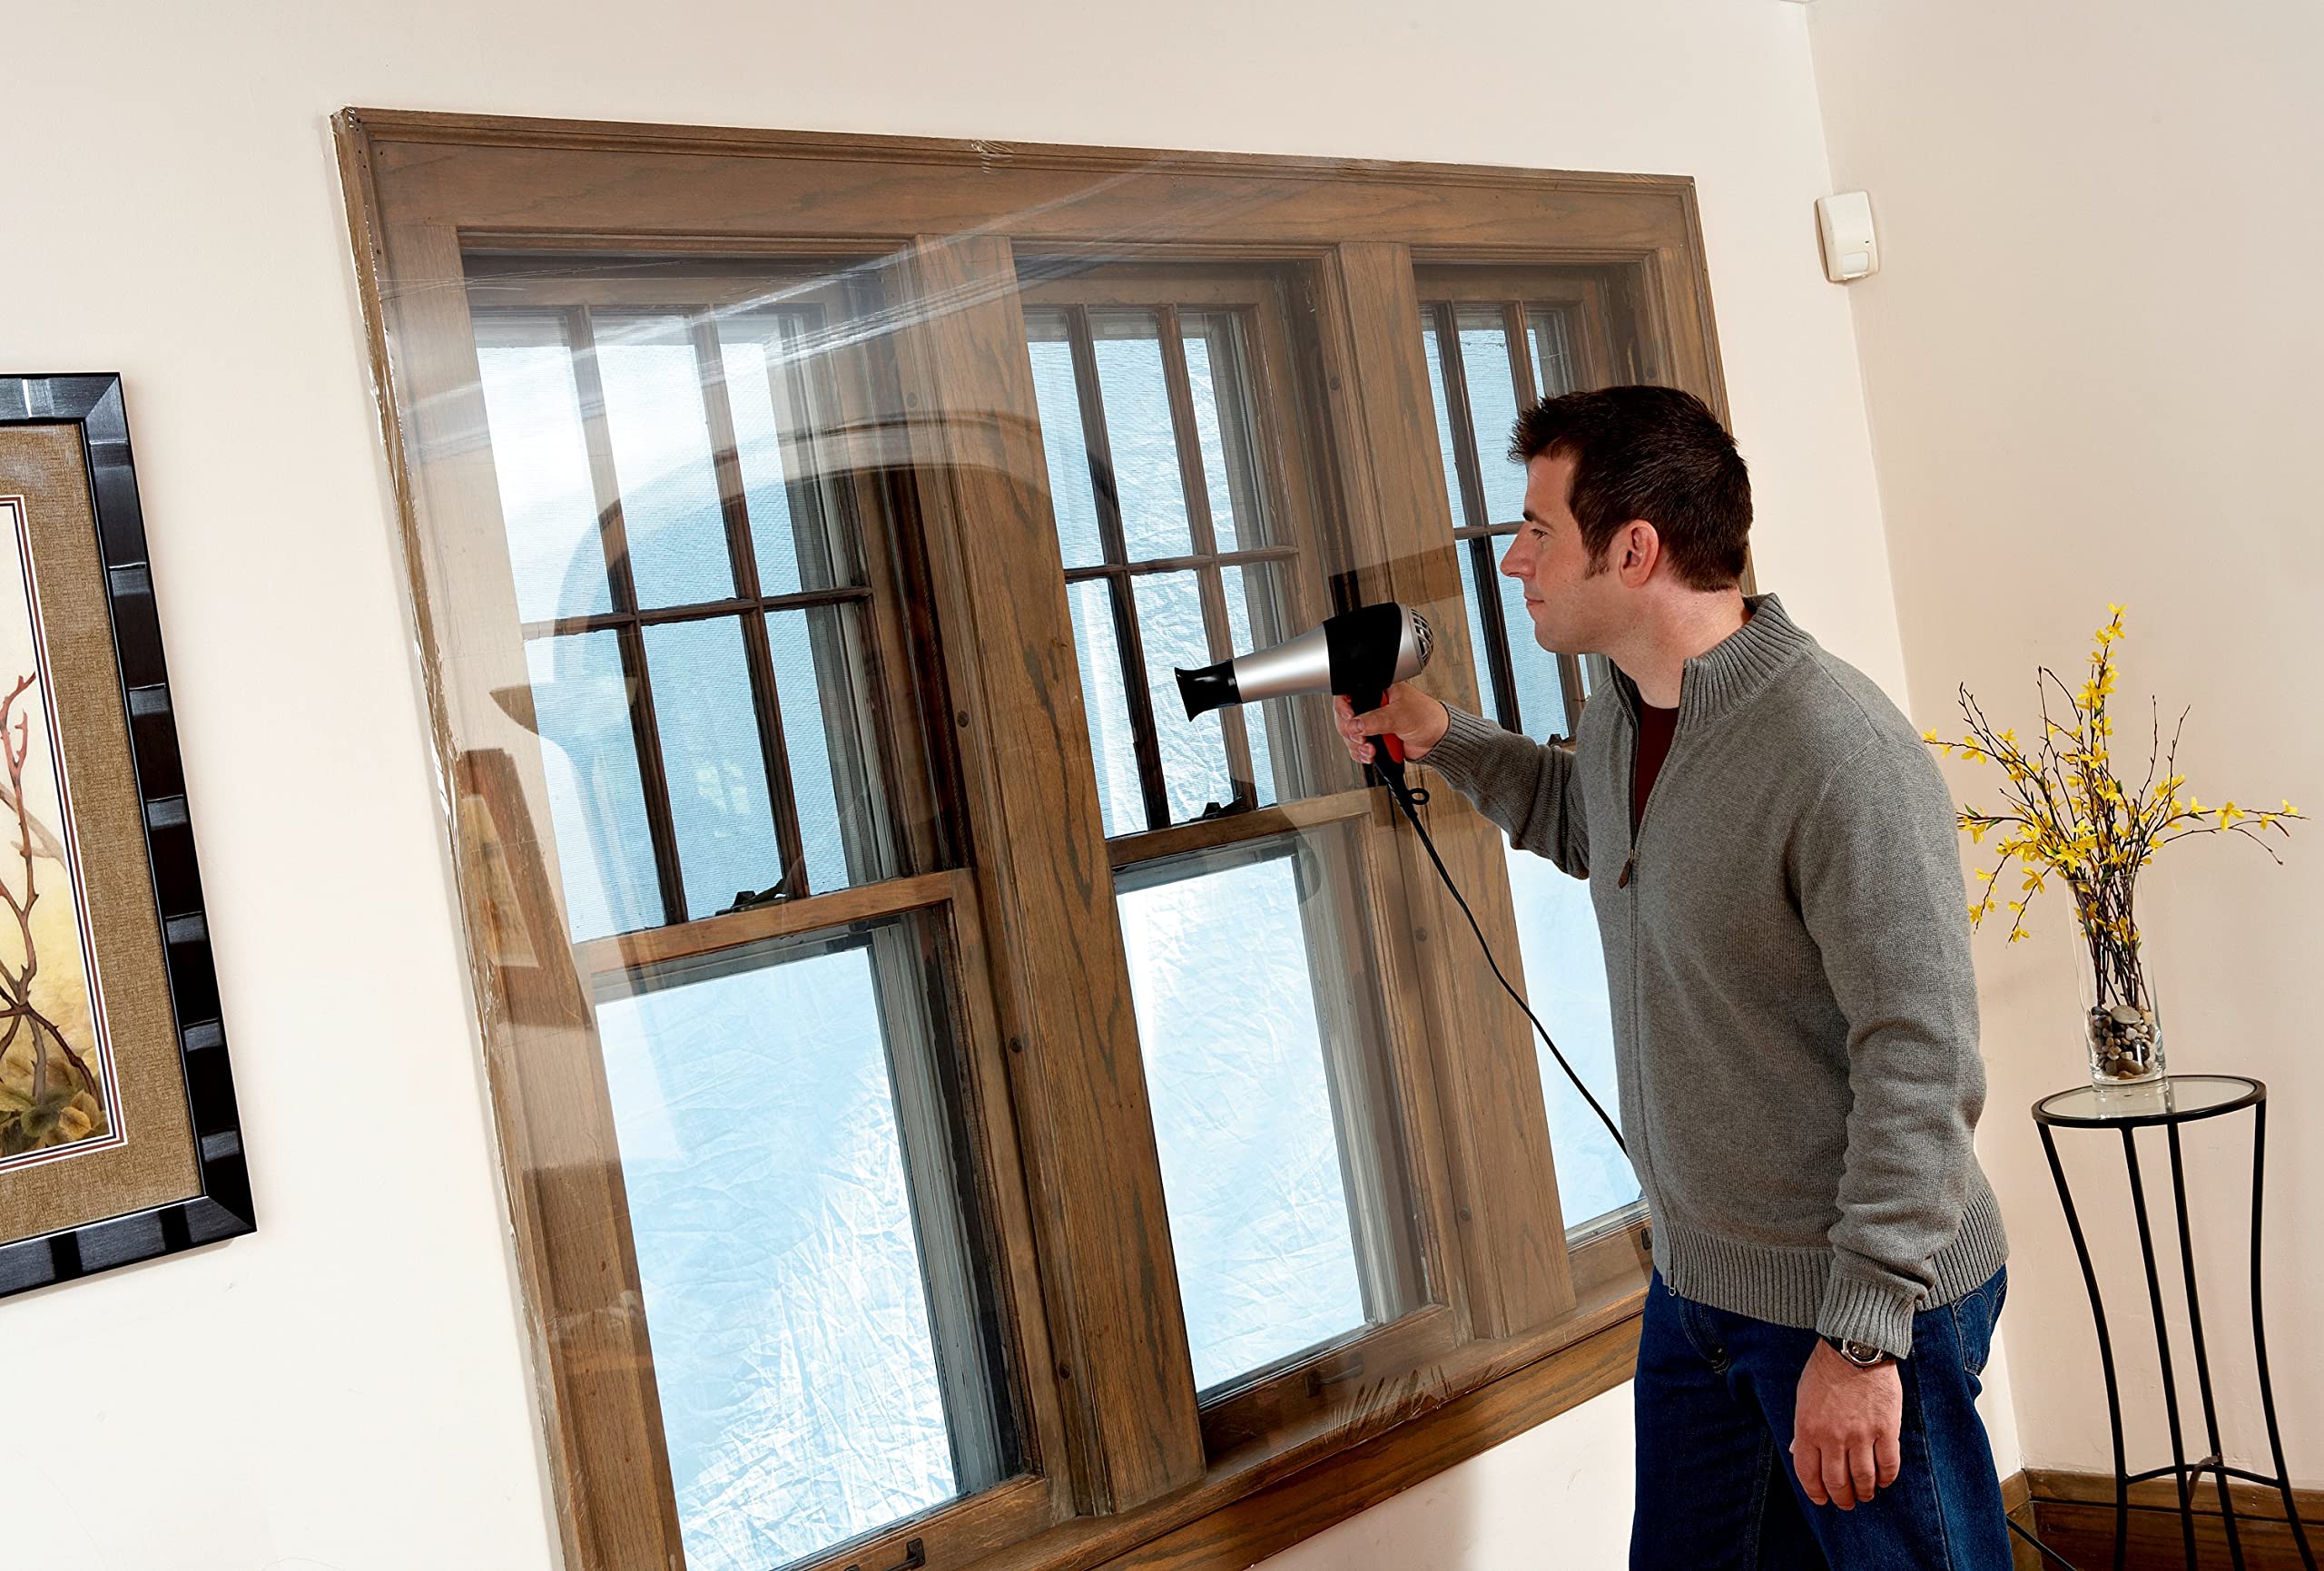
Stay Warm, Stay Stylish! 🔥
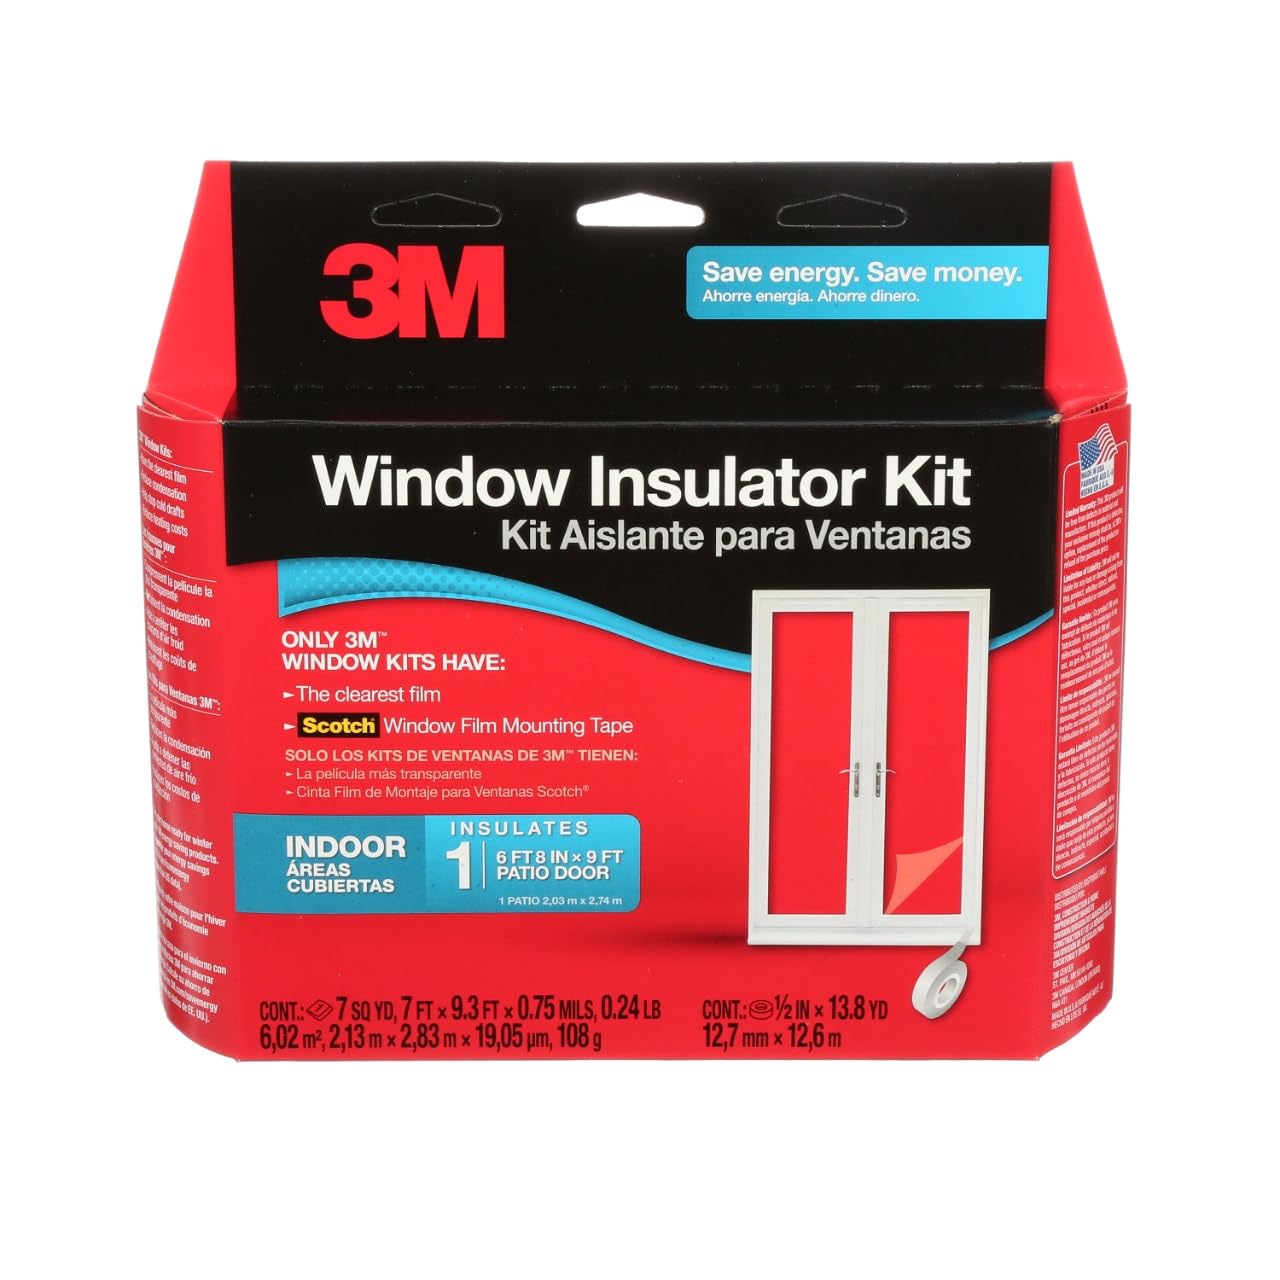
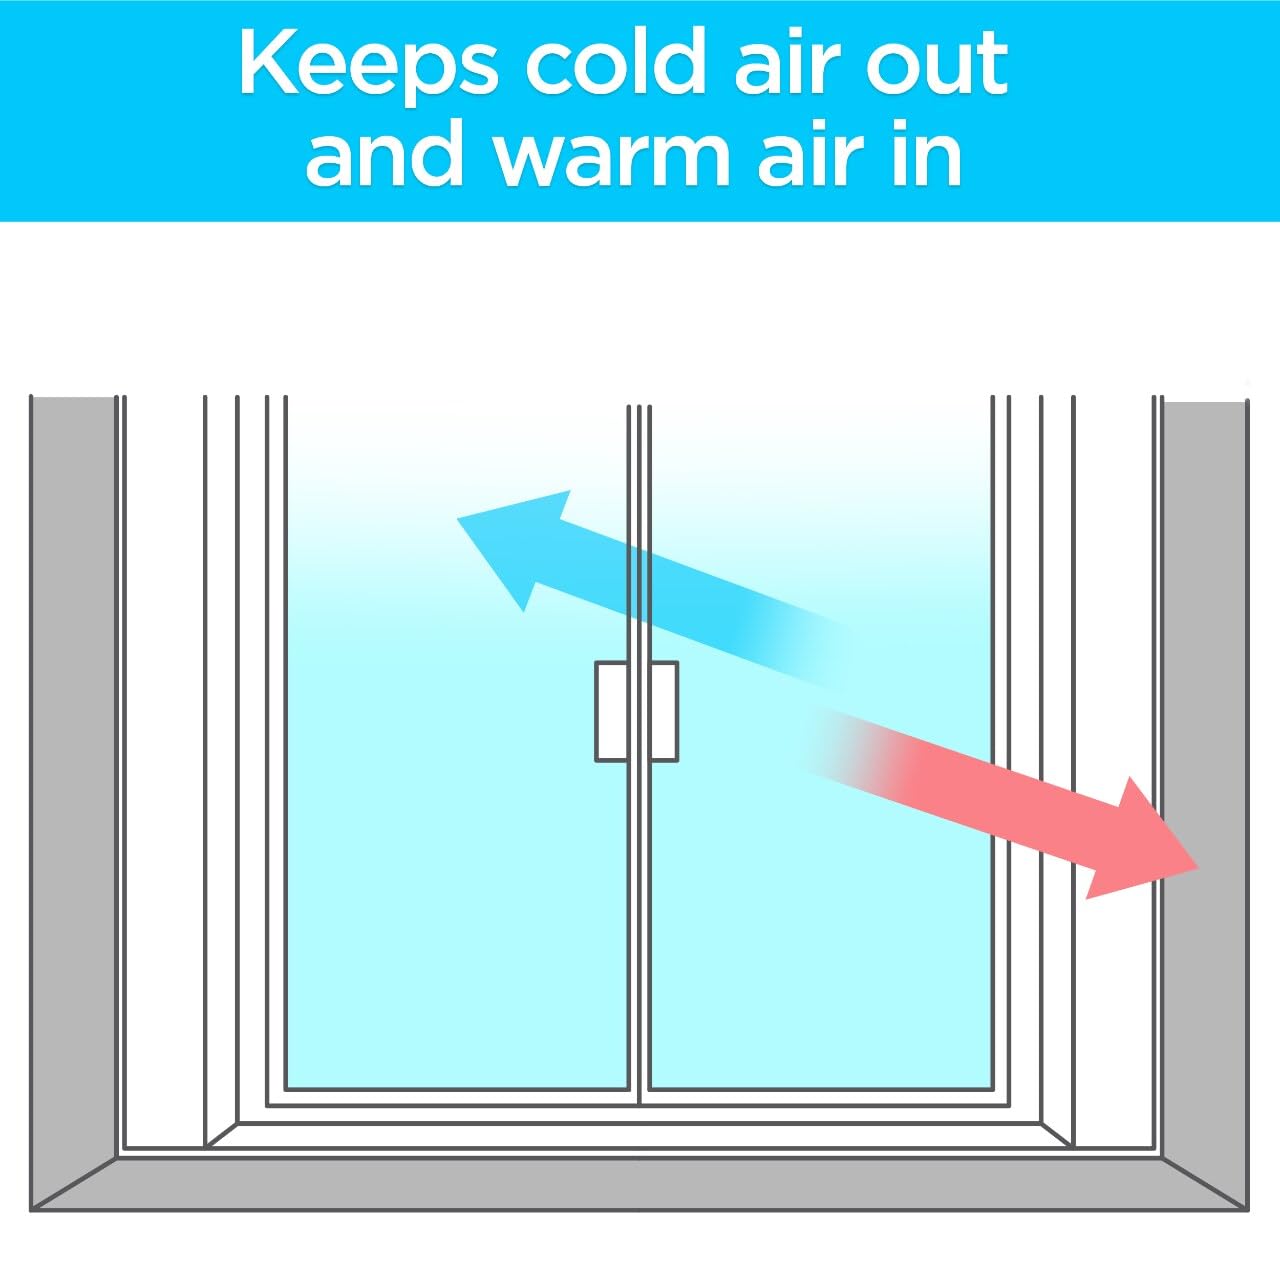
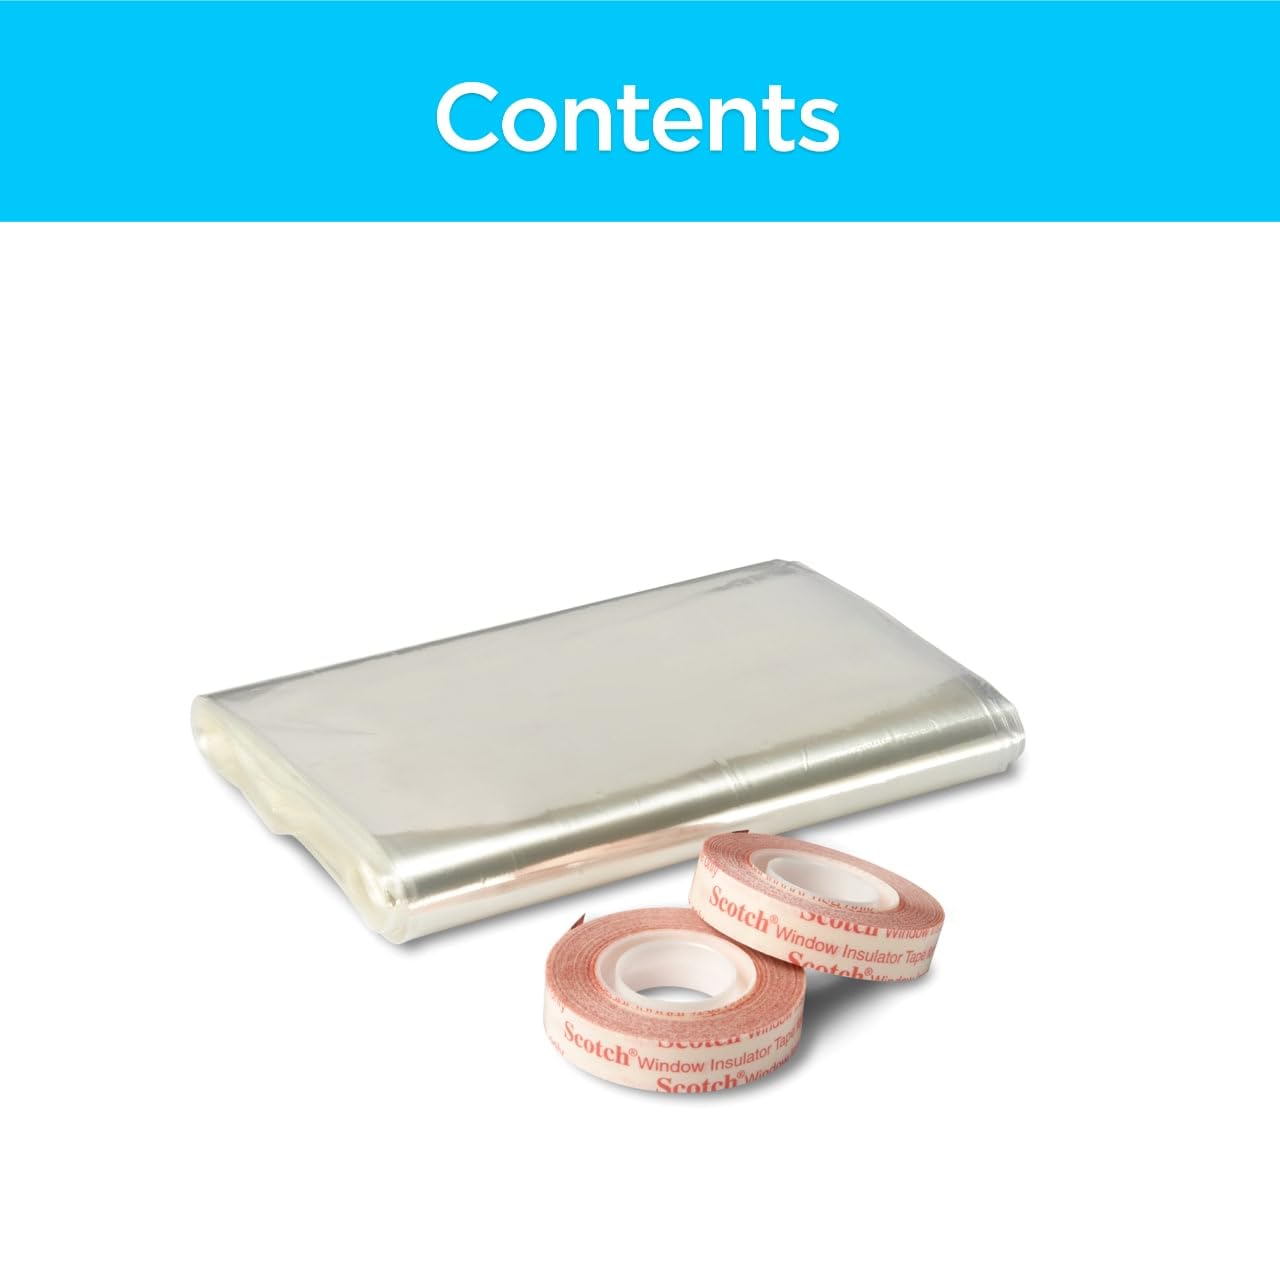
The 3M Indoor Patio Door Insulation Kit is designed to keep your home warm and energy-efficient. Measuring 6'-8" x 9' ft, this kit includes a heat shrink window film and Scotch window film mounting tape, ensuring a snug fit that reduces heating costs and prevents frost buildup. Made in the USA, it combines functionality with ease of installation, making it a must-have for any eco-conscious homeowner.
Manufacturer | 3M |
Part Number | 2144 |
Item Weight | 7.2 ounces |
Product Dimensions | 11 x 10.8 x 10.5 inches |
Item model number | 2144W-6 |
Is Discontinued By Manufacturer | No |
Size | Patio Door |
Color | Clear |
Style | Indoor |
Material | Plastic |
Pattern | Insulator Kit |
Item Package Quantity | 1 |
Included Components | Patio door insulate kit |
Batteries Included? | No |
Batteries Required? | No |
Warranty Description | Warranty |
D**D
Easy-peasy installation
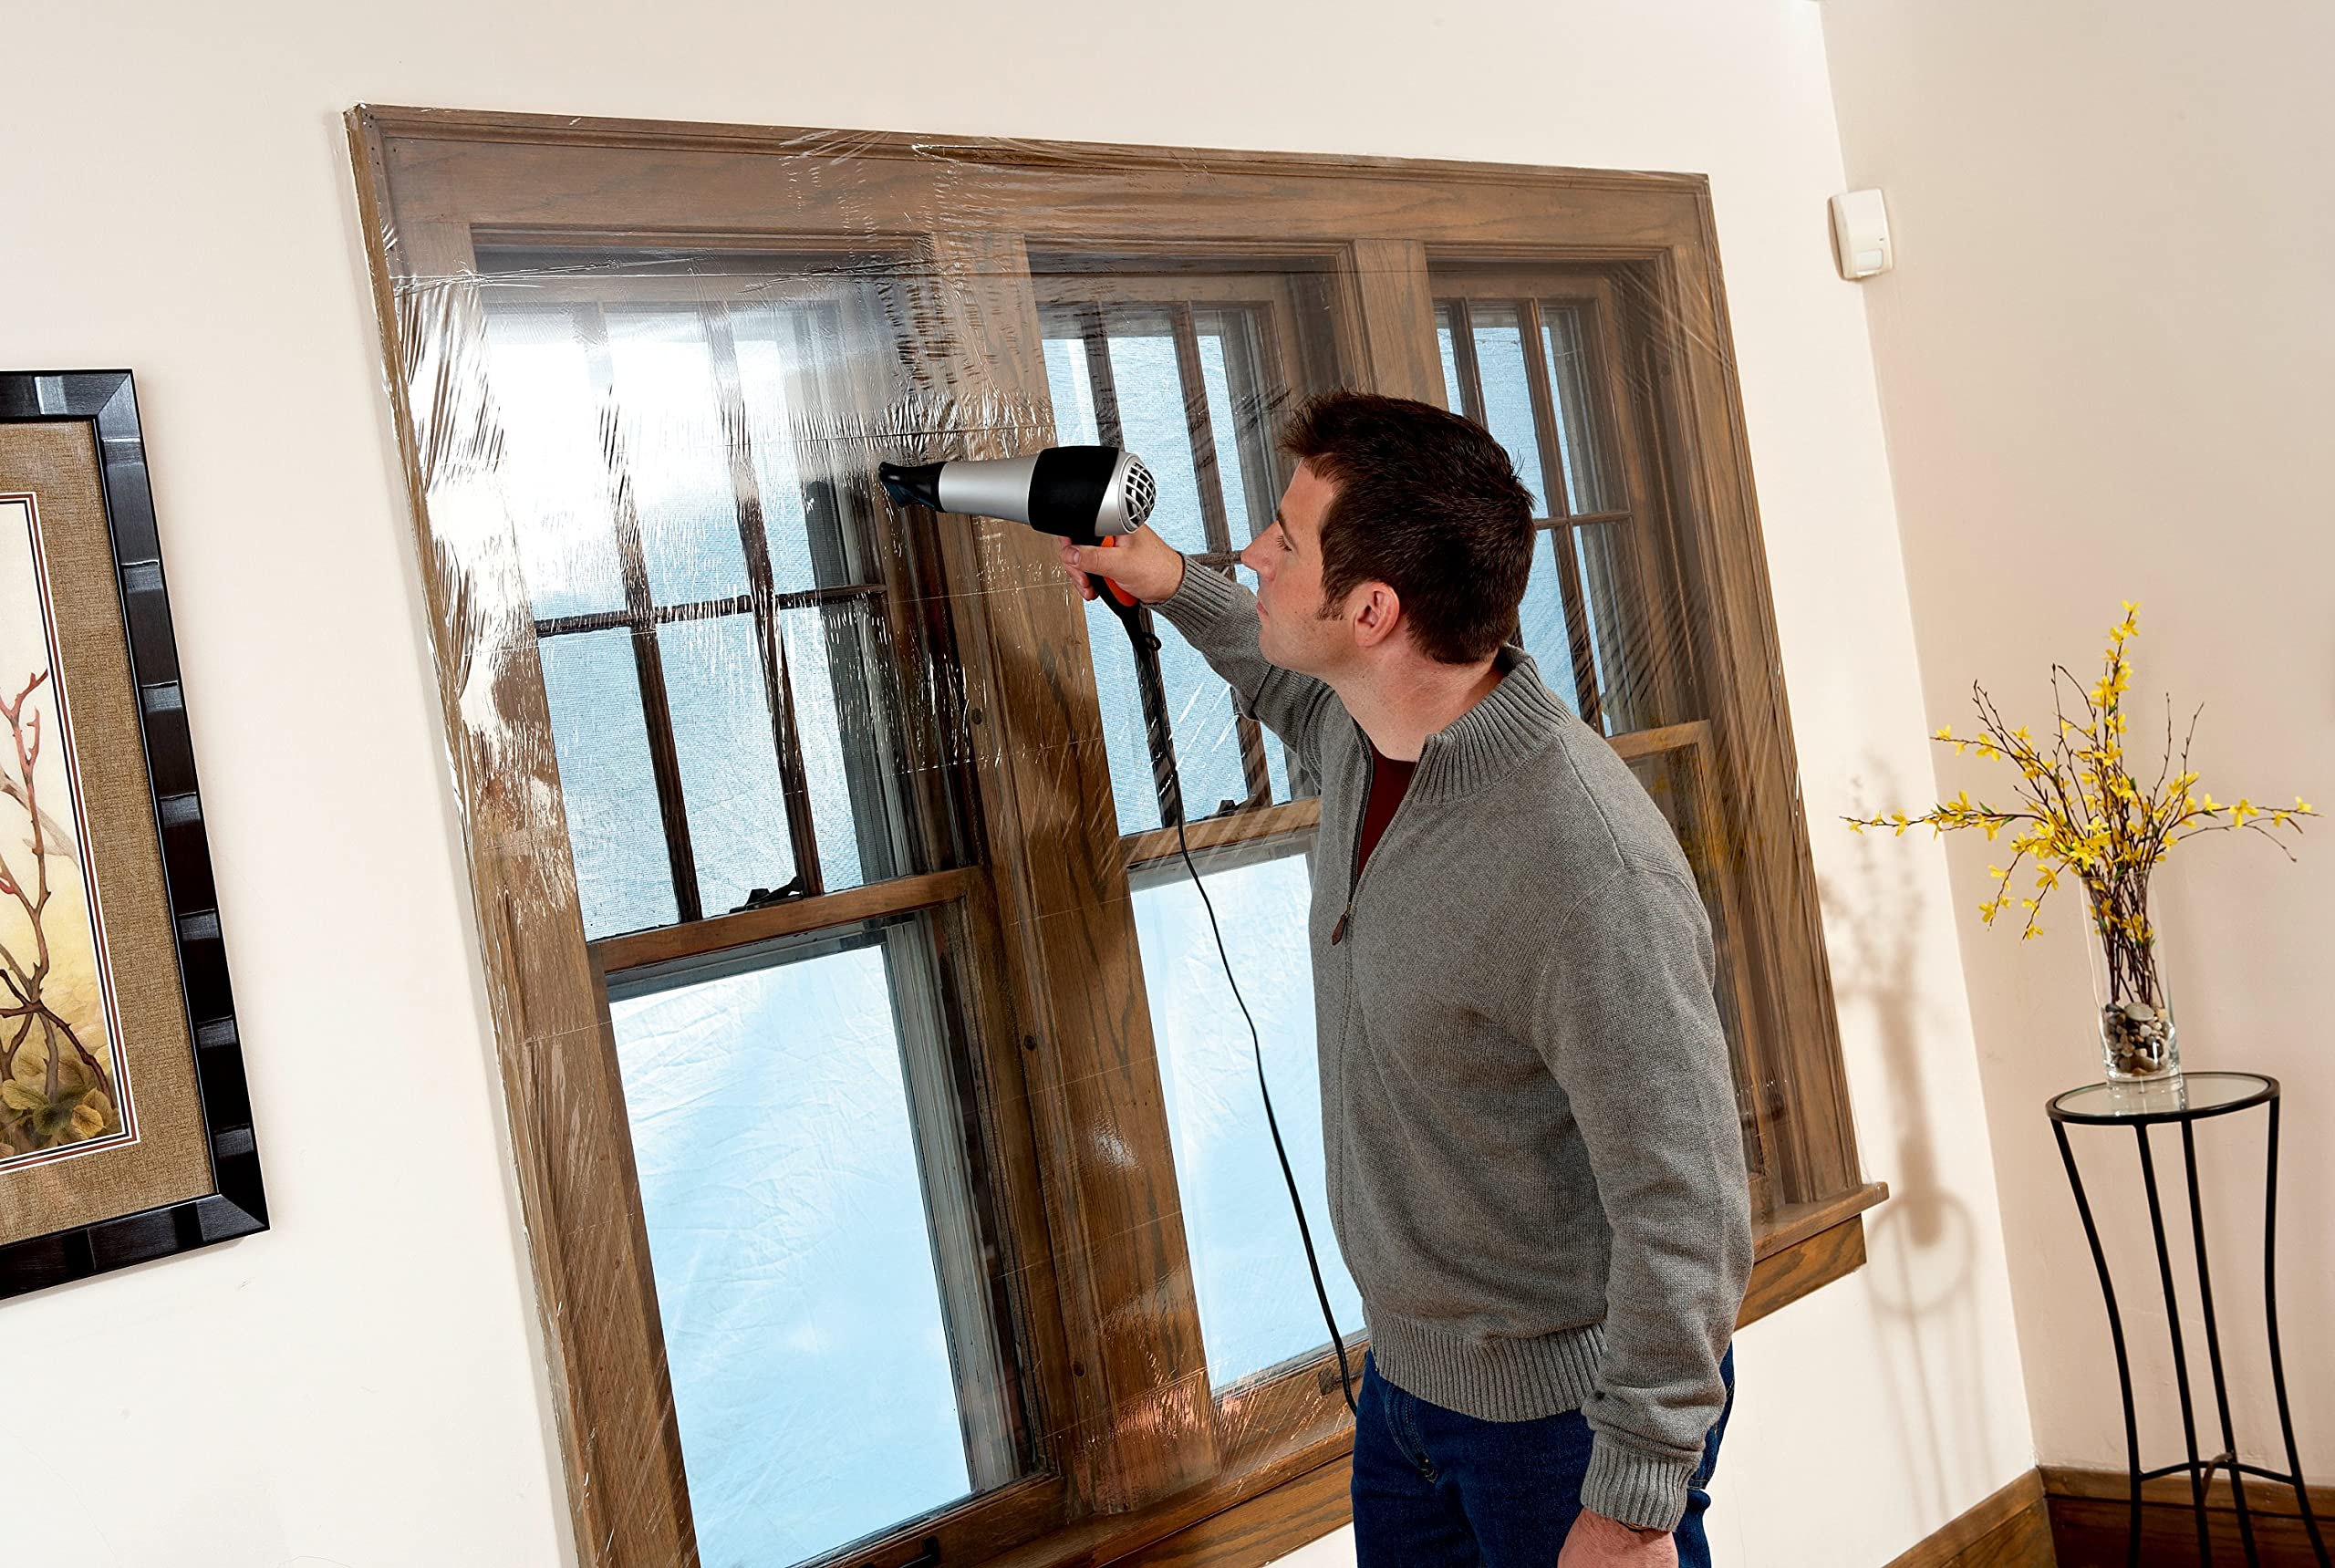
Let me start off by saying I did this installation while wearing in a tall cam boot. You know, one those bulky removable casts. Quite cumbersome but this needed to be done so.....When I first removed the film from the box I was confused because it appeared already fully unfolded and it only measured 44" wide. I called the 800# and almost immediately reached customer service. The young lady I spoke with suggested I apply small pieces of tape on both sides of a corner and pull. Low and behold it opened up and I felt a bit foolish. I thanked her and returned to the installation.First I cleaned around the window with alcohol and a towel. I used a second towel to dry it, and then allowed it a few minutes to completely air dry. I applied the double-sided tape around the entire window frame except for the bottom.I folded the film in half to find the middle and started from the top center working my way out to the sides, stopping occasionally to prevent the film from catching the tape on the sides. Then I worked one side at a time from the top, using one hand to pull the film while using the other hand to seal it against the tape.I then took the bottom of the film and folded it up and taped it with scotch tape in a few places to hold it out of the way before applying the last strip of double-sided tape to the bottom of the window frame. Then, starting at the center I pulled the film down a few inches at a time until it attached completely across the bottom and made the final run with my fingers along the edge. I went around the entire window pressing the film against the tape to insure I didn't miss anywhere.Last but not least I used the hair dryer to shrink it. This is the only place I had issues but I believe it's because the wind was blowing briskly and causing the film to stretch while I was applying heat so it wouldn't allow it to shrink. I'll try it again later once the winds calm down and hopefully the heat will work then. I may need a stronger blow dryer.I can't speak to the dependability of the tape or whether or not the film holds up against heavy winds since I just installed it, but it's pretty windy right now and so far so good.If any issues arise I'll update.Update: It's been exactly 60 days and I'm glad to say that the film and tape have both held up great! Usually the wind rips right through the room and because they were so strong the day I installed it I wasn't so sure it would hold up. In fact, every time I tried to use the blow dryer to shrink the film the wind would stretch it out. I finally realized that between the heat and wind blowing in it was allowing it to expand so I stopped and did it once the winds died down and the blow dryer worked as it was supposed to and shrunk the film.As always the winds have been a beast this year but neither the film nor tape have budged. Now I can't help but wonder how much heat and a/c has been escaping through this particular window and I'm seriously considering leaving it up all year around, if for no other reason but to see just how much my electric bill is affected.I'll probably completely change it out every 6 months just to make sure it doesn't weaken with age or fall apart from sun exposure.I highly recommend this product, not only for your comfort but for cutting down on your bills as well!
T**N
Overall Good product. Is what it needs to be.
I gave this product 5 stars because of its simplicity and ease of use. It comes with solely the cellophane and 3M double sided tape. Both of which, are of high enough quality to fit the needs of window insulation.Since applying this product, my room has been significantly warmer. I have the thermostat for our old victorian home in my room. I would typically have the heat at 68-74 degrees and my room which has 4 windows would be 58-62 at night and around 66 during the 35-50 degree days in Boston. My room is now equal to the set temperature. Occasionally 2 degrees less, but I attribute that to the one window I did not cover. (much smaller stained glass window) The insulation prohibits drafts from the old, creaky windows as well as keeps the heat in. I can tell when there are drafts due to the plastic blowing around. I left a little slack at the bottom to ensure a good seal. I am extremely happy with this product overall.The tape that comes packaged is double sided and works very well on both sides. The cellophane is easy to maneuver and is folded in a way that makes it easy to use. I made the mistake of unfolding it completely for the first window I insulated. However I learned from my mistake. The cellophane is first folded vertically and then horizontally. The way they fold the plastic makes it so you can measure the length of the plastic, cut, then measure the width of the plastic and cut. I lined the inner edge of my windows before I did anything. Before you apply the plastic I would peel the corners of the double sided tape to make actual application easier. Start from the top and proceed with a single side. This way you can perfectly fit the window with excess on two sides only rather than all four. This technique also makes it easier to reduce wrinkles and make a tighter, less noticeable fit. It doesn't matter whether you start the application process with either the right or left edge. It is only important that one side is lined up and one side has excess. I did three windows with this process and it took me roughly an 1.5 hours from opening the box to finishing. The following is a list of Directions for what I think to be the most efficient application process.P.S. although exact measurements would be nice in a perfect world, give your self at least and extra 1.5" in length and width.Directions:Preparation:1. Line windows with double sided tape, leaving second side covering on. (really press the tape down and take your time this is the second most important step)2. Peel Corners3. Measure windows4. Unfold Plastic vertically, measure and cut5. Unfold Plastic horizontally, measure and cutApplication:1. Line up plastic with the top edge and left edge of the plastic with the respective edges of the tape.2. Place corner of plastic onto the top left corner of the tape, i.e. top left corner of the window.3. Pull plastic tight and place plastic onto the top right corner of tape, i.e. top left corner of window.*(at this point the plastic should be hanging from the top edge of the tape from the corners of the tape)4. Completely peel off the tape covering from the top edge of the window.5. Press plastic onto tape from left to right tightly and slowly (This is the most important step, pressing the tape slowly and tightly. This will insure a reliable seal.)6. Start at the top of the left edge and Peel the tape covering off an press the plastic down in 8"-12" increments till you get to the bottom.*(If you aligned the corner of the plastic properly with the edge of the tape then this side should have little to no excess. At this point the top edge and left edge should be completely sealed.)7. Start from the top of the right edge and Repeat step 6. (This side should have a little excess)8. At the window sill (i.e. bottom edge of tape/window) remove the tape covering completely, give yourself some slack in the plastic to accommodate the bend in the window and simply just stick the plastic down.9. Check your corners for a good seal, especially the bottom edge. Remove and excess on the bottom and right edge of the window if need be, and you should be finished!
Trustpilot
1 day ago
2 weeks ago