Description
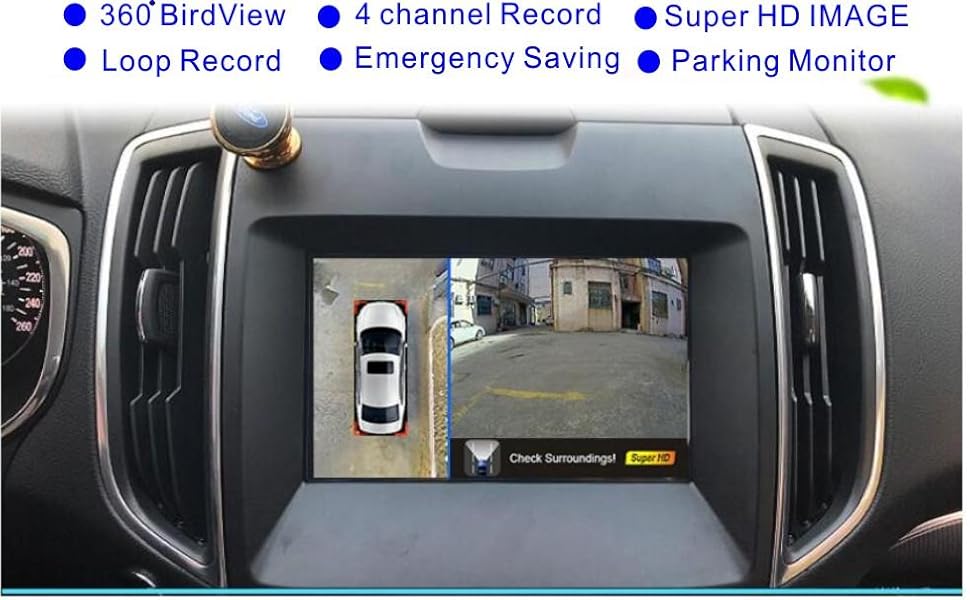
🚗 See it all, miss nothing — drive smarter with 360° confidence!
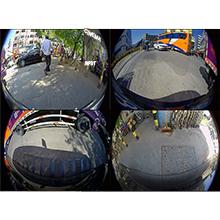
- WIDE 190 FISH EYE LENS - Catch expansive views with a 190° wide-angle lens, ensuring no detail goes unnoticed.
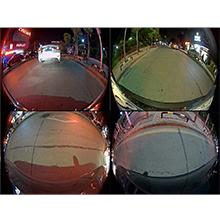
- CRYSTAL CLEAR 1080 P VISION - Experience ultra-sharp HD footage with 4-channel 1080P cameras capturing every angle.
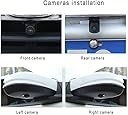
- CUSTOMIZABLE EASY INSTALL - Tailor the system to your vehicle’s needs with simple setup and optional OEM services.
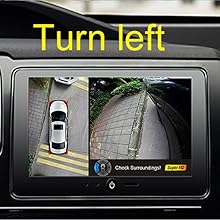
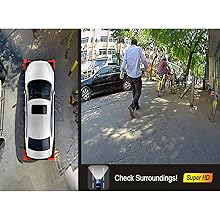
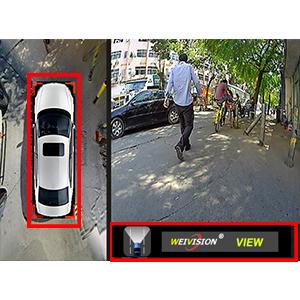
- FULL 360 BIRDS EYE VIEW - Navigate tight spots confidently with seamless surround vision that eliminates blind zones.
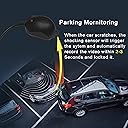
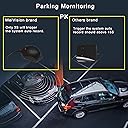
- SMART PARKING SAFETY MONITOR - Reverse, park, and turn with ease—avoid hidden dangers and protect your ride.
The Weivision Super HD 1080P Car 360° Bird View Surround System is a cutting-edge DVR backup camera solution featuring four 1080P HD fish eye cameras with a 190° wide-angle lens. Designed to provide a comprehensive bird’s eye view around vehicles up to 22ft, it eliminates blind spots and enhances driving safety. With cycle recording, support for up to 128GB memory, and easy installation, this system is perfect for professional drivers seeking next-level parking and monitoring technology.